Moist and Delicious Pumpkin Bread
Introduction: Embracing the Flavor of Fall
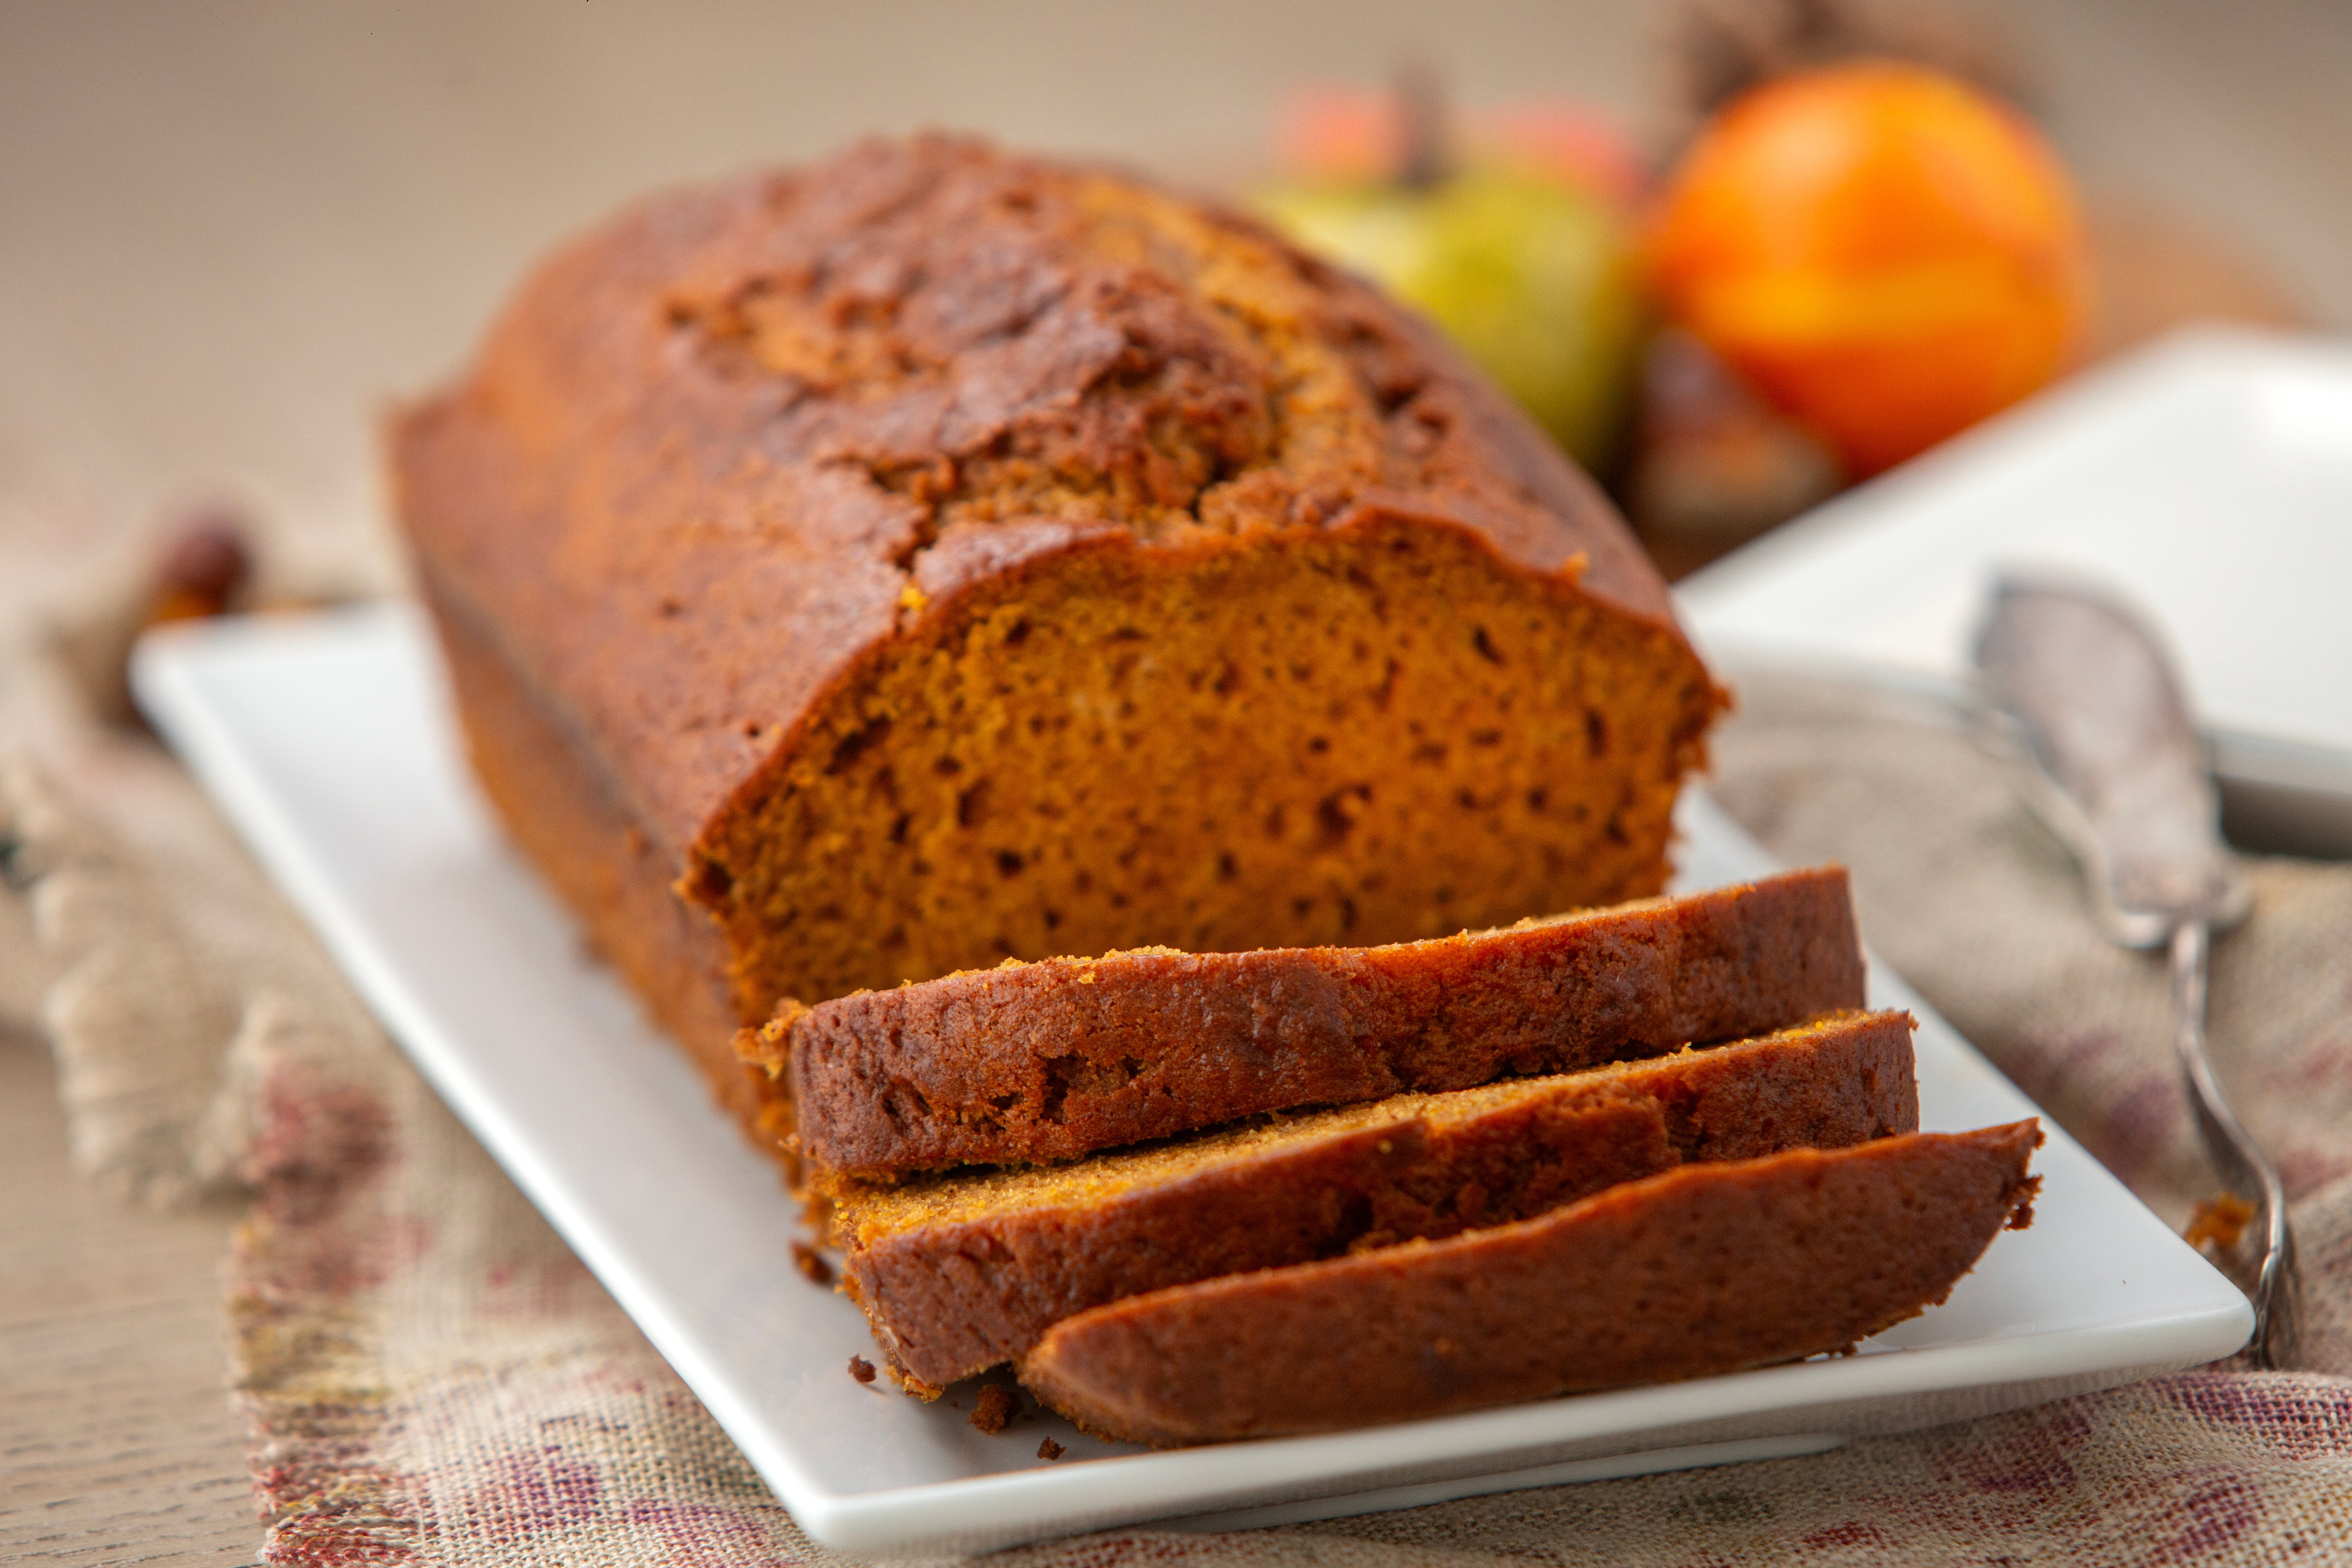
Ah, fall. It’s that cozy time of year when the air gets crisp, the leaves start to turn, and our cravings shift towards all things pumpkin. Isn’t it just magical? For me, there’s nothing more quintessentially fall than baking a batch of homemade pumpkin bread. The sweet aroma that fills the kitchen as it bakes is like a warm hug from the season itself. And let’s be real, store-bought just can’t hold a candle to the moist and delicious perfection of a loaf pulled fresh from your own oven. Whether you’re a seasoned baker or trying your hand at it for the first time, I’m here to guide you through making your very own pumpkin bread. It’s easier than you think and so worth it. Trust me, your taste buds will thank you.
Key Takeaways:
- Homemade pumpkin bread is a fall must-have: It encapsulates the essence of the season.
- Unmatched freshness and flavor: Baking from scratch offers a satisfaction store-bought versions can’t match.
- Accessible for everyone: This guide promises an easy path to moist, delicious pumpkin bread.
The Secret to Moist Pumpkin Bread
Ah, the secret to that irresistibly moist texture in pumpkin bread? It boils down to the perfect harmony between the wet and dry ingredients. Imagine combining the rich, earthy tones of pumpkin purée with the velvety smoothness of oils and the binding power of eggs. This isn’t just mixing; it’s more like orchestrating a symphony where each ingredient plays a crucial role. Now, about oils – they’re not just a wet ingredient; they’re the secret weapon. Whether you’re team vegetable, canola, olive, or coconut, each oil lends its unique characteristics.
Vegetable and canola? They keep things light and neutral. Olive oil brings a hint of its signature flavor, and coconut oil? It adds a touch of sweetness and tropical vibes. The right oil can elevate your pumpkin bread from ‘just moist’ to ‘melt-in-your-mouth perfection.’ So, remember, achieving that drool-worthy texture in your pumpkin bread all begins with the perfect balance of wet and dry – it’s the foundation of every slice of autumnal bliss.
Choosing Your Ingredients
When embarking on the journey to creating that perfect loaf of pumpkin bread, let me tell you, the road is paved with the choices you make right at the start – choosing your ingredients. Now, I’ve been down this road a time or two and found myself at a crossroad: homemade vs. canned pumpkin purée.
Each has its merits, but homemade purée brings a sense of pride and freshness, while canned purée offers convenience and consistency. Then, there’s the secret weapon – pumpkin pie spice. This isn’t just any old blend of spices; it’s a magic concoction that sings autumn. It’s essential for that deep, rich flavor that makes each bite of pumpkin bread feel like a fall harvest festival in your mouth.
But the harmony of flavors doesn’t end there. Oh no, it’s the sugar – brown sugar and white sugar – that truly sets the stage. Brown sugar brings a moist, caramel undertone, while white sugar adds sweetness and helps create that delectable, golden crust. Balancing these elements isn’t just cooking; it’s crafting a masterpiece. So, take it from me, starting with the right ingredients isn’t just part of the process; it’s the heart of creating a pumpkin bread that’s not just good, but unforgettable.
Mixing Wet and Dry Ingredients: The Technique
Now, let’s dive into what I consider the heart of making that perfect loaf of pumpkin bread: mixing wet and dry ingredients. Think of it as the moment where magic starts to happen, where separate elements come together to create something truly special. I start by whisking together my dry ingredients in a large bowl. This includes my purpose flour, a dash of salt, some baking soda, and those warm spices like cinnamon and nutmeg that just scream fall. It’s a simple step but oh so crucial for that even distribution of flavors.
In a separate bowl, I tackle the wet ingredients. This is where the pumpkin takes center stage, mingled with eggs, oil—canola or vegetable works wonders—and a splash of water. Now, here’s the kicker: combine the wet and dry without overmixing. A gentle hand is your best friend here. Too much elbow grease and you’re looking at a tough bread, and nobody wants that. I like to use a rubber spatula to fold the dry ingredients into the pumpkin mixture just until they’re combined. It’s like they’re getting acquainted lightly, preserving that tender, moist crumb we’re all after. So, let’s keep it light, keep it gentle, and most importantly, keep it delicious.
Incorporating Add-Ins for Extra Deliciousness
Tossing in a few add-ins can make all the difference. Imagine the surprise of biting into moist pumpkin bread only to discover melty chocolate chips or the satisfying crunch of nuts scattered throughout. And for those who walk on the wild side of baking, a swirl of cream cheese can transform the humble loaf into a decadent treat. The beauty of pumpkin bread lies in its adaptability – whether you’re all in for a chocolate chip pumpkin bread that earns rave reviews at the dinner table or seeking to craft a batch of pumpkin muffins for easy, on-the-go breakfasts, the possibilities are endless.
I often encourage a dash of creativity here – why not mix in some olive oil for a subtler flavor or sprinkle in some pumpkin pie spice for that extra burst of autumn? Each loaf you bake can be a reflection of your mood, the season, or simply what’s in your pantry. So, whether it’s your first time or you’re a seasoned pro, let the adventure of mixing, matching, and mastering these add-ins lead the way to your best pumpkin bread recipe yet. Remember, the goal is moist pumpkin bread packed with flavor and your personal touch of magic.
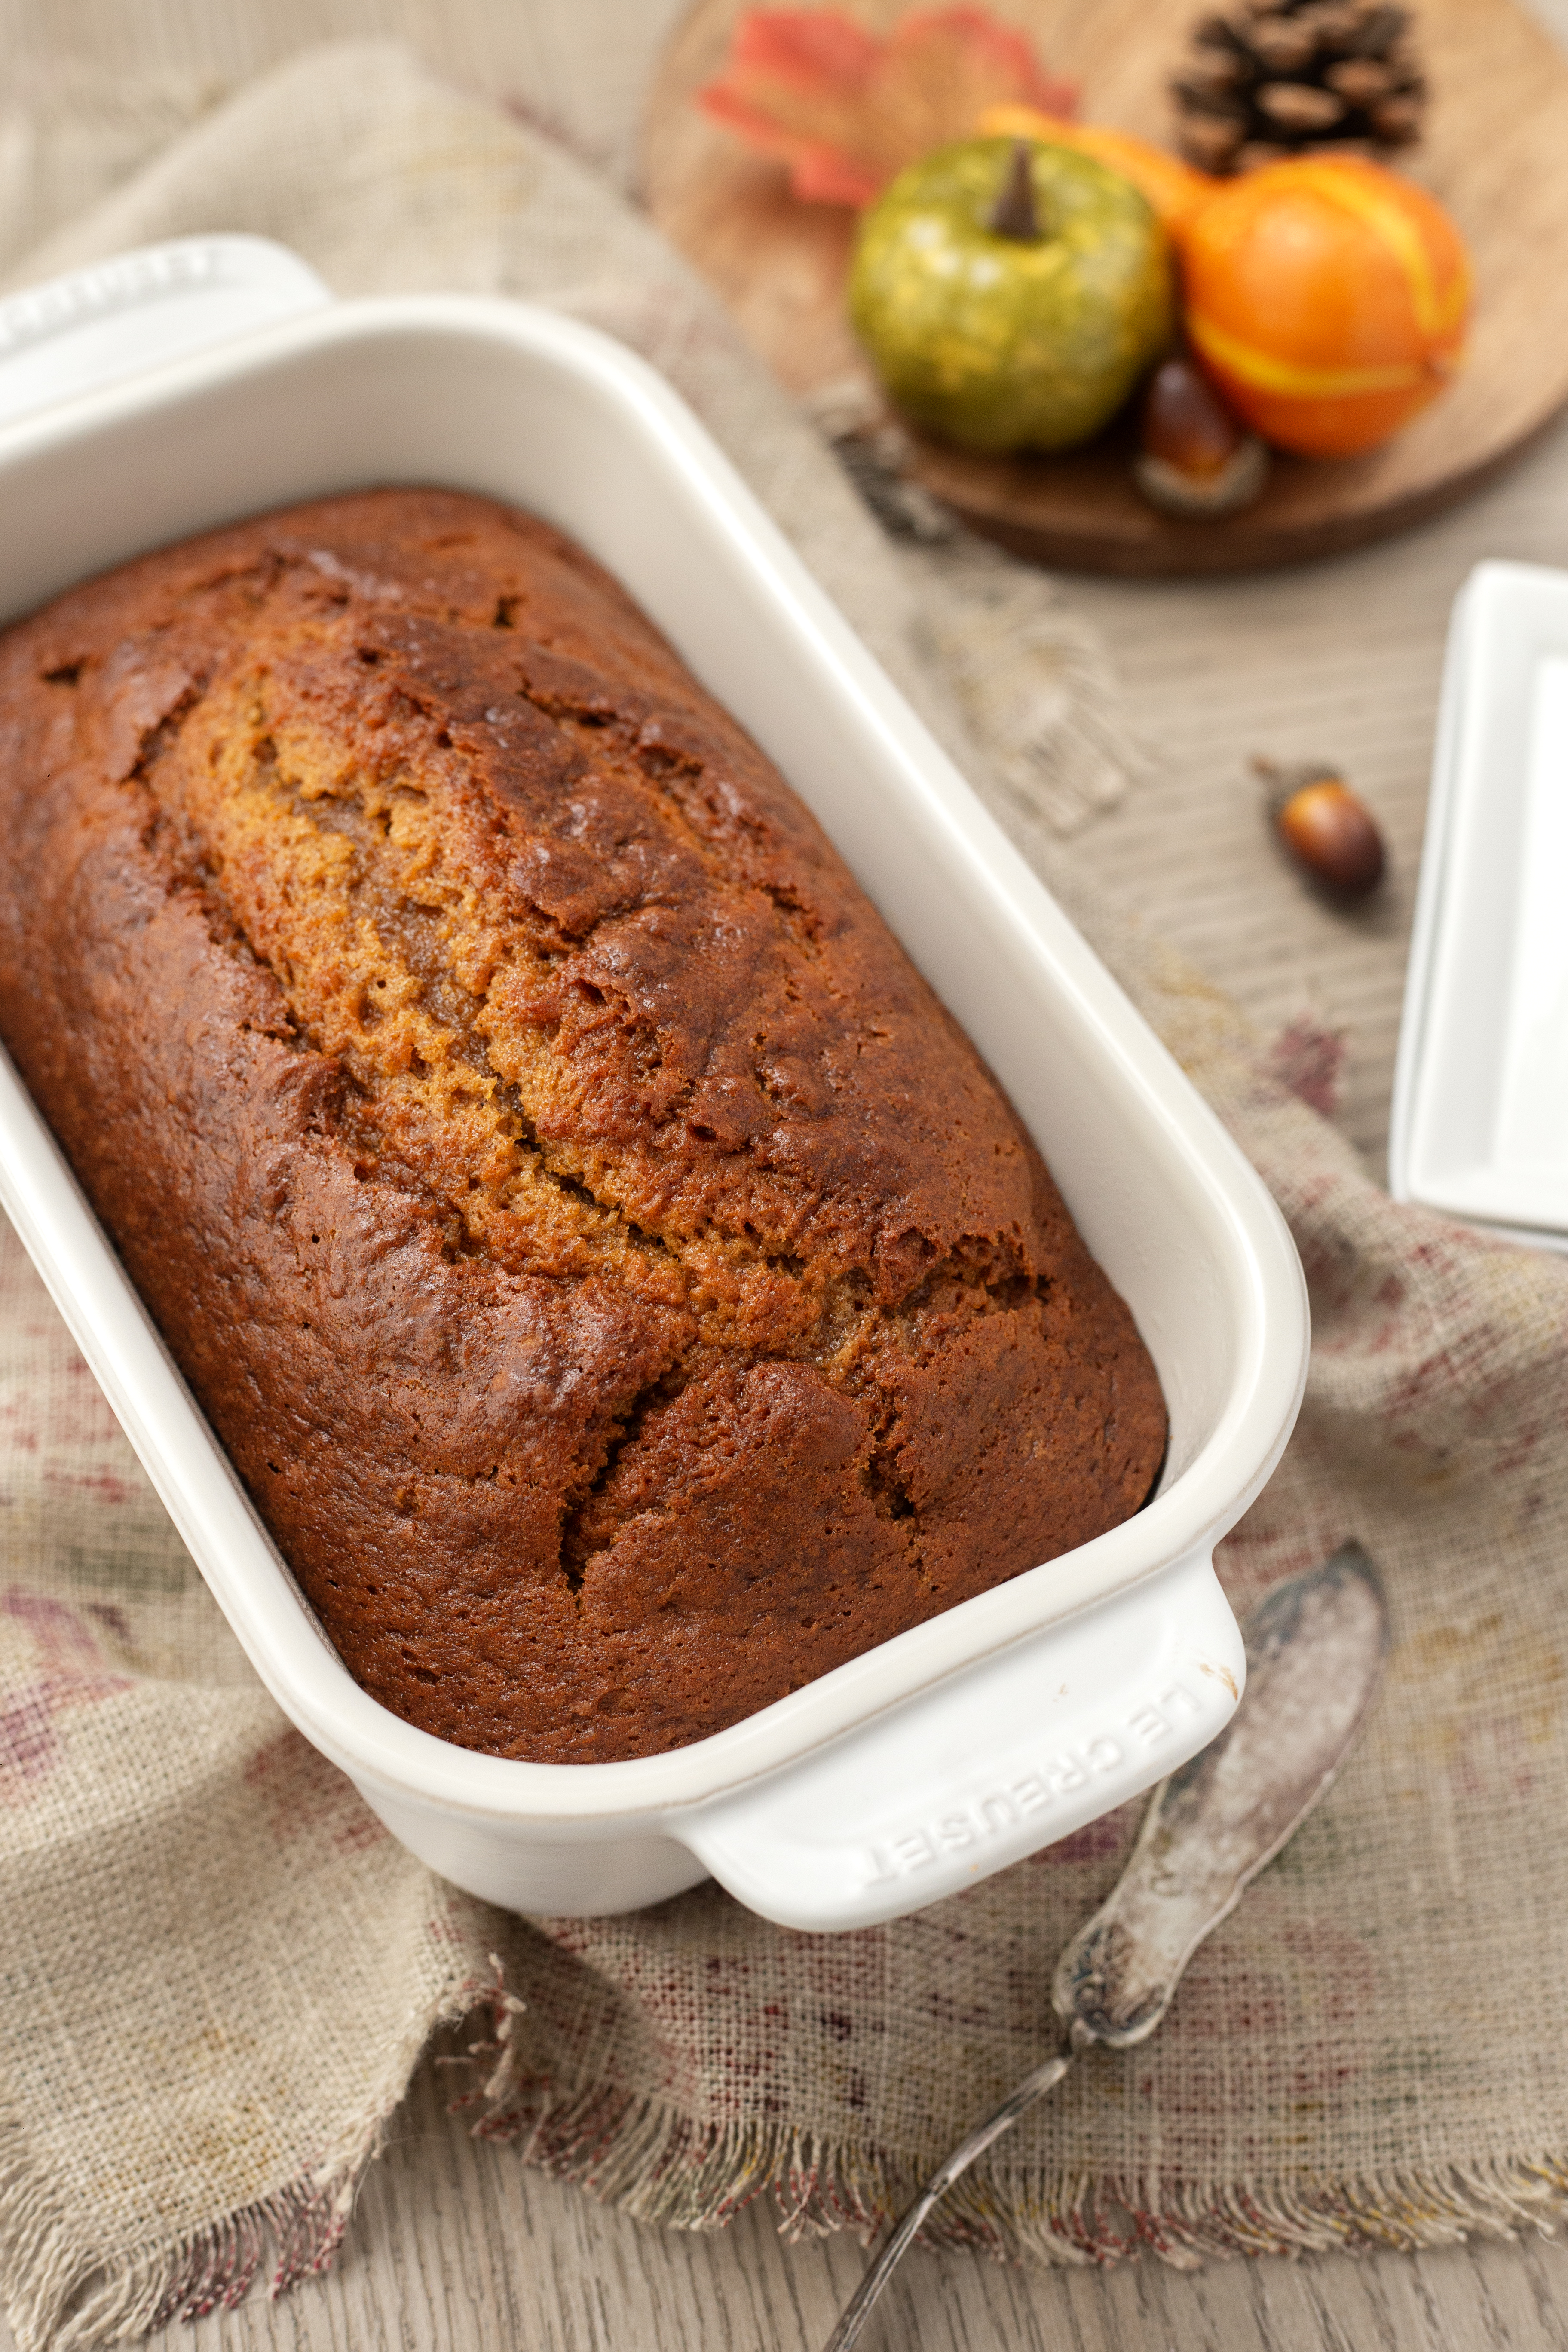
Prepping Your Pan: Setting Up for Success
Oh, the anticipation of sliding that loaf pan into the oven! But wait, let’s chat about prepping that pan to ensure your pumpkin bread masterpiece comes out perfectly. Begin by lining your pan with parchment paper or giving it a good greasing. This little step is like a magic trick for easy bread removal – no sticking, no mess.
Now, if you’re like me, occasionally forgetting your loaf in the oven just a tad too long, you’ll find aluminum foil to be a savior. Just tent it over the top to protect your creation from getting too tanned. And hey, why not switch things up? Grab a muffin tin and pour your batter into it to make delightful pumpkin muffins. They’re perfect for sharing, or let’s be honest, snacking on the go. So, whether you’re sticking to the traditional loaf or opting for muffins, these little prep steps will set you up for success.
The Baking Process
Every time I preheat my oven to the perfect 350 degrees Fahrenheit, I feel like I’m starting a new adventure, especially when it’s for my pumpkin bread. It’s like sending off a vessel into the sea, hoping for the best voyage. I always ensure to check for the doneness with a cake tester – a trusty little tool that should come out with just a few moist crumbs clinging to it, signaling that the bread is perfectly baked, not dry, not undercooked, but just right.
Here’s a little secret from me to you: adjusting the oven temperature if needed is crucial. Ovens can be tricky and sometimes, they have a mind of their own. Placing the pans on the center rack is another non-negotiable for me. It ensures the heat envelops the bread evenly, giving it that beautiful rise and golden color. And for that ideal moist pumpkin bread we all crave, keeping them in there for about 50-60 minutes does the trick. It’s these little steps that turn a good recipe into a great one. They say patience is a virtue, right? Well, in baking, it’s the golden rule.
Cooling and Storage Tips
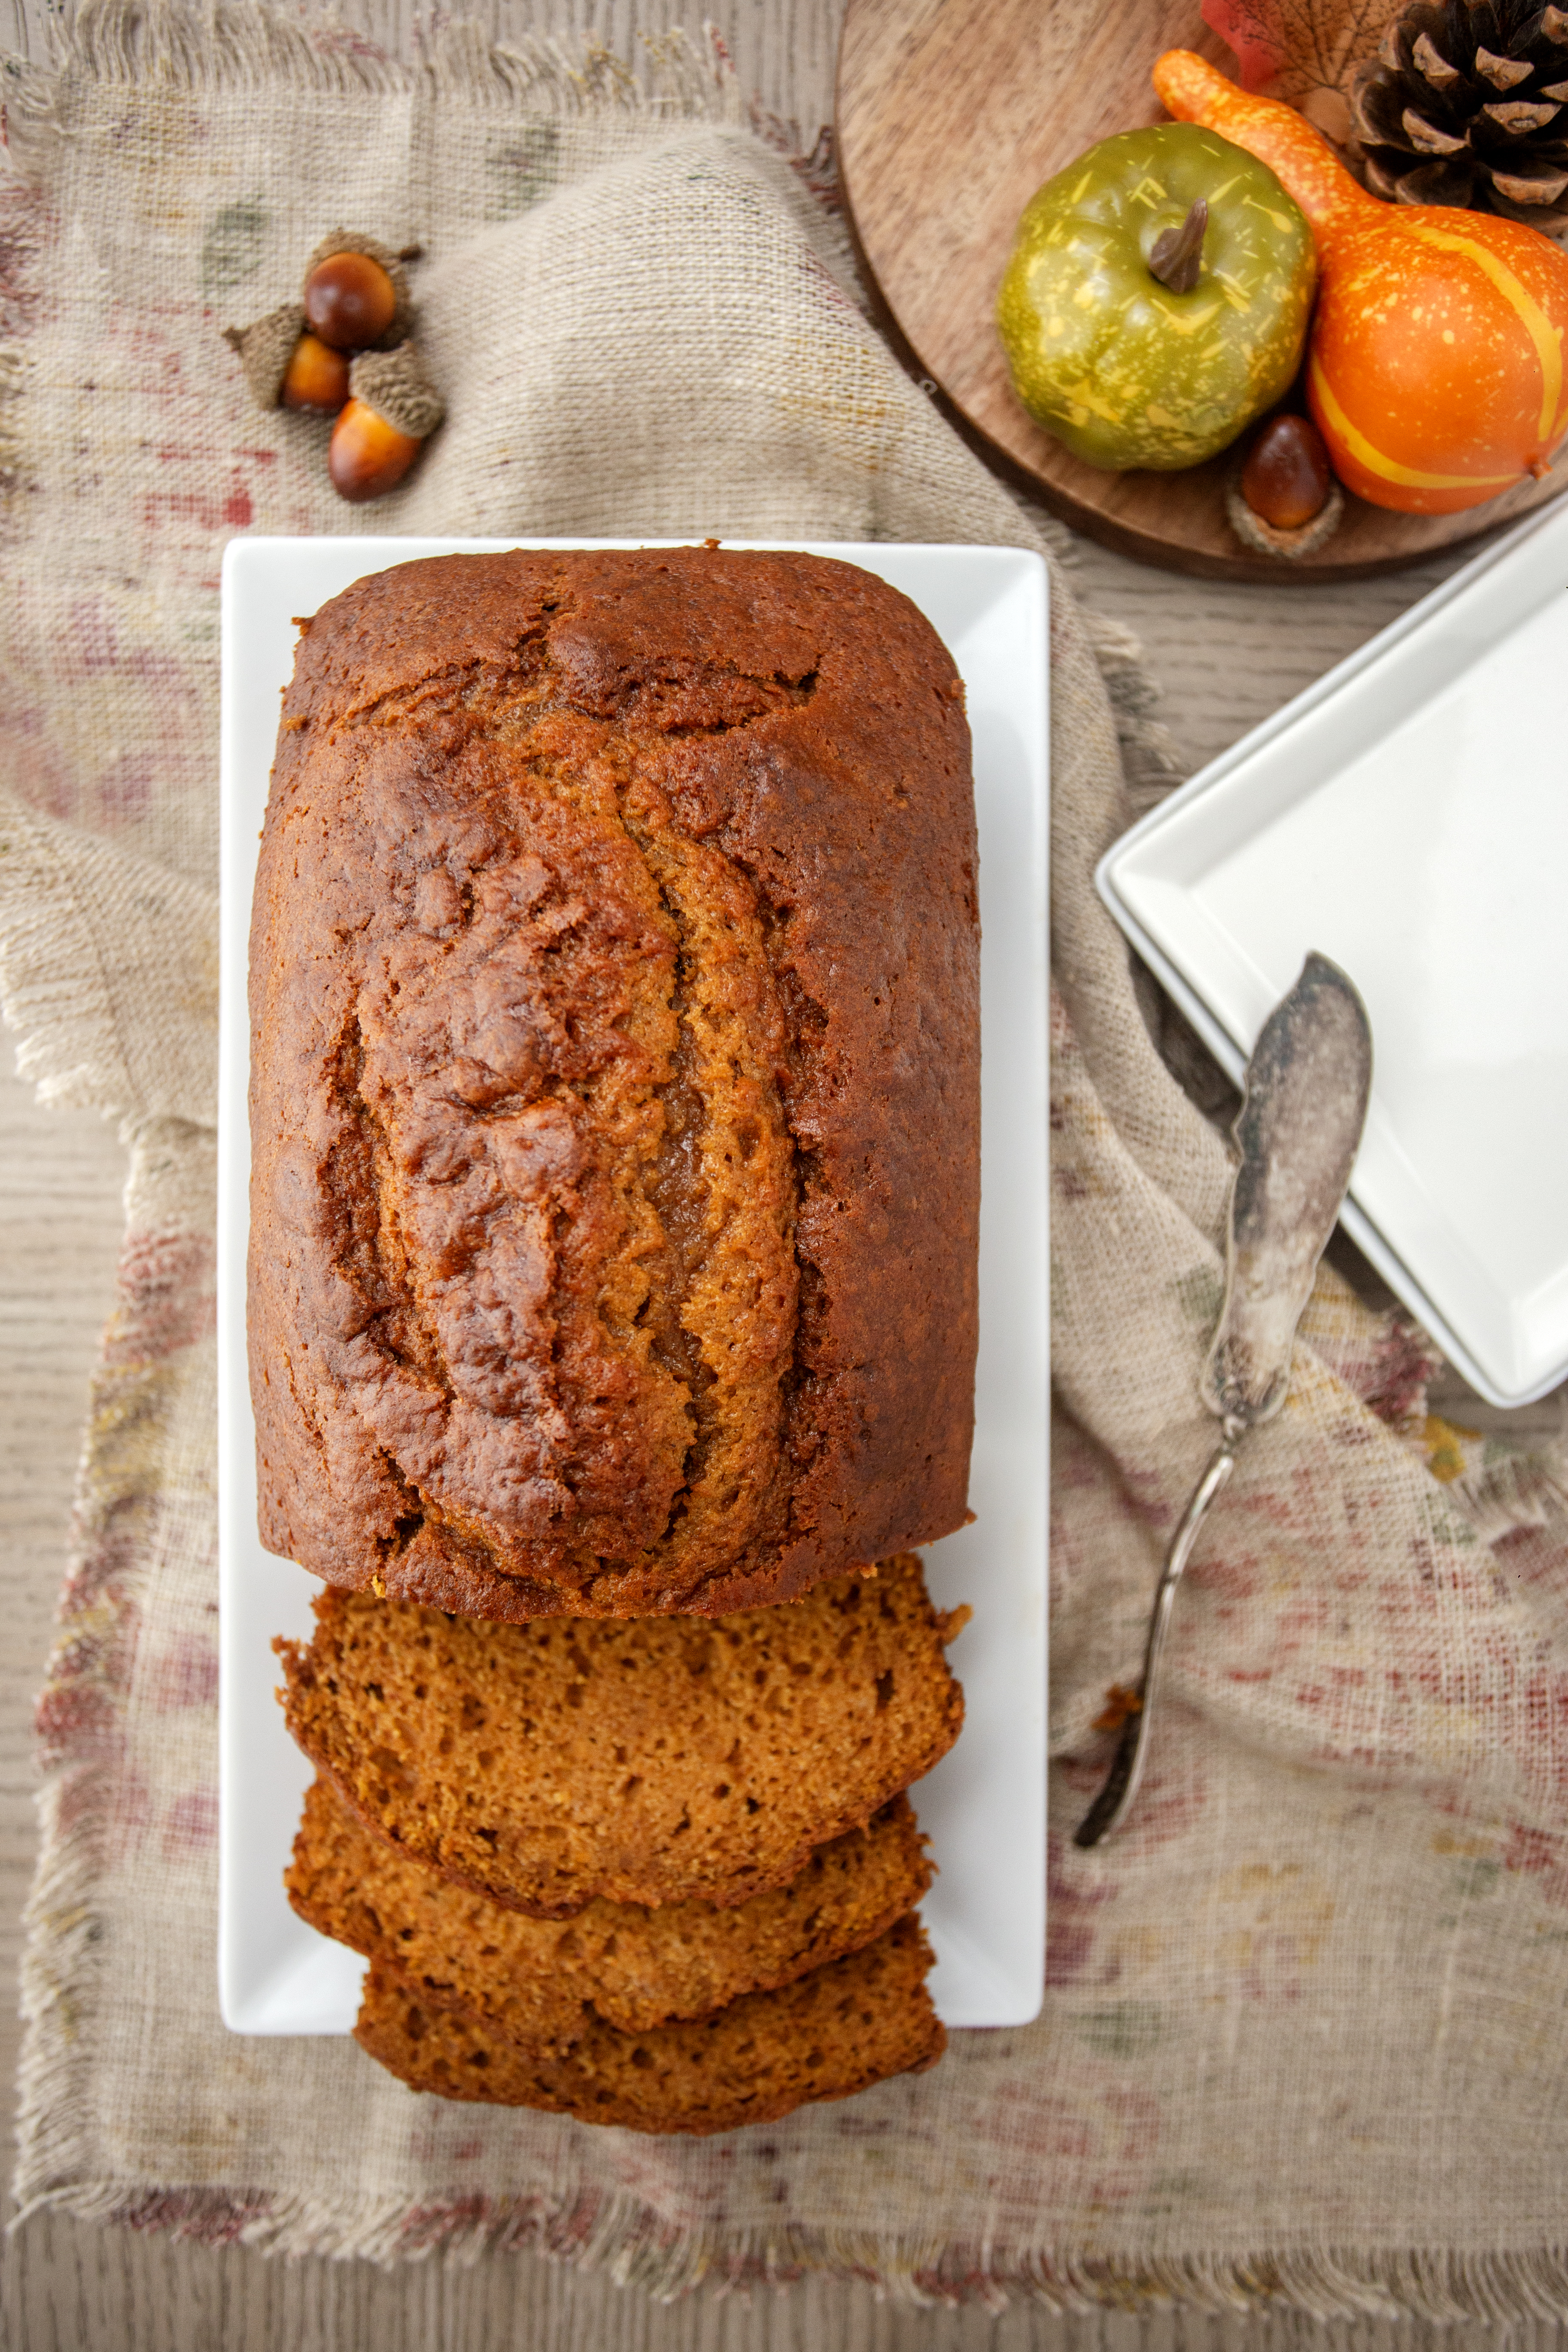
After the scent of homemade pumpkin bread has filled your kitchen, and you’ve patiently watched the timer tick down, the next steps are crucial for keeping that wonderful pumpkin flavor and moist texture we crave. First, let’s chat about cooling. Don’t rush to slice into that loaf just yet. I’ve learned the hard way that moving your pumpkin bread to a wire rack to cool is a game-changer. This simple step prevents any sogginess by allowing air to circulate around the bread. Trust me, it makes all the difference.
Now, onto storing your masterpiece. If you’re like me and bake with the intent of savoring your treats as long as possible, keeping your bread moist is key. Wrapping it tightly in plastic wrap or keeping it in an airtight container does wonders. You can keep it at room temperature if you plan on devouring it within a couple of days – which, let’s be honest, is highly likely. Alternatively, freezing it is your best bet for longer preservation. Just make sure it’s wrapped properly to fend off freezer burn. This way, you can indulge in that homemade pumpkin bread goodness anytime the craving hits.
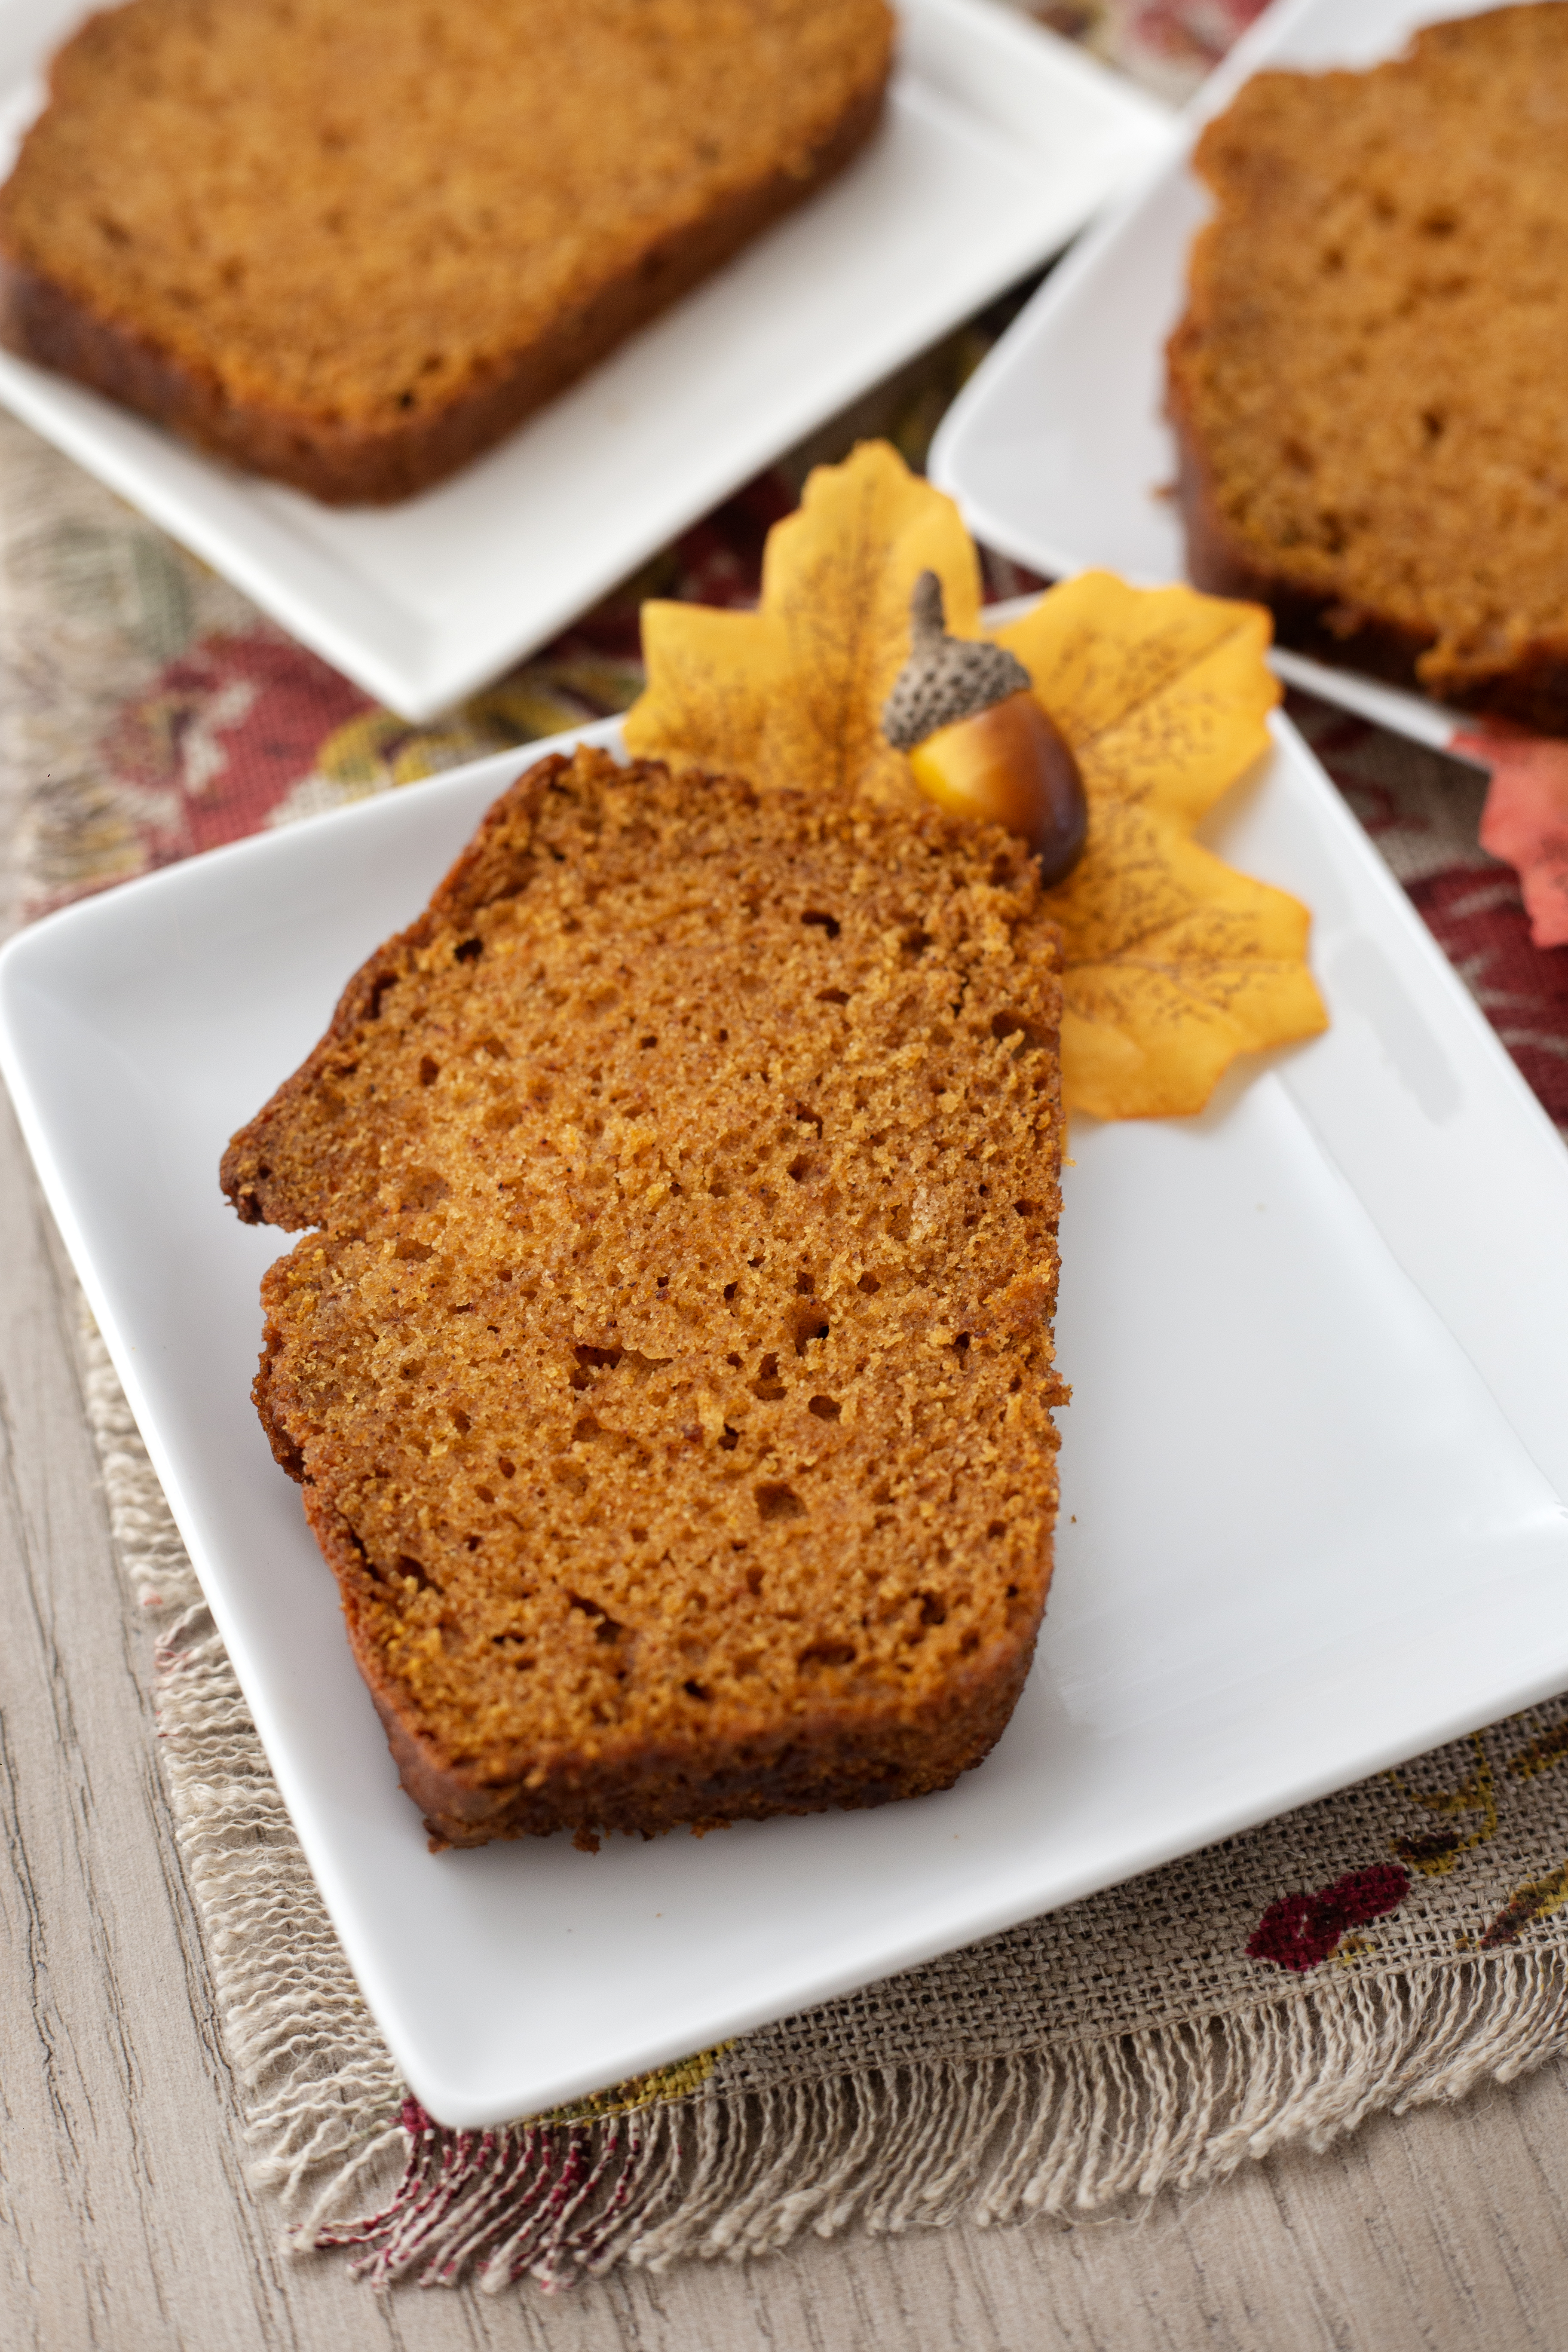
Serving Suggestions and Pairings
Once you’ve baked this moist pumpkin bread, brimming with wonderful pumpkin flavor, it’s time to savor every bite. But let’s not stop at merely slicing and enjoying it, shall we? Imagine starting your morning with a warm slice of this bread, slightly toasted, with a pat of melted butter on top. It’s a simple yet profoundly comforting way to welcome the day. Then, as the afternoon rolls in, pairing a slice with your favorite cup of coffee can be incredibly satisfying, especially on a crisp fall day.
For those of us who love a bit of creativity in the kitchen, this pumpkin bread can be transformed into a delicious base for more complex desserts. Imagine turning it into decadent bar cookies, or even using it as part of a breakfast menu, maybe in the form of French toast. And for an extra special treat, why not top a slice with a homemade glaze? A simple mixture of powdered sugar, milk, and vanilla extract can elevate it from wonderful to extraordinary. This bread, with its moist crumbs, versatile nature, and rave reviews from everyone who tries it, is sure to become your go-to recipe not just during the fall, but all year round.
A Toast to Homemade Goodness: Reflections and Next Steps
Oh, the sheer joy of pulling that perfectly baked pumpkin bread out of the oven—it’s an experience that truly captures the essence of fall, doesn’t it? From the moment we choose our ingredients, whether we opt for fresh pumpkin or crack open a whole can of pumpkin purée, to that final sprinkle of pumpkin spice, each step is a celebration of autumn’s bounty. If I could bottle up the wonderful pumpkin flavor that fills the kitchen during baking, I’d wear it as a perfume!
But what makes this journey even more special are the personal touches we all bring to our homemade pumpkin bread. Maybe you swear by the addition of chocolate chips, or perhaps you’ve discovered that a dollop of cream cheese creates the moist pumpkin bread of your dreams. And let’s not forget those step-by-step photos that some of us love to take, capturing our masterpiece at every stage of preparation.
What truly warms my heart though, are the rave reviews from friends and family. Is there anything more satisfying than seeing their eyes light up at the first bite? So, I encourage you, dear reader, share your baking experiences, the adaptations that you swear by, and the compliments that made you beam with pride. And let’s not stop here. The world of pumpkin and fall-inspired recipes is vast and inviting. Consider this your invitation to dive deeper into the rich flavors and comforting aromas of the season. Together, let’s continue to bake, to experiment, and to revel in the homemade goodness that pumpkin bread so perfectly represents.coziness that autumn brings.

Pumpkin Bread
Ingredients
- 15 oz canned pumpkin , not pumpkin pie filling!
- 4 eggs
- 3/4 cup vegetable oil
- 2/3 cup water
- 3 1/2 cups flour
- 3 cups sugar
- 2 teaspoons baking soda
- 2 teaspoons ground allspice
- 1 1/2 teaspoons salt
- 1 teaspoon ground nutmeg
- 1 teaspoon ground cinnamon
- 1/2 teaspoon ground cloves
Instructions
- Preheat the oven to 350 degrees Fahrenheit.
- In a spacious bowl, blend together the dry components.
- In a separate bowl, whisk the eggs, pumpkin, oil, and water.
- Gently mix the wet mixture into the dry ingredients until just combined.
- Divide the batter into three greased loaf pans (sized 8×4 inches).
- Bake for 50-55 minutes or until an inserted toothpick emerges clean from the center.
- Be cautious not to over bake.
- Allow the loaves to cool for 10 minutes before transferring them from the pans to wire racks for complete cooling.
