

Easy Pumpkin Pie Bars
Fall’s Favorite Treat: Easy Pumpkin Pie Bars
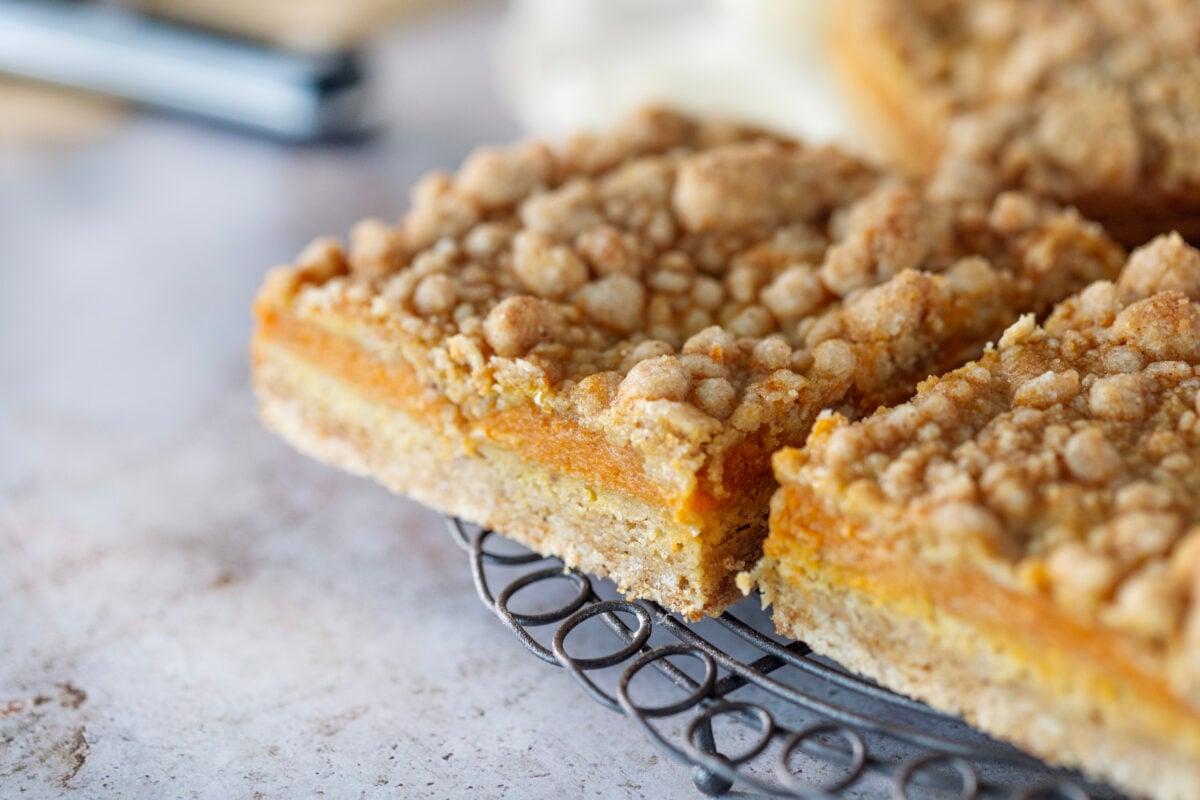
These Easy Pumpkin Pie Bars give you all the cozy flavor of traditional pumpkin pie in a much easier-to-serve dessert. They start with a buttery brown sugar crust, get topped with a creamy pumpkin filling seasoned with warm cinnamon, and finish with a sweet crumb topping that turns golden brown in the oven.
They’re simple, cozy, and perfect for fall.
What I especially love about these pumpkin pie bars is that you don’t need to fuss with a traditional pie crust. There’s no rolling dough, crimping edges, blind baking, or worrying about slicing a full pie neatly at the table.
Instead, the same crumbly mixture does double duty as both the crust and topping.
The result is a dessert with three distinct layers: a buttery shortbread-style crust, creamy pumpkin filling, and a soft, crumbly topping.
If you love pumpkin desserts but want something a little easier than homemade pumpkin pie, this is such a good recipe to keep around during the holiday season.
Why You’ll Love These Easy Pumpkin Pie Bars
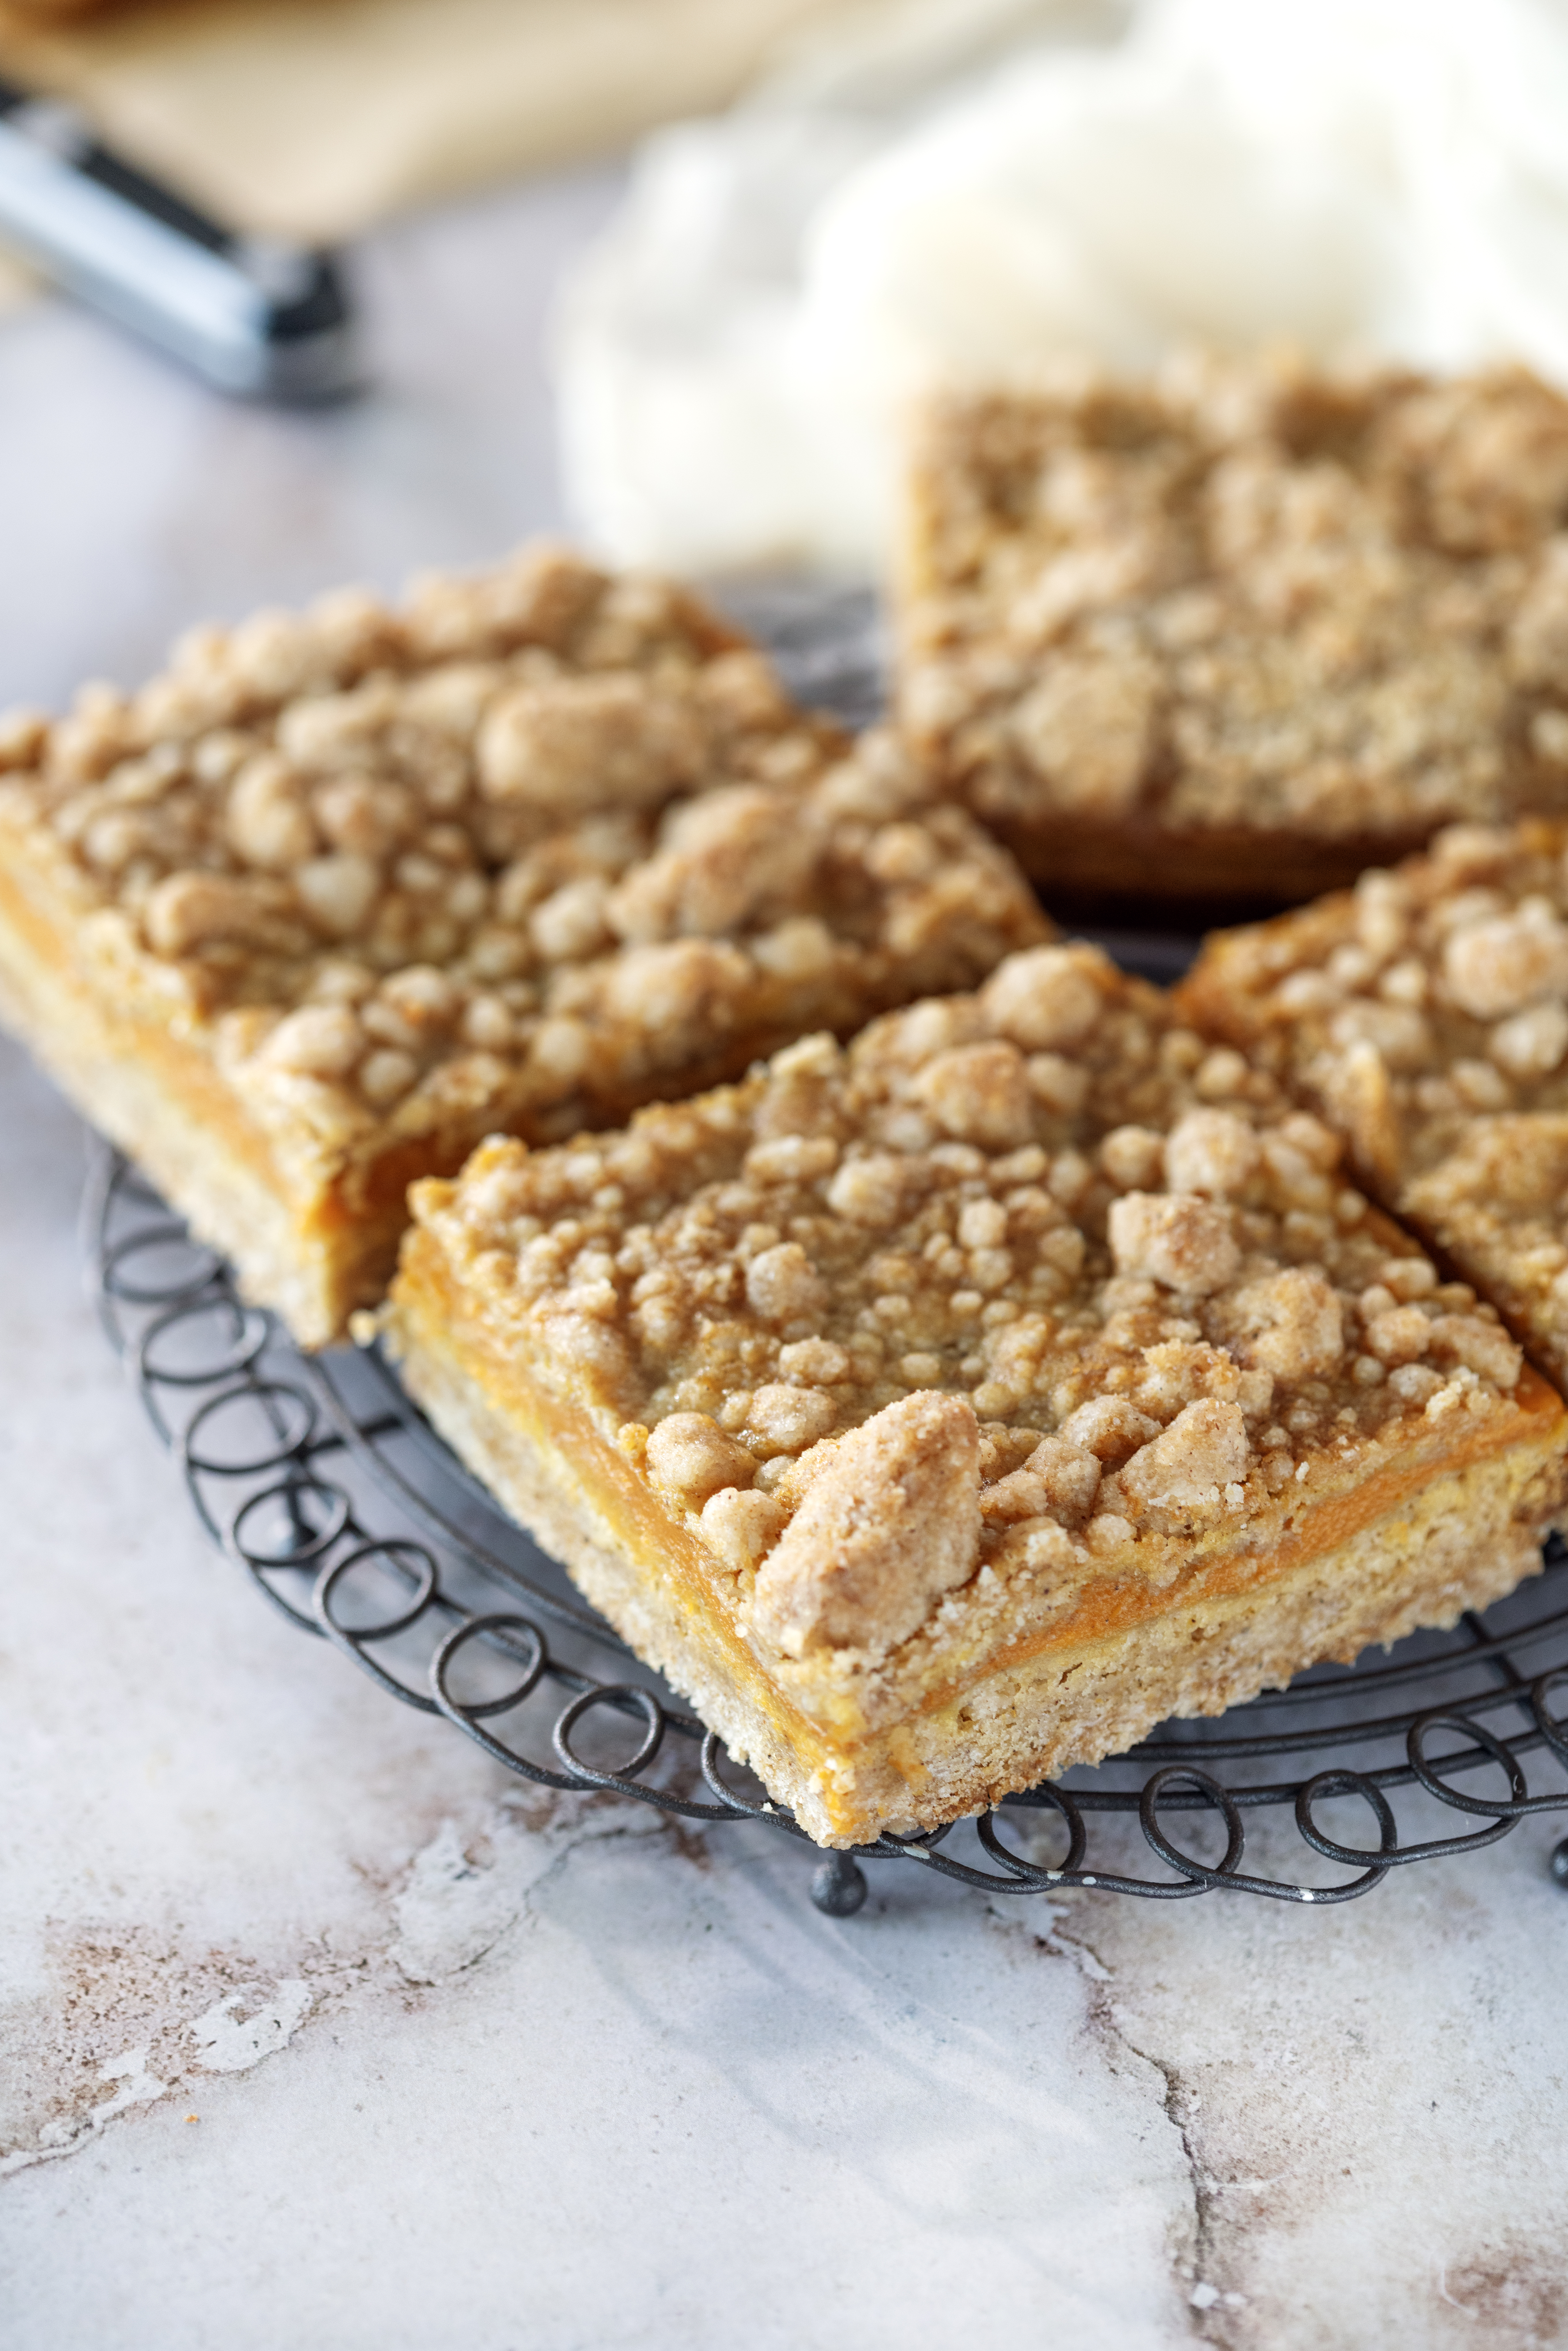
These bars are the kind of fall treat that looks special without requiring a complicated baking project.
You’ll love them because they have:
- A buttery brown sugar crust
- Creamy pumpkin pie filling
- Warm cinnamon and cloves
- A crumbly golden topping
- Simple grocery store ingredients
- No traditional pie crust to roll
- No pie weights or blind baking
- Easy square portions
- A short 28–32 minute bake time
- Plenty of cozy pumpkin flavor
They’re especially convenient for Thanksgiving, fall parties, potlucks, or anytime you need a pumpkin dessert that’s easy to transport and serve.
Pumpkin Pie Bars vs. Traditional Pumpkin Pie
The filling gives you that familiar pumpkin pie flavor, but the crust is where these bars really stand apart.
Traditional pumpkin pie usually has a flaky pastry crust with a creamy custard filling.
These easy pumpkin pie bars use a crumb mixture made from flour, light brown sugar, melted butter, cinnamon, cloves, baking powder, and baking soda.
Most of the mixture is pressed into the bottom of the baking pan to create the crust, while the rest gets sprinkled over the pumpkin layer.
So instead of a regular pumpkin pie with one pastry crust, you get pumpkin filling tucked between buttery layers.
It’s almost like pumpkin pie and a crumb bar came together in one dessert.
Ingredients You’ll Need
For the Crust and Topping
All-Purpose Flour
You’ll need 1½ cups all-purpose flour.
The flour forms the base of the crust and crumb topping.
Measure carefully so the bars don’t turn out too dry.
Melted Butter
Use ½ cup unsalted butter, melted and cooled to room temperature.
Melted butter brings the crumb mixture together and gives the crust its rich flavor.
Light Brown Sugar
½ cup light brown sugar sweetens the crust and gives it a subtle caramel flavor.
Brown sugar works especially well with pumpkin and warm spices.
Ground Cinnamon
You’ll use ½ teaspoon cinnamon in the crust and topping.
The warm spice flavor runs through every layer rather than appearing only in the pumpkin filling.
Baking Powder and Baking Soda
A combination of ½ teaspoon baking powder and ½ teaspoon baking soda gives the crust and topping a slightly softer texture than a very firm traditional shortbread crust.
Ground Cloves
¼ teaspoon ground cloves adds warmth and deeper fall flavor.
Cloves are strong, so a little bit is all you need.
Salt
¼ teaspoon salt balances the sweetness and makes the butter, brown sugar, and spices taste more pronounced.
For the Pumpkin Filling
Pumpkin Pie Filling
You’ll need 1½ cups pumpkin pie filling.
This is important: pumpkin pie filling is not the same thing as plain pumpkin puree.
Pumpkin pie filling is already sweetened and seasoned.
Egg
One large egg helps the creamy pumpkin filling set while it bakes.
Vanilla Extract
½ teaspoon vanilla adds another layer of warmth and sweetness.
Ground Cinnamon
Another ½ teaspoon cinnamon enhances the cozy pumpkin spice flavor in the filling.
Pumpkin Pie Filling vs. Pumpkin Puree
This is one of the most important things to know before making this pumpkin pie bars recipe.
You are using pumpkin pie filling, sometimes labeled pumpkin pie mix.
That is different from plain canned pumpkin puree.
Pumpkin puree is simply cooked and pureed pumpkin with little or nothing else added.
Pumpkin pie filling already contains sugar and spices.
Because this recipe was developed using pumpkin pie mix, substituting plain pumpkin puree without adjusting the other ingredients would leave the filling less sweet and less flavorful.
So when you’re at the grocery store, check the can carefully.
You want pumpkin pie filling or pumpkin pie mix for this recipe.
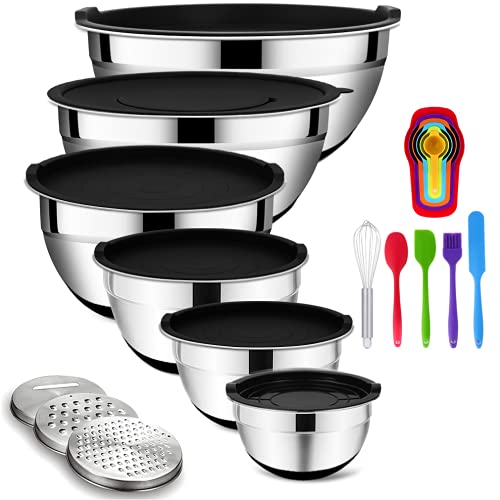
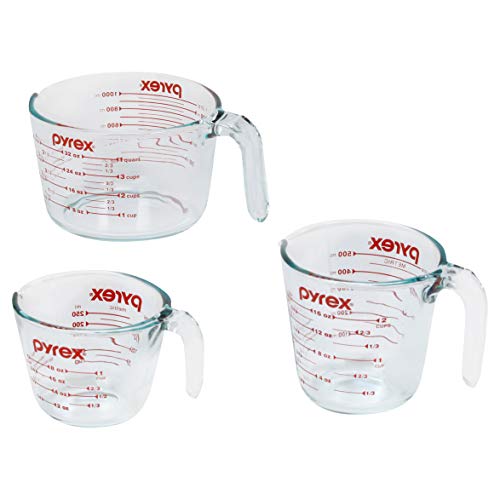
Tools for this recipe
 Buy Now →
  Buy Now →
  Buy Now →
 How to Make Easy Pumpkin Pie Bars
Step 1: Prepare the Baking Pan
Preheat your oven to 375°F.
Grease the bottom and sides of an 8-inch square baking pan.
Line the pan with parchment paper, leaving a little overhang on the sides.
That overhang gives you something to grab when you’re ready to lift the cooled bars out of the pan.
Lightly greasing beneath the parchment can also help keep it in place.
Step 2: Melt and Cool the Butter
Melt ½ cup unsalted butter in the microwave or in a small saucepan on the stovetop.
Set it aside until it cools to around room temperature.
You don’t want extremely hot butter going into the dry ingredients.
Step 3: Combine the Dry Ingredients
In a medium bowl, whisk together:
- 1½ cups all-purpose flour
- ½ cup light brown sugar
- ½ teaspoon baking powder
- ½ teaspoon baking soda
- ½ teaspoon cinnamon
- ¼ teaspoon cloves
- ¼ teaspoon salt
Mix until the spices and leavening ingredients are evenly distributed.
Step 4: Add the Melted Butter
Pour the cooled melted butter over the dry ingredients.
Stir until a crumbly dough forms.
The mixture should hold together when pressed but still break into crumbs.
You don’t need a food processor or pastry cutter for this recipe.
A bowl and spoon work perfectly.
Step 5: Reserve the Topping
Measure out about ¾ cup of the crumb mixture and set it aside.
This will become the topping.
Step 6: Form the Bottom Crust
Transfer the remaining crust mixture to your prepared pan.
Press it into an even layer across the bottom.
Use your fingers, the bottom of a measuring cup, or a flat spatula to pack it down.
Try to make the thickness as even as possible so the bars bake uniformly.
Do I Need to Pre-Bake the Crust?
No.
That’s another reason this recipe is so easy.
Some pumpkin pie bars use a crust that needs to be partially baked before the pumpkin layer goes on.
This one doesn’t.
You can press the crust into the prepared pan, add the filling, sprinkle on the topping, and bake everything together.
There’s no extra blind-baking step.
How to Make the Creamy Pumpkin Filling
Step 7: Mix the Filling
In a large mixing bowl, combine:
- 1½ cups pumpkin pie filling
- 1 large egg
- ½ teaspoon vanilla extract
- ½ teaspoon cinnamon
Mix until smooth and completely combined.
You can use a whisk, hand mixer, or stand mixer.
Because the filling ingredients are already fairly soft, you don’t need to beat them for very long.
Stop once everything looks smooth.
Step 8: Add the Pumpkin Filling
Pour the pumpkin mixture over the prepared crust.
Use a spatula to spread it into an even layer all the way to the edges.
Take a moment to smooth the top so the pumpkin layer has an even thickness.
That helps the bars bake more consistently.
Step 9: Add the Crumb Topping
Sprinkle the reserved ¾ cup crumb mixture evenly over the pumpkin layer.
You don’t have to cover every inch.
Little areas of visible pumpkin between the crumbs make the bars look especially pretty once they’re baked.
Break up any very large chunks with your fingers as you sprinkle.
How to Get the Best Crumb Topping
Don’t press the topping into the pumpkin filling.
Just sprinkle it loosely over the top.
That allows the crumbs to bake independently and turn golden.
If you pack them down, you can lose some of that crumbly texture.
I also like to vary the size of the crumbs slightly.
A combination of smaller bits and a few larger pieces gives the top more texture.
Step 10: Bake
Place the baking dish in the preheated oven.
Bake for 28–32 minutes, or until the crumb topping is golden brown and the pumpkin layer appears set.
The center shouldn’t look wet or liquid.
The filling will continue firming as the bars cool.
How Do You Know When Pumpkin Pie Bars Are Done?
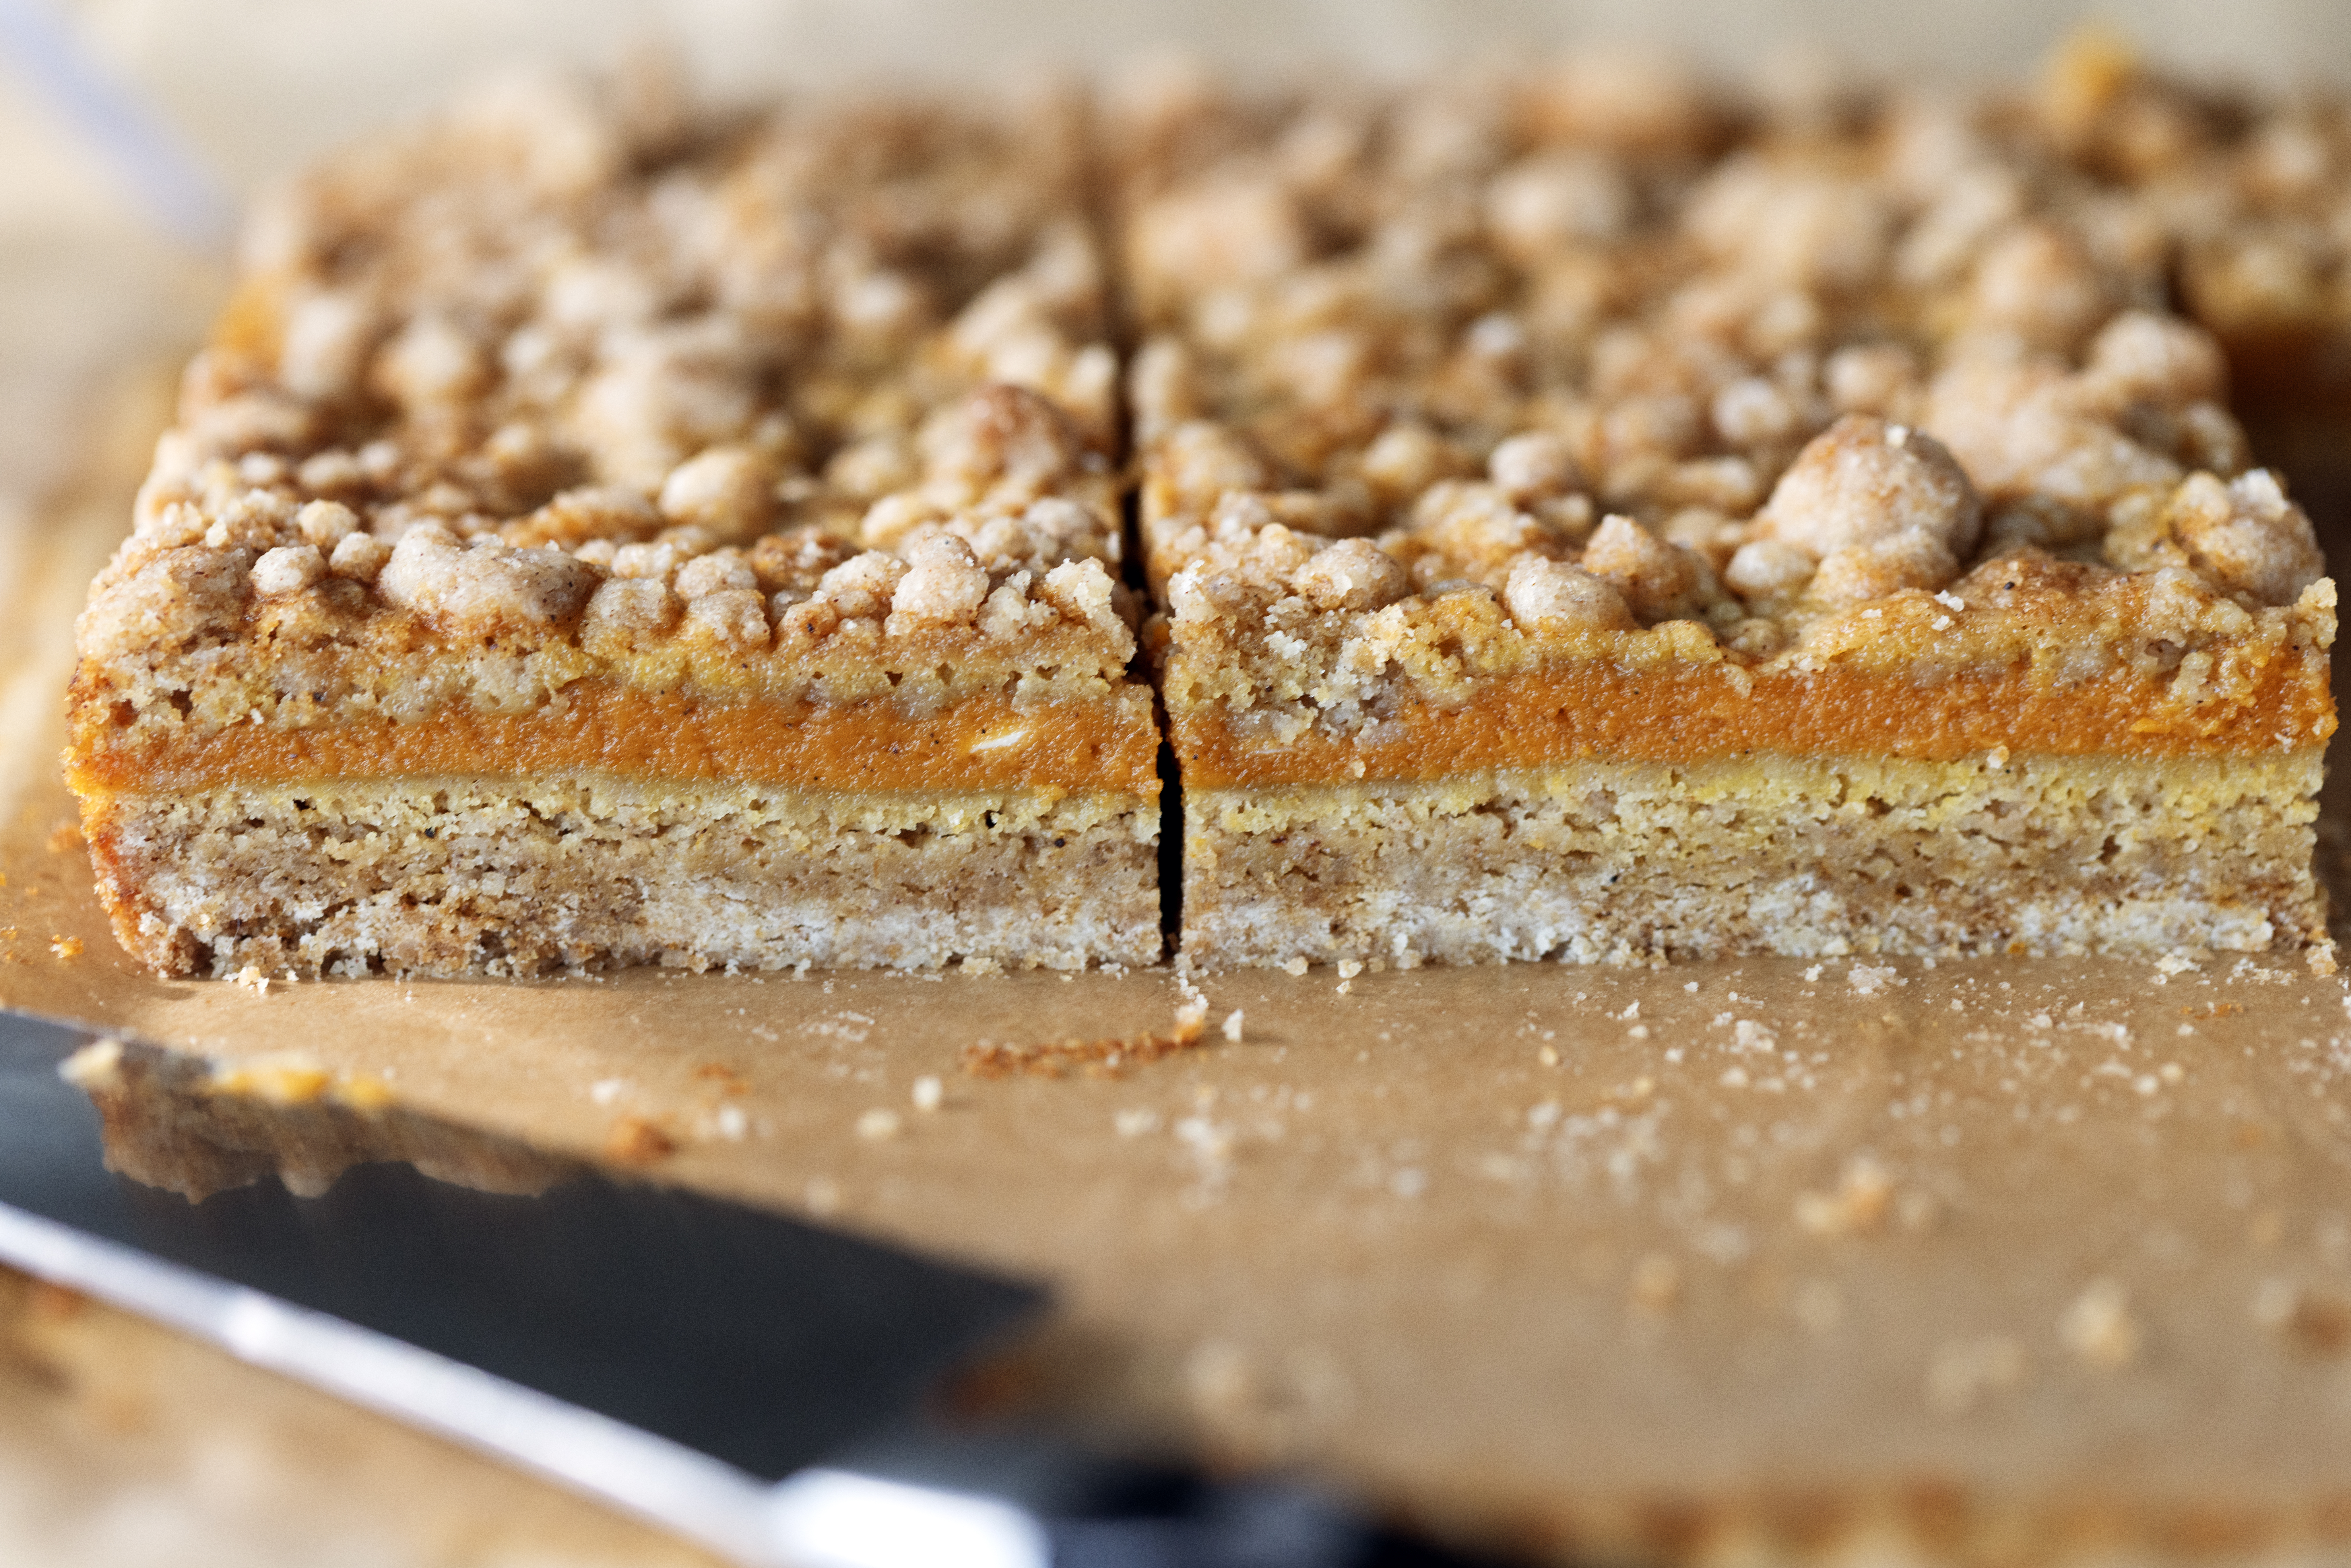
Look at both the topping and the filling.
The crumb topping should be lightly golden brown.
The creamy pumpkin filling should look set around the edges and through the center.
A slight softness in the middle is fine, but it shouldn’t jiggle like liquid.
Avoid overbaking.
The bars continue setting as they cool.
Let the Bars Cool Completely
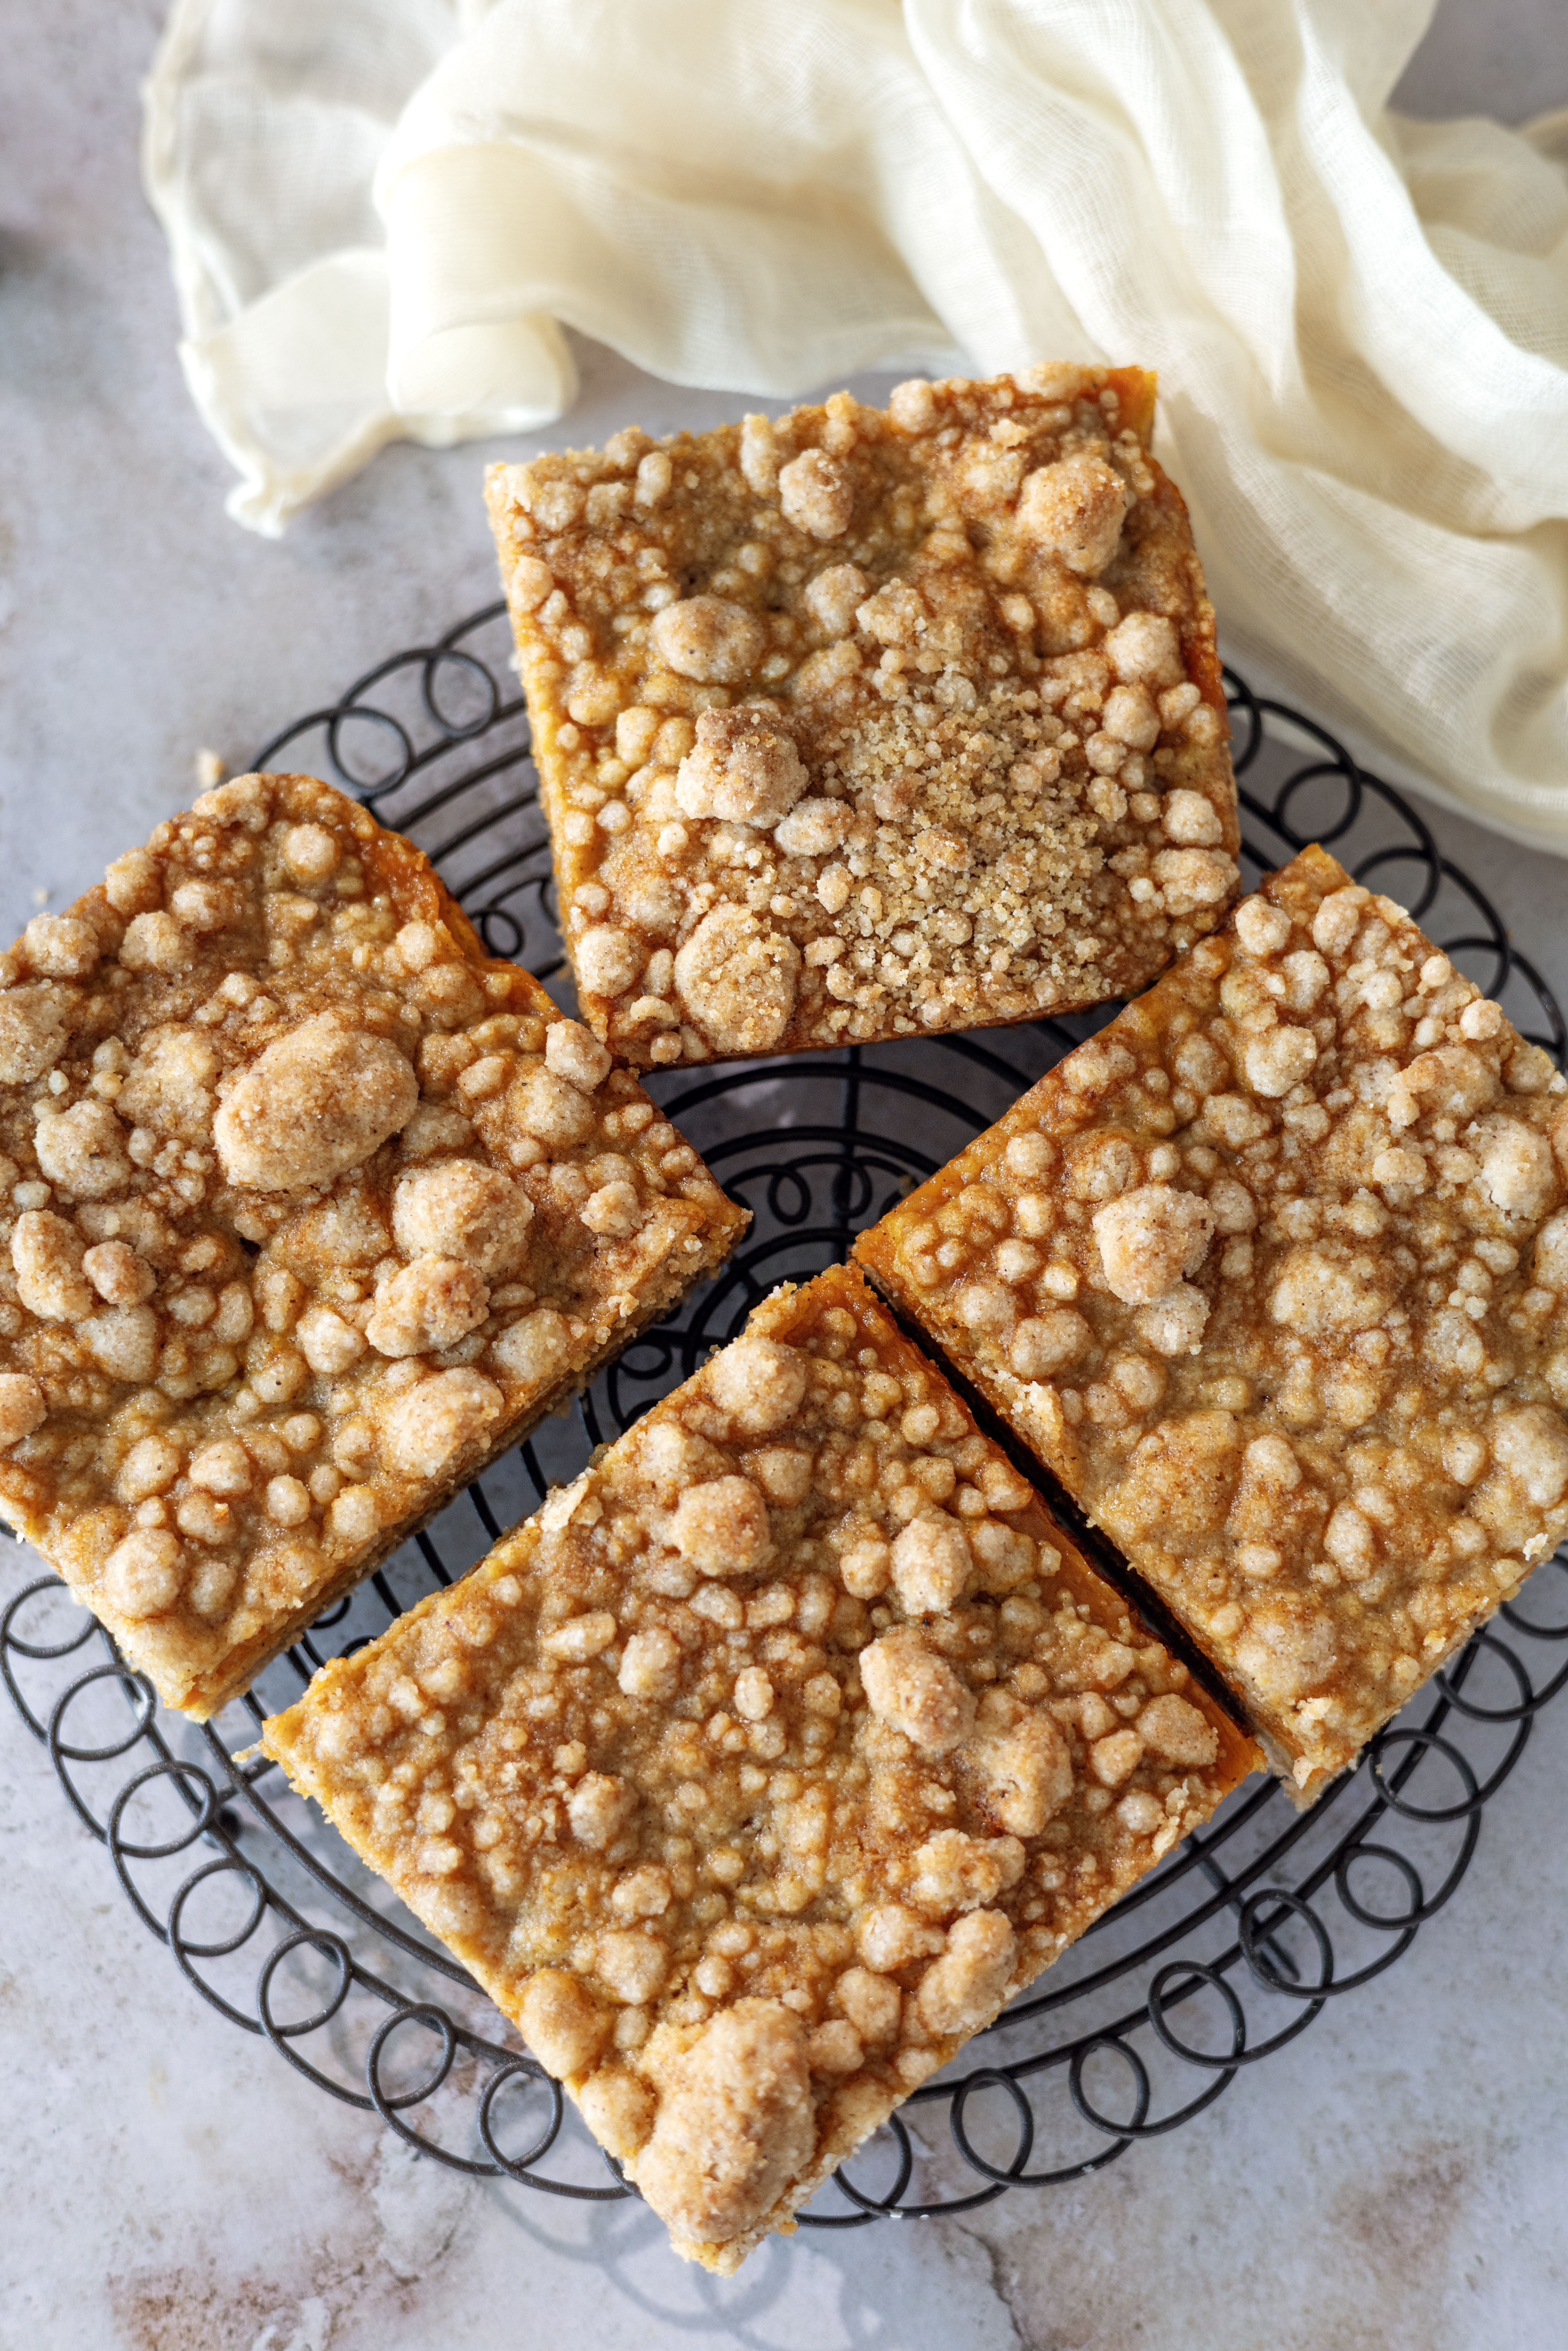
This part matters.
Once the baking pan comes out of the oven, set it on a wire rack and let the bars cool completely.
Trying to cut them while they’re hot will give you soft, messy pieces.
The pumpkin filling needs time to firm up.
For the cleanest squares, let them reach room temperature before slicing.
You can also chill them briefly before cutting if you want very sharp edges.
How to Cut Pumpkin Pie Bars Cleanly
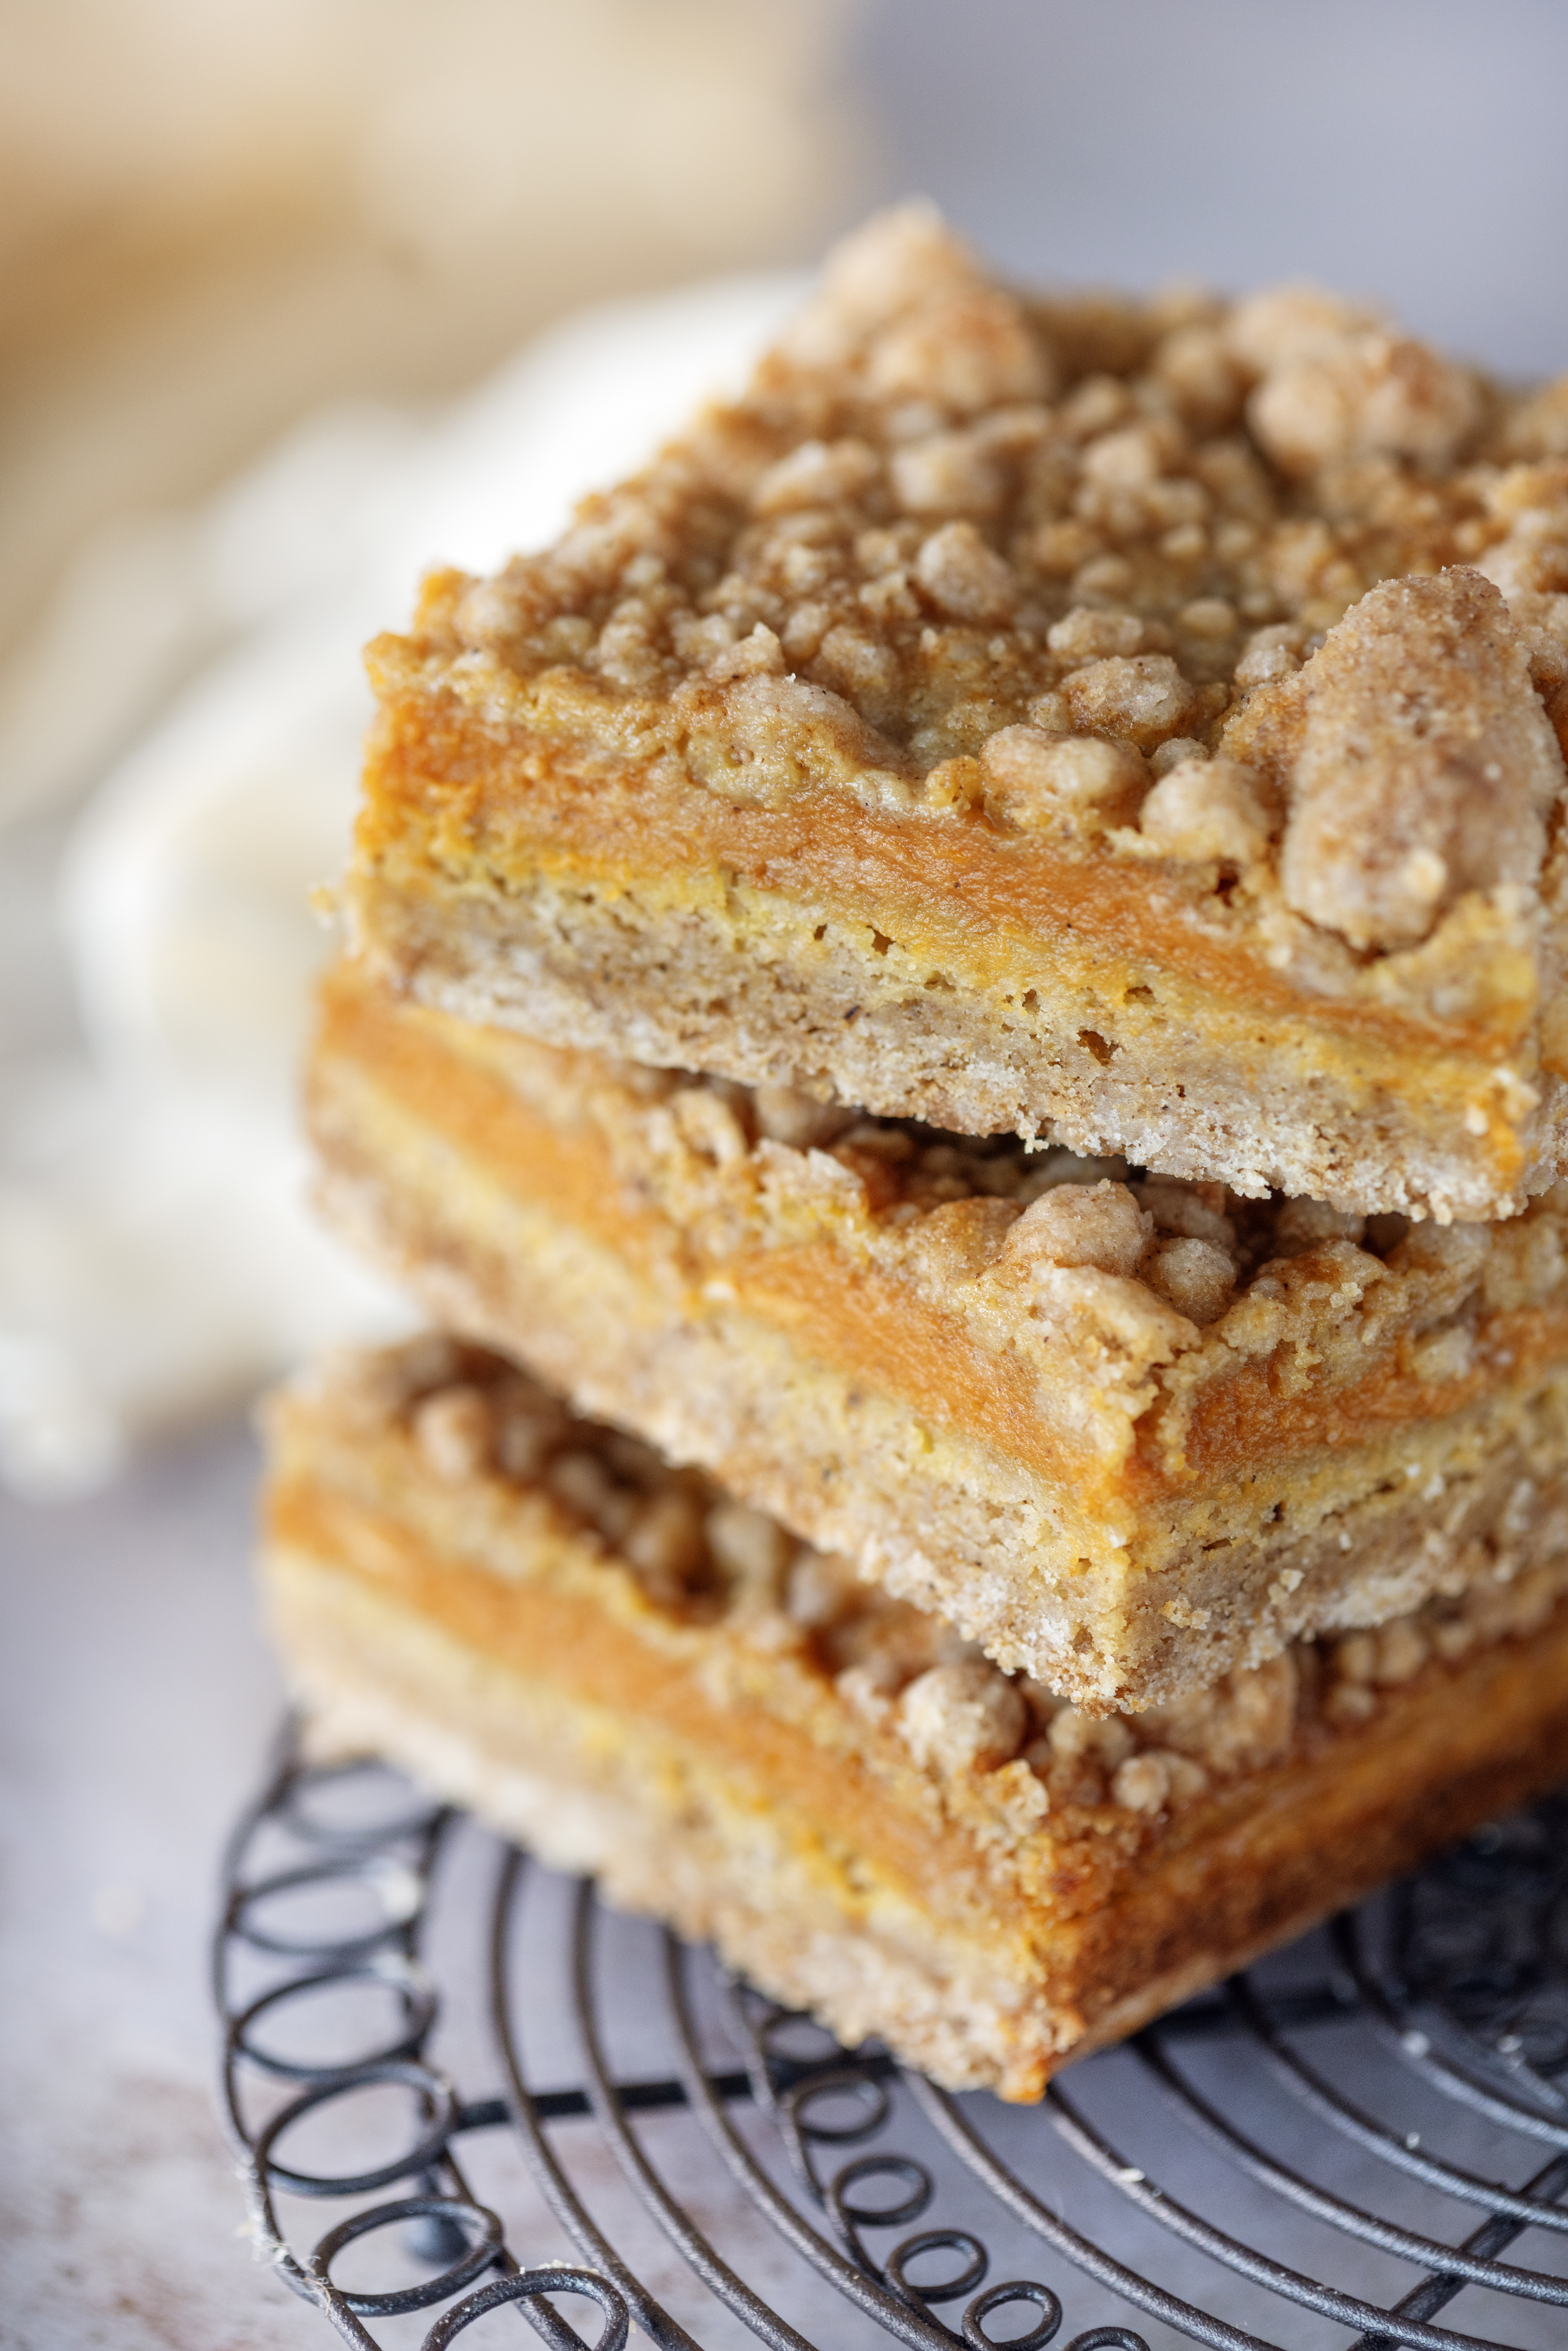
Once completely cool, use the parchment paper to carefully lift the whole dessert out of the pan.
Place it on a cutting board.
Use a sharp knife to cut it into squares.
For especially clean cuts:
- Make one cut.
- Wipe the knife clean.
- Cut again.
Repeat as needed.
Pumpkin filling can stick to the knife, so cleaning it between cuts prevents smearing.
Why Use Melted Butter?
Melted butter is one of the things that keeps this recipe especially simple.
Traditional pie dough usually requires cold butter, a pastry cutter or food processor, and careful handling to create flaky layers.
We don’t need that here.
Melted butter mixes quickly into the flour and brown sugar to form a crumbly dough.
It creates a tender, buttery base and saves you a lot of work.
Is This Really a Buttery Shortbread Crust?
It has a similar buttery, crumbly quality, although it isn’t exactly the same as traditional shortbread.
Classic shortbread usually relies primarily on flour, butter, and sugar.
This crust also contains baking soda, baking powder, cinnamon, and cloves.
That gives it a slightly softer, more fall-spiced texture while still delivering that buttery shortbread-crust feel underneath the creamy pumpkin filling.
Why Use Brown Sugar?
Light brown sugar gives the crust more flavor than white sugar alone.
That little bit of molasses adds caramel notes that pair perfectly with pumpkin, cinnamon, cloves, and butter.
It also contributes to the crust’s soft, slightly chewy texture.
Can I Use Dark Brown Sugar?
Yes.
Dark brown sugar contains more molasses, so the flavor will be deeper.
If you like a stronger caramel note, it’s a good substitution.
The finished bars may also be slightly darker.
Can I Use Pumpkin Puree Instead?
Not as a direct one-for-one replacement.
This recipe calls for pumpkin pie filling, which already contains sweetness and spice.
If you use plain pumpkin puree, you’d need to compensate with additional sugar and pumpkin pie spice or individual spices.
Without those adjustments, your pumpkin layer would taste bland compared with the intended recipe.
For the easiest result, stick with pumpkin pie mix.
Can I Add Pumpkin Pie Spice?
You can add a little bit if you want an even stronger pumpkin spice flavor.
But remember that pumpkin pie filling already contains spices.
This recipe also includes cinnamon and cloves in the crust plus extra cinnamon in the filling.
Taste and brand differences matter here.
I wouldn’t add a large amount of pumpkin pie spice unless you’ve tested it first.
What If I Only Have Unsalted Butter?
Unsalted butter is actually ideal here because you control the amount of salt yourself.
The ¼ teaspoon of salt in the crust balances the sweetness.
If you’re using salted butter instead, you could reduce or omit the additional salt depending on how salty your butter is.
Can I Make These With a Graham Cracker Crust?
Not without changing the recipe.
A graham cracker crust would give you a delicious pumpkin dessert, but it would no longer be the same pumpkin pie bars recipe.
The crumbly brown sugar crust here is part of what makes these bars special.
If you want a graham cracker crust, you’d need a different ratio of graham cracker crumbs, butter, and sugar.
Can I Use Almond Flour?
I wouldn’t make a straight one-for-one swap.
Almond flour behaves very differently from all-purpose flour because it contains more fat and no gluten.
The crust may become overly soft or greasy.
If you need a gluten-free version, use a tested gluten-free all-purpose baking blend rather than making an untested almond flour substitution.
Can I Make These in a Larger Pan?
This recipe is designed for an 8-inch square baking pan.
A larger baking dish would make the crust and pumpkin layers much thinner.
If you want to use a 9×13-inch or 13-inch pan, I would recommend scaling the entire recipe rather than simply spreading one batch across the larger surface.
The bake time would also need adjustment.
Can I Double the Recipe?
Yes.
Doubling makes sense when you’re baking for a larger Thanksgiving gathering or fall party.
Use a larger baking pan and watch the bars carefully because changing the pan size can change the bake time.
You’ll know they’re done when the pumpkin filling has set and the topping is golden brown.
Can I Add Cream Cheese?
Cream cheese and pumpkin are delicious together, but adding it to this recipe would significantly change the creamy pumpkin filling.
If you want pumpkin cheesecake bars, I would use a recipe specifically developed with a cream cheese layer rather than simply adding cream cheese here.
What About Whipped Cream?
Whipped cream is perfect with these bars.
Add a little dollop immediately before serving.
It gives you that same classic pumpkin pie experience without turning these into full pies.
You could also sprinkle a tiny amount of cinnamon or pumpkin pie spice over the whipped cream.
How to Serve Easy Pumpkin Pie Bars
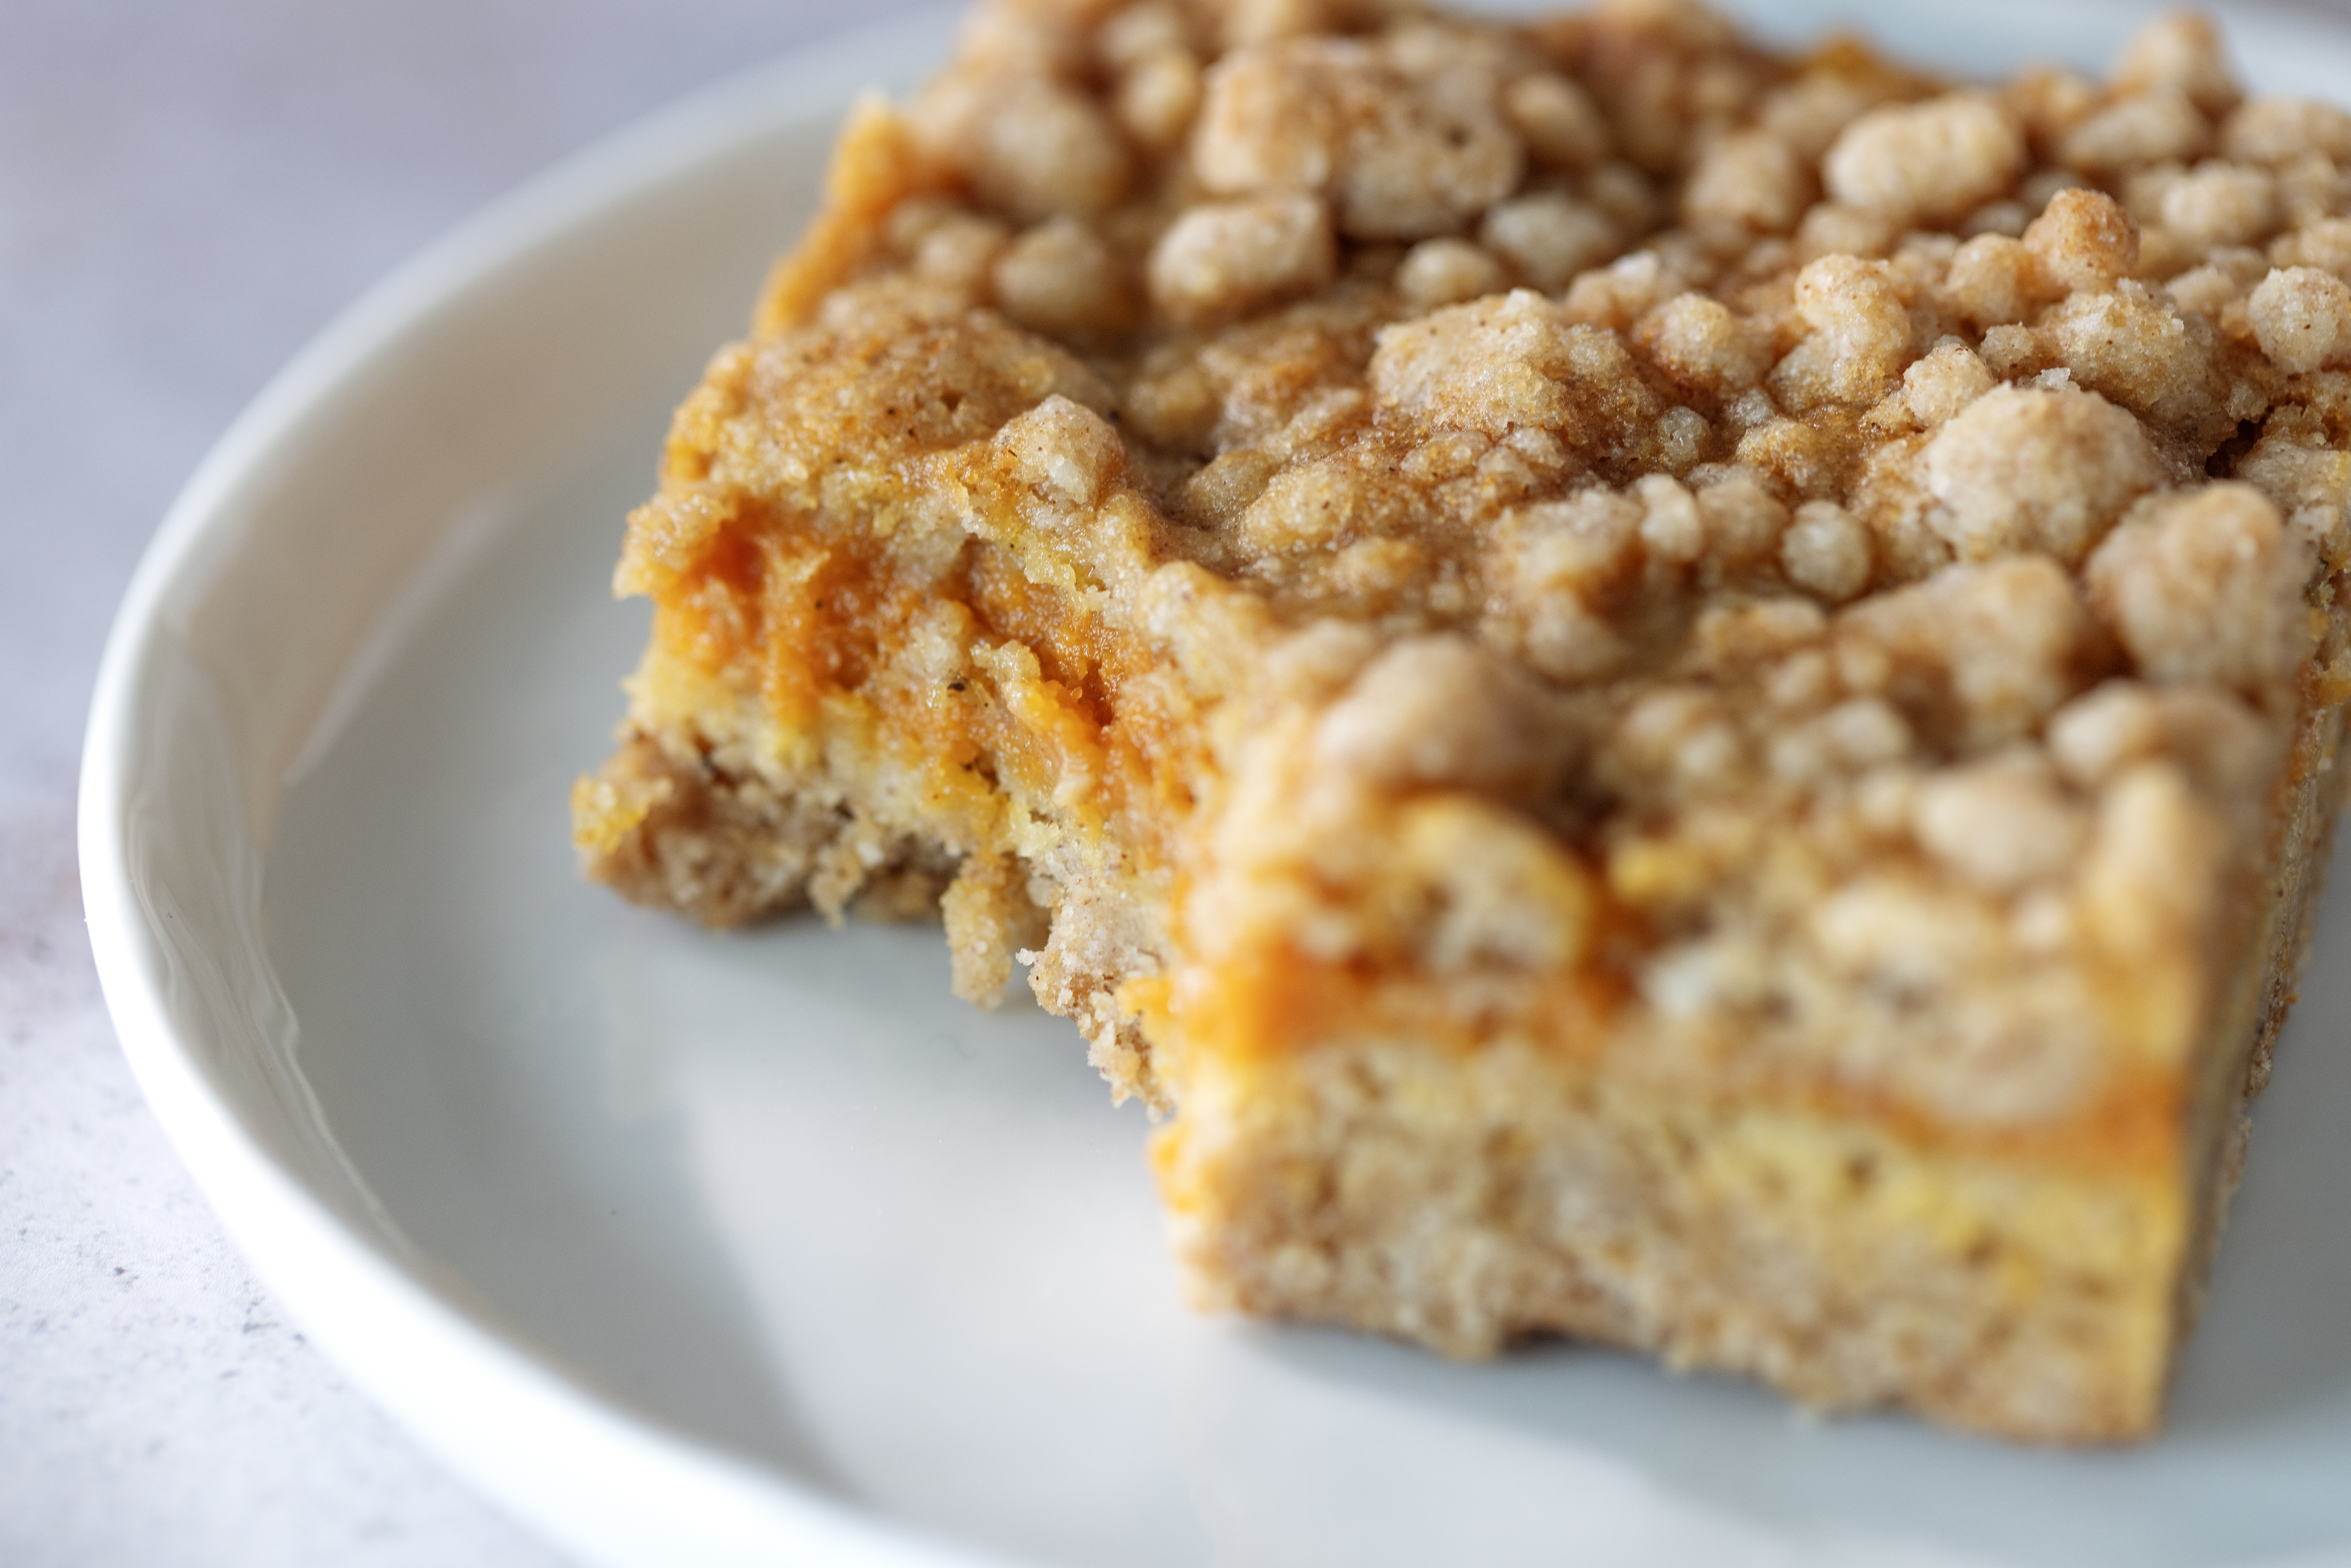
These bars are delicious at room temperature or chilled.
Try serving them with:
- Whipped cream
- Vanilla ice cream
- Cinnamon whipped cream
- Caramel sauce
- Chopped pecans
- A dusting of cinnamon
You don’t need much.
The buttery crust, creamy pumpkin filling, and crumb topping already give you plenty of flavor and texture.
The Perfect Fall Dessert for Parties
One reason I love dessert bars is how easy they are to serve.
Traditional pies are beautiful, but someone has to stand there slicing individual pieces.
Pumpkin pie bars can be cut ahead of time, arranged on a platter, and served as individual portions.
That makes them especially good for:
- Thanksgiving
- Friendsgiving
- Fall potlucks
- Halloween parties
- School events
- Football gatherings
- Holiday dessert tables
People can simply grab a square and go.
Pumpkin Pie Bars for Thanksgiving
If your family loves pumpkin pie but you already have several traditional pies planned, these bars are a fun alternative.
They still give you all the familiar pumpkin flavor, but the brown sugar crumb crust makes them feel different enough to earn their own place on the table.
They’re also easier to cut into smaller servings, which is helpful when everyone wants to try multiple desserts.
A Great Make-Ahead Pumpkin Dessert
These easy pumpkin pie bars are perfect for making ahead.
Bake them the day before you need them.
Once completely cool, cover the baking dish with plastic wrap or transfer the bars to an airtight container.
Refrigerate overnight.
They’ll be fully set and ready to cut the next day.
In fact, if you want especially clean squares, making them the day before can work in your favor.
How to Store Pumpkin Pie Bars
Because the filling contains egg and pumpkin pie filling, store leftover bars in the refrigerator.
Place them in an airtight container or cover the baking pan tightly with plastic wrap.
They should keep well for about 3–4 days.
If you’re stacking the bars, place parchment paper between the layers.
Can You Freeze Pumpkin Pie Bars?
Yes.
Allow the bars to cool completely before freezing.
Cut them into individual squares.
Wrap each square tightly and place them into a freezer bag or freezer-safe airtight container.
Freeze for up to about 2 months for the best quality.
Thaw overnight in the refrigerator.
The crumb topping may soften slightly after freezing, but the flavor should still be delicious.
Can I Leave Pumpkin Pie Bars at Room Temperature?
They’re fine at room temperature while you’re serving them, but they shouldn’t sit out all day.
Because the pumpkin filling contains egg, refrigerate leftovers within about two hours.
Why Is My Pumpkin Filling Still Soft?
There are a few possibilities.
It Needs More Cooling Time
The filling continues firming as it cools.
Warm pumpkin bars will always be softer.
The Bars Were Underbaked
The center should look set before the pan comes out of the oven.
You Used Pumpkin Puree Instead of Pie Filling
Changing the filling ingredients can affect the texture.
The Pan Size Was Different
A smaller or deeper baking pan may need more time.
Why Is My Crust Crumbly?
Some crumbliness is expected, especially in the topping.
But the bottom crust should hold together after cooling.
If it’s excessively dry, the flour may have been overmeasured or the butter may not have been fully mixed through.
Why Is My Crust Greasy?
The butter may have been too hot when it was added.
Allow melted butter to cool before mixing.
Also make sure your flour is measured accurately.
Too little flour can leave too much butter for the dry ingredients to absorb.
Can I Use a Stand Mixer?
Yes, but you don’t need one.
The crust mixture can easily be combined in a medium bowl with a spoon.
For the pumpkin filling, a whisk or hand mixer works perfectly.
If you use a stand mixer, use the paddle attachment on low speed.
You don’t need to whip air into the filling.
Can I Use a Food Processor?
You don’t need a food processor either.
One of the best parts of this recipe is how little equipment it requires.
Because we’re working with melted butter rather than cutting cold butter into flour, everything comes together easily by hand.
Easy Pumpkin Pie Bars vs. Easy Pumpkin Bars
These aren’t quite the same thing as a traditional pumpkin bar.
Many easy pumpkin bars are more cake-like, almost like pumpkin cake cut into squares and often topped with cream cheese frosting.
These pumpkin pie bars are much closer to pumpkin pie.
They have a distinct crust, creamy pumpkin filling, and crumb topping.
So if you’re craving the texture and flavor of a simple pumpkin pie rather than pumpkin cake, this is the one.
More Pumpkin Desserts From Krystel’s Cooking
If you love pumpkin desserts, my The Best Pumpkin Bars are another great fall recipe. They give you a different pumpkin-bar experience and are a natural next recipe if you want to compare the two styles. Your dessert archive currently features both recipes.
For a bakery-style pumpkin breakfast, try my Best Pumpkin Streusel Muffins. They have a spiced pumpkin batter and buttery streusel topping, so they’re especially good if the crumb topping is your favorite part of these bars.
My Pumpkin Streusel Crumble Cookies with Maple Glaze are another cozy fall option with pumpkin, warm spices, crumble, and sweet maple glaze.
And if you’re craving pumpkin with a creamy cheesecake element, try my Easy Pumpkin Cheesecake Cookies or Pumpkin Cheesecake Swirl Muffins. Both are also currently part of the pumpkin-dessert collection on Krystel’s Cooking.
Frequently Asked Questions
What are pumpkin pie bars?
Pumpkin pie bars have pumpkin pie-style filling baked over a crust and cut into squares rather than wedges.
Do these use pumpkin puree?
No. This recipe uses pumpkin pie filling or pumpkin pie mix.
Is pumpkin pie filling the same as canned pumpkin?
No. Pumpkin pie filling already contains sugar and spices, while plain pumpkin puree generally does not.
Do I need to blind bake the crust?
No. The crust, filling, and topping all bake together.
Do I need pie weights?
No.
Do I need a food processor?
No. You can make the crust and topping in a mixing bowl.
What size pan should I use?
Use an 8-inch square baking pan.
Can I use a 9-inch pan?
You can, but the layers will be slightly thinner and the bars may bake faster.
How do I know when they’re done?
The topping should be golden brown and the pumpkin filling should look set.
Why do they need to cool completely?
Cooling allows the creamy pumpkin filling to firm up enough for clean slices.
Can I make them the day before?
Yes. They’re a great make-ahead dessert.
Do pumpkin pie bars need to be refrigerated?
Yes. Store leftovers in the refrigerator.
How long do they keep?
About 3–4 days refrigerated in an airtight container.
Can I freeze pumpkin pie bars?
Yes. Freeze individual wrapped squares for up to about 2 months.
Can I serve them with whipped cream?
Absolutely. Whipped cream is one of the best toppings for these bars.
Can I substitute pumpkin puree for pumpkin pie filling?
Not without adjusting the sugar and spices, so I don’t recommend a direct substitution.
Can I add pumpkin pie spice?
You can add a little, but remember that pumpkin pie mix is already seasoned and this recipe also contains cinnamon and cloves.
Final Thoughts
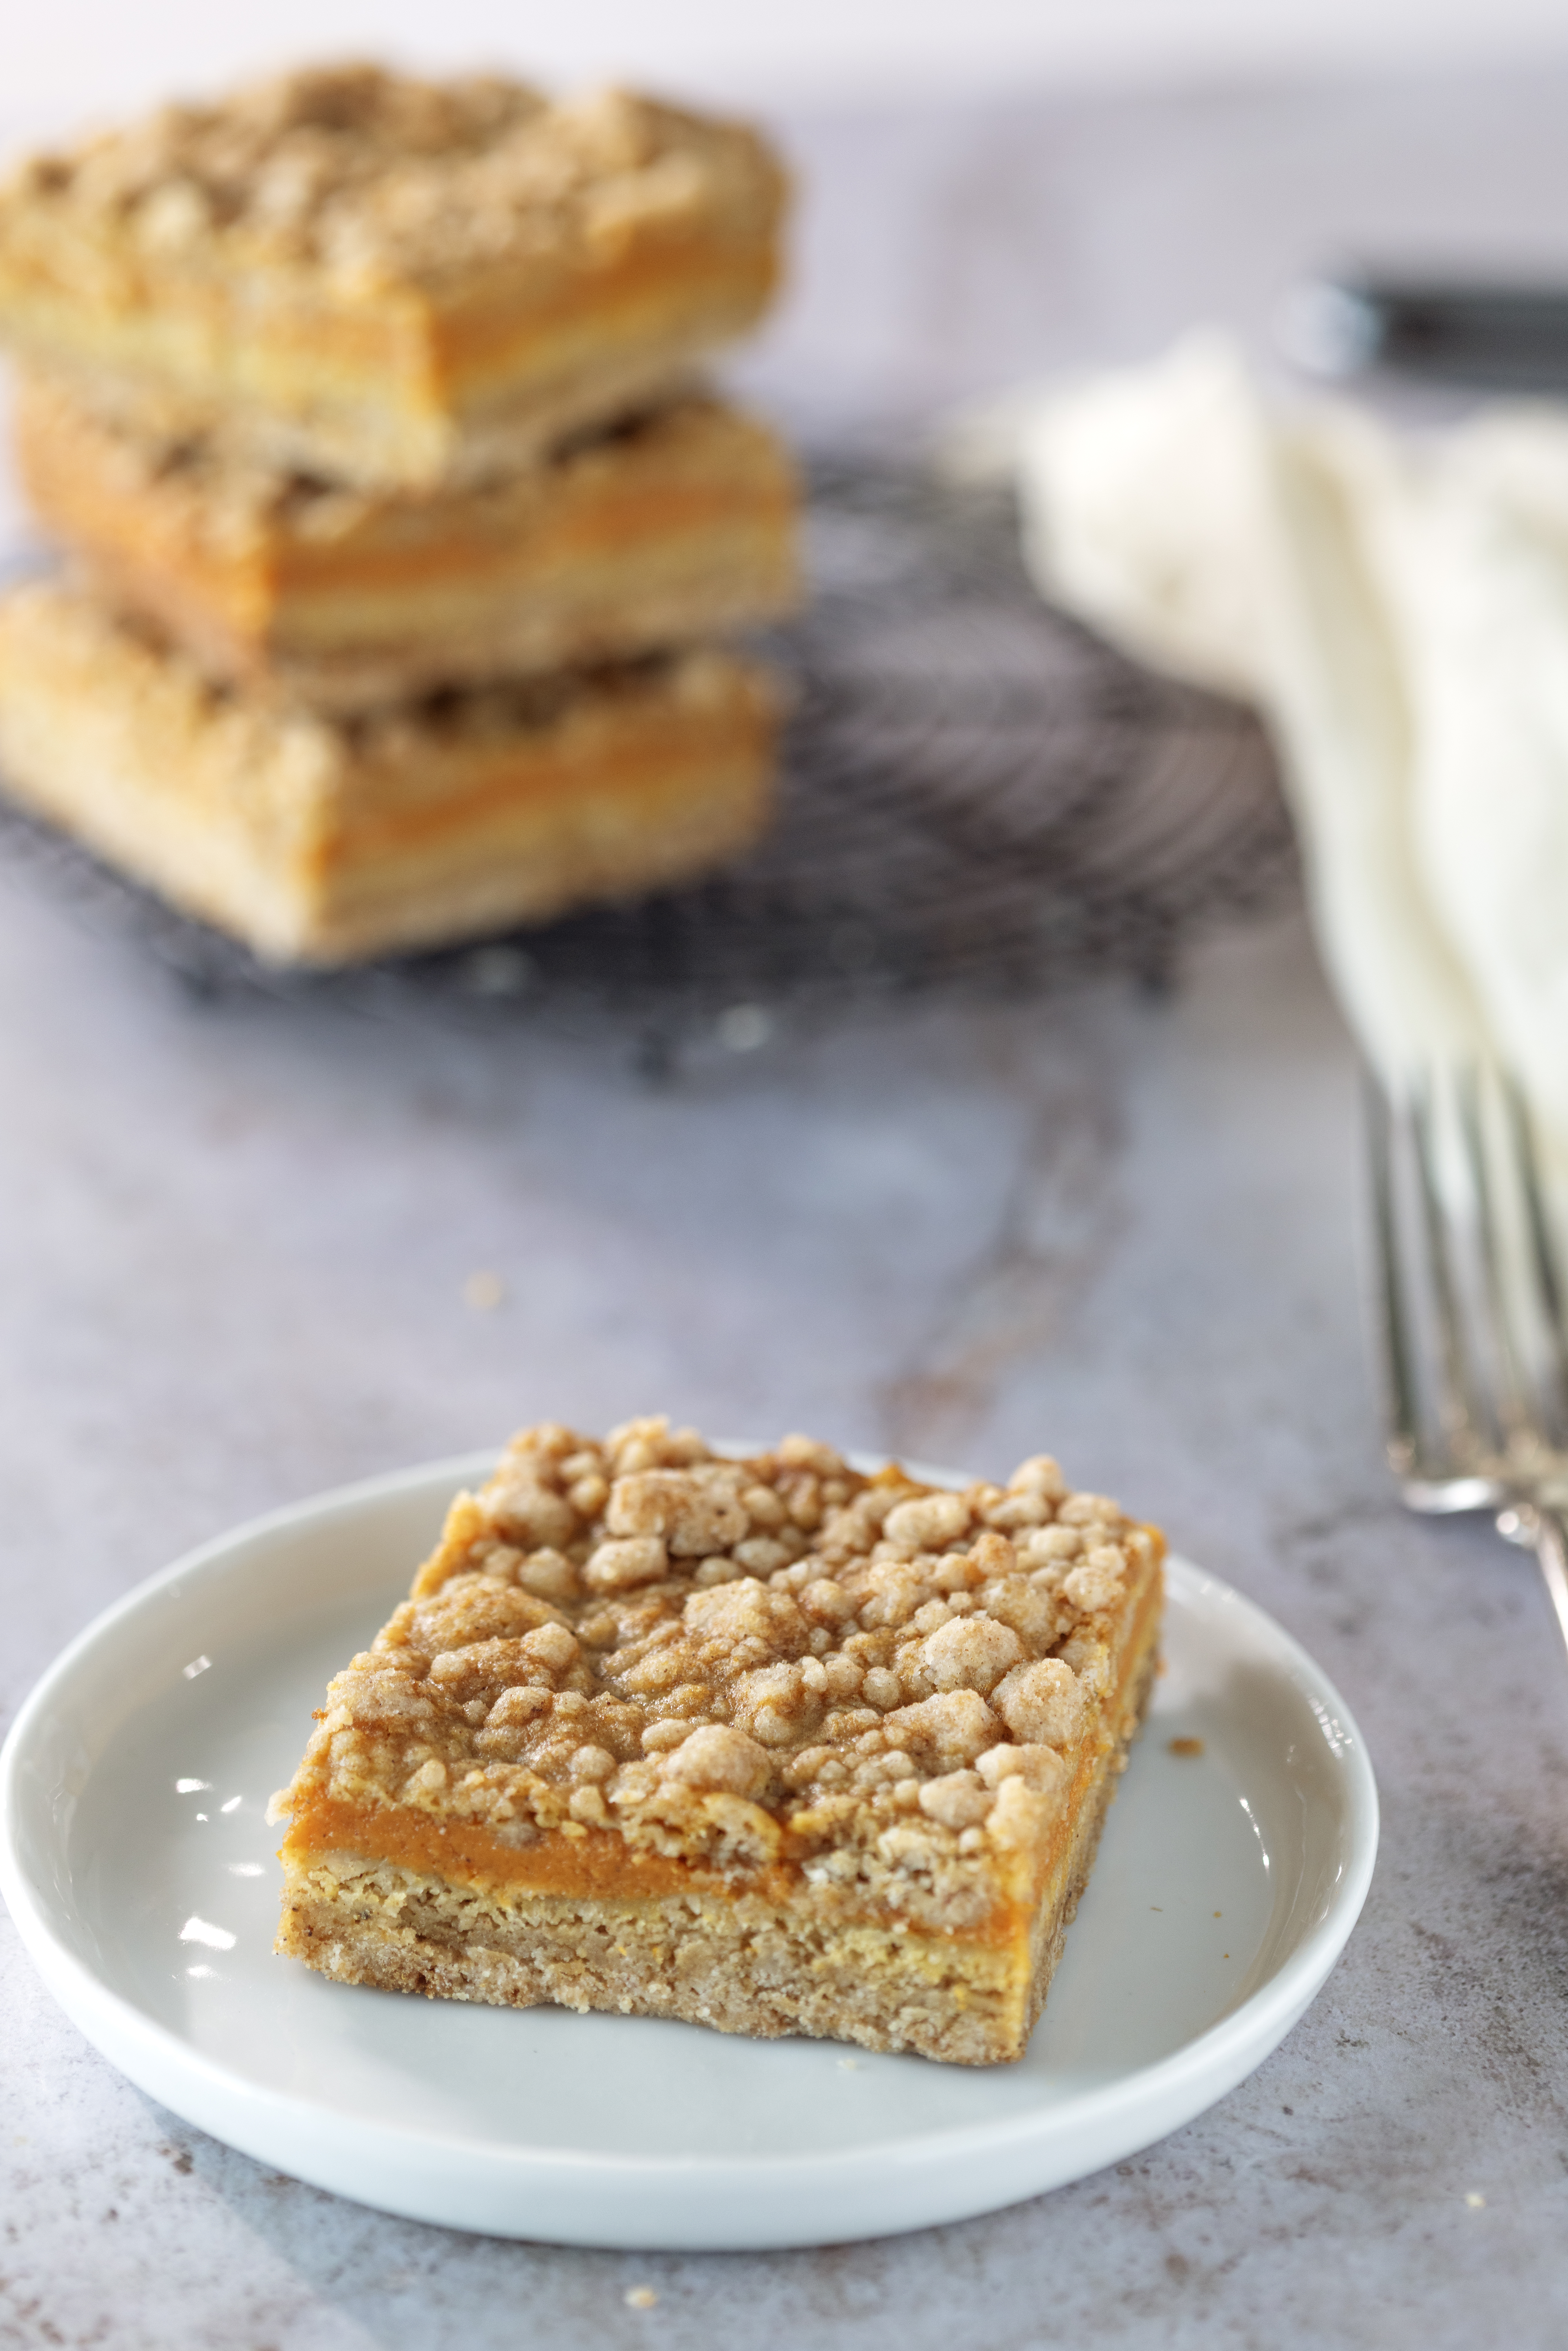
These Easy Pumpkin Pie Bars are one of my favorite ways to get that classic pumpkin pie feeling without actually making a traditional pie.
You still get the creamy pumpkin filling and warm spices, but instead of dealing with homemade pie dough or a traditional pie crust, everything gets layered over an easy buttery brown sugar base.
And that crumb topping might just be the best part.
It becomes lightly golden in the oven and gives every bite a little texture against the creamy pumpkin layer underneath.
They’re easy enough for a regular fall baking day but festive enough for Thanksgiving or another holiday gathering.
Bake them, let them cool completely, add a little whipped cream if you want, and you have a delicious fall dessert that’s much easier to share than a full pumpkin pie.
Easy Pumpkin Pie Bars
Ingredients
- Crust and Topping:
- 1 ½ cup all-purpose flour
- ½ cup butter melted
- ½ cup light brown sugar
- 1/2 teaspoon ground cinnamon
- ½ teaspoon baking powder
- ½ teaspoon baking soda
- ¼ teaspoon ground cloves
- For the Filling:
- 1 ½ cups pumpkin pie filling
- 1 large egg
- ½ teaspoon vanilla extract
- 1/2 teaspoon ground cinnamon
Instructions
- Grease the bottom and sides of an 8-inch square pan and line it with parchment paper. Set aside. Preheat your oven to 375°F. Melt ½ cup of unsalted butter in the microwave or on the stove, and let it cool to room temperature.
- In a medium mixing bowl, combine 1 ½ cups of all-purpose flour, ½ cup of light brown sugar, ½ teaspoon each of baking soda and baking powder, 1 teaspoon of ground cinnamon, ¼ teaspoon of ground cloves, and ¼ teaspoon of salt. Add the melted butter and mix until a crumbly dough forms.
- Reserve about ¾ cup of the mixture for the topping. Press the remaining dough into the prepared pan and set aside.
- In a large mixing bowl or the bowl of a stand mixer, combine 1 ½ cups of pumpkin pie mix, 1 large egg, and ½ teaspoon of pure vanilla extract until well mixed. Pour this mixture over the crust. Sprinkle the reserved crumbly mixture over the top.
- Bake for 28 to 32 minutes, or until the topping is golden brown. Let it cool completely in the pan before cutting into squares.
