Peanut Butter Chocolate Chip Biscoff Cookies
Unleashing Flavor: Peanut Butter Chocolate Chip Biscoff Cookies

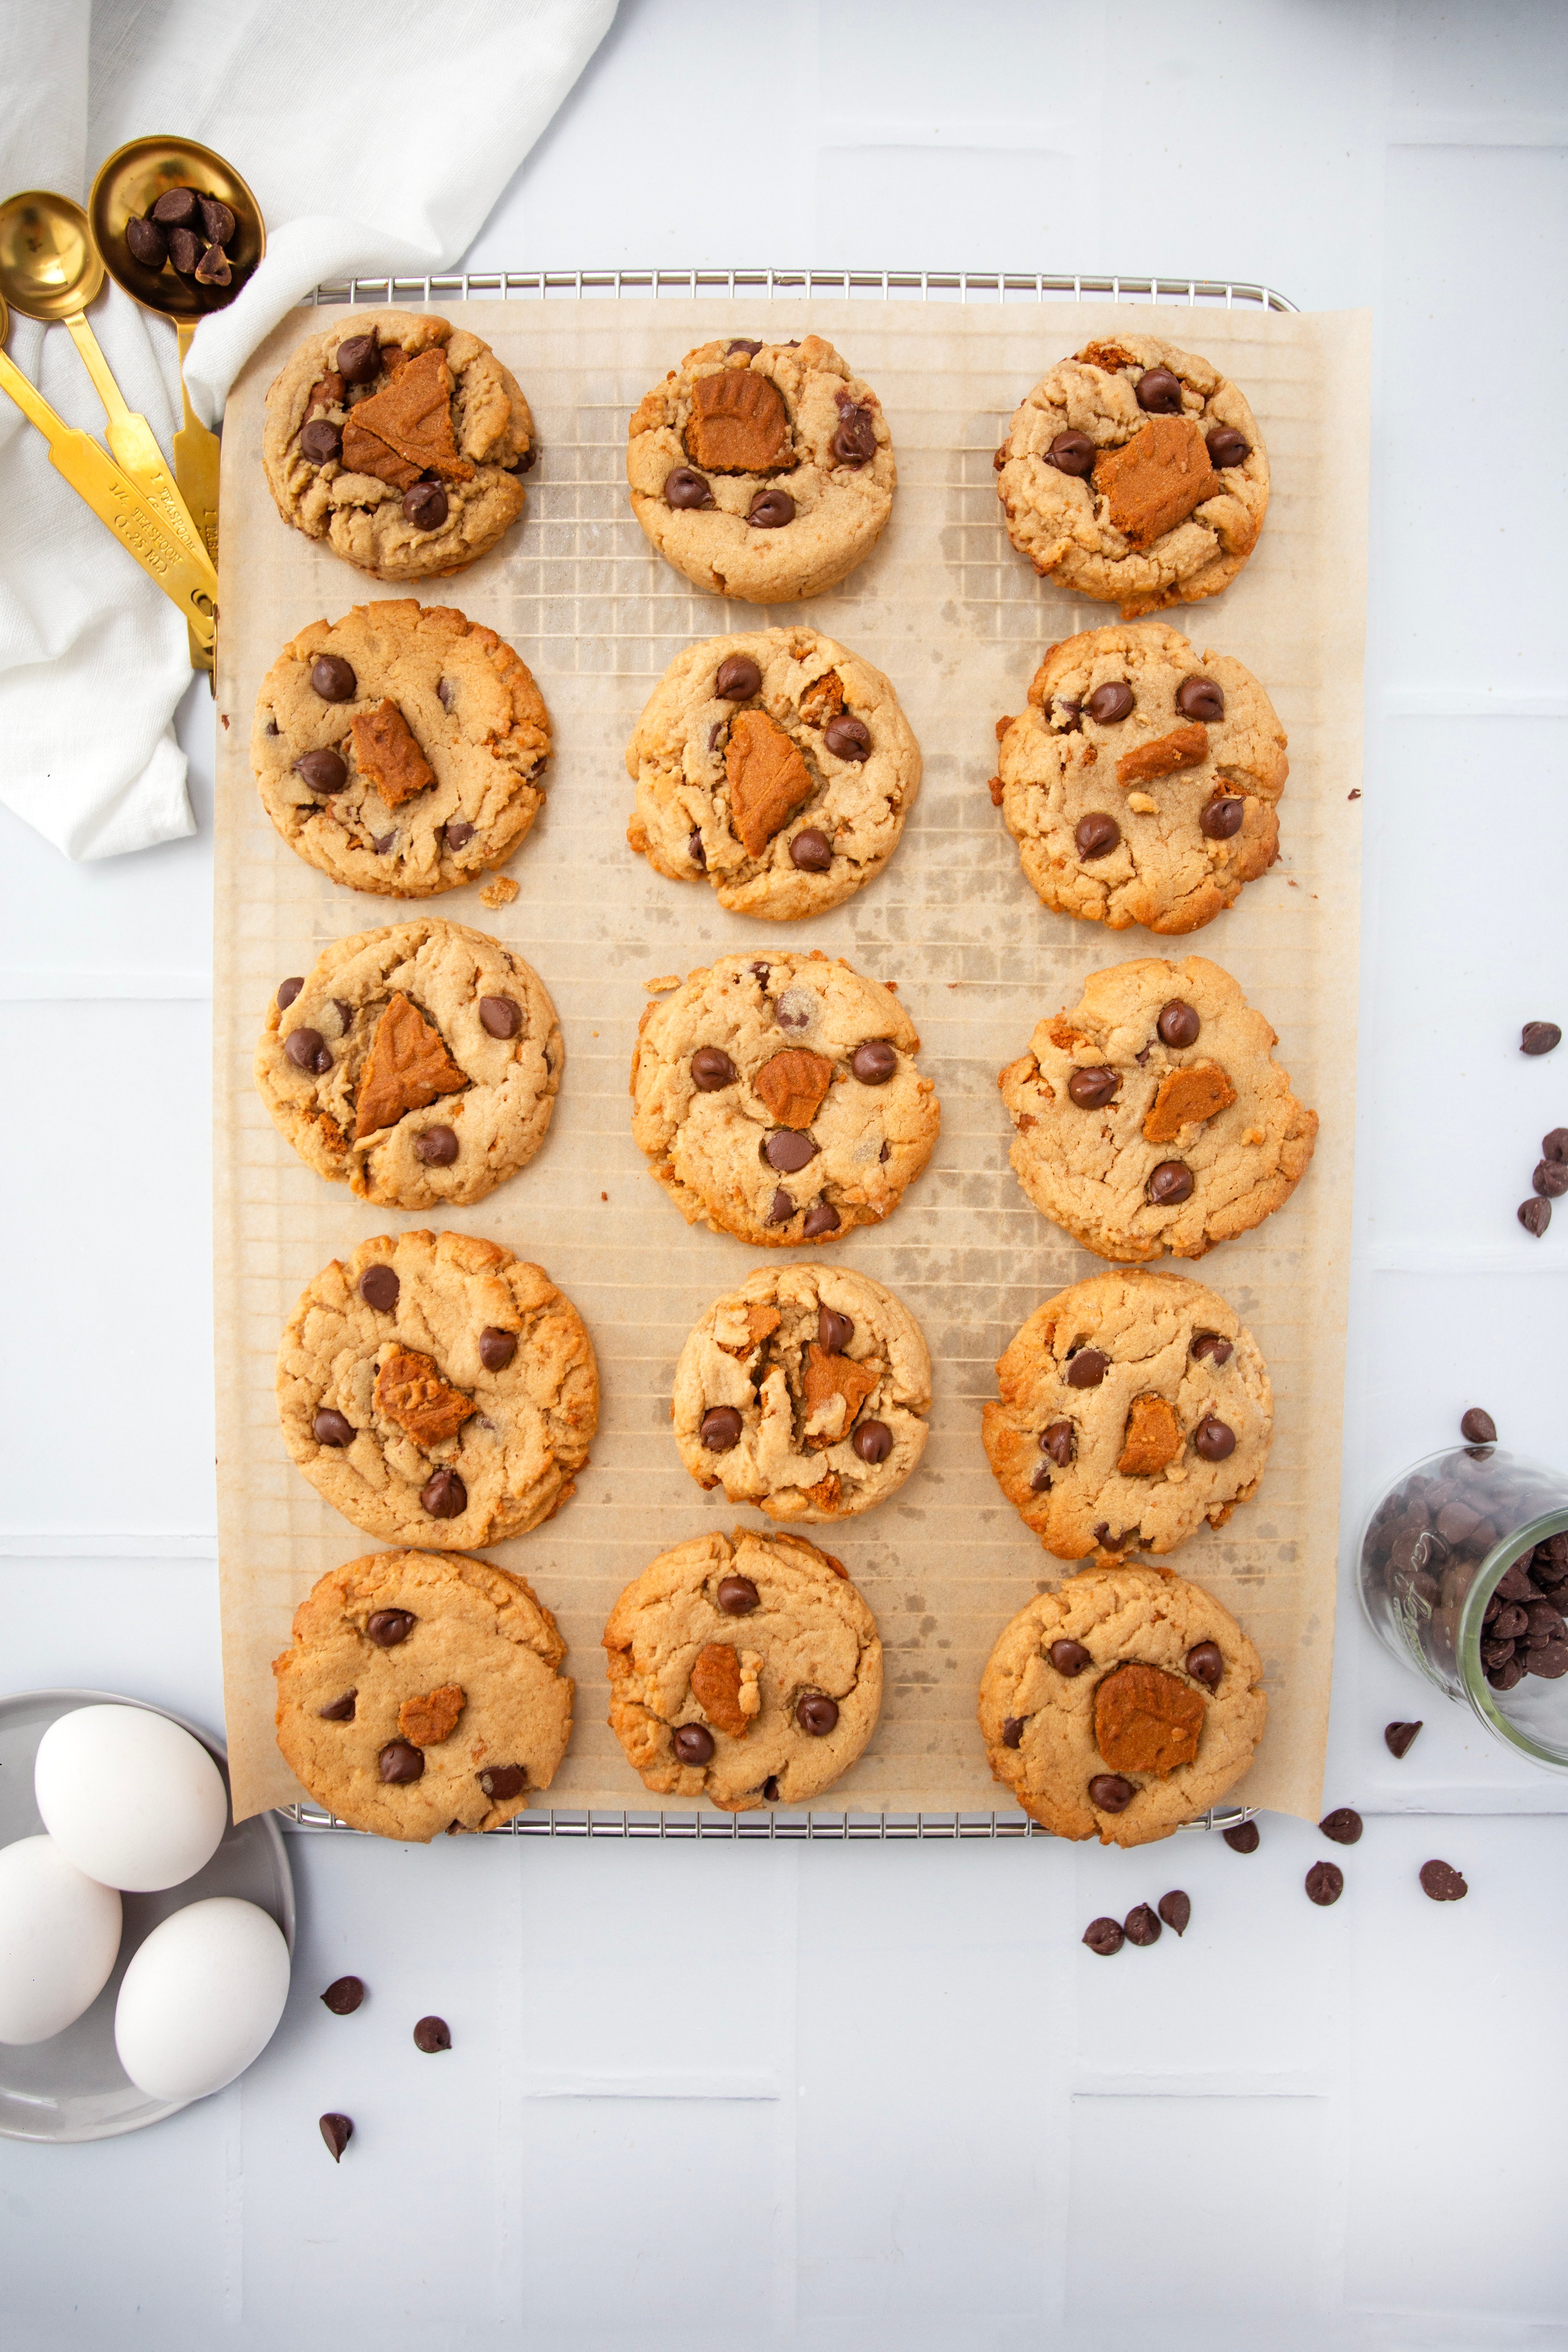
Hey there! I’m diving into a whirlwind of flavors today with my latest obsession: Peanut Butter Chocolate Chip Biscoff Cookies. Imagine the creamy richness of peanut butter, the bold taste of milk chocolate, and that unmistakable hint of warm spices from Biscoff—all wrapped up in one chewy, golden-brown cookie. It’s not just a cookie; it’s a harmonious blend of textures and tastes that dance together in every bite. The peanut butter provides a soft, velvety base, the chocolate chips melt into rich, gooey puddles, and those Biscoff pieces? They add a crunch that’s utterly irresistible, not to mention that unique, sweetly spiced flavor that makes these cookies stand a mile above the classic chocolate chip or even the best peanut butter cookies out there.
Key Takeaways:
- Peanut butter brings creaminess and depth.
- Chocolate chips add rich, melty decadence.
- Biscoff cookies introduce a crunchy texture and warm spices.
Gathering Your Ingredients
Oh, the joy of gathering ingredients for a batch of Peanut Butter Chocolate Chip Biscoff Cookies! It’s like prepping for a grand adventure in the kitchen. Every ingredient plays a pivotal role in creating that perfect bite. When you’re setting out on this delicious journey, make sure to have:
- Creamy peanut butter, because the smooth texture blends seamlessly, offering that unmistakable nutty base.
- Semisweet chocolate chips bring a rich chocolatey depth without overwhelming sweetness, striking the perfect balance.
- Biscoff cookies, the star ingredient, introduce a unique caramelized flavor and a delightful crunch.
Each of these key ingredients, not forgetting the staples like flour, sugar, and eggs, is integral. Choose them with care, opting for quality that will shine through in the finished cookies. Remember, the magic is in the mix, transforming everyday pantry items into the best cookies you’ll have this week. It’s not just about following a recipe card—it’s about bringing together these wonderful flavors in a dance of baking perfection.
Prepping Your Kitchen
Before we dive into the enchanting world of Peanut Butter Chocolate Chip Biscoff Cookies, let’s chat about setting the stage in our kitchen. Just like in any grand performance, the preparation behind the scenes is key to ensuring everything runs smoothly. First off, I always start by preheating the oven. This might seem like a no-brainer, but it’s a step that’s as crucial as the ingredients themselves. Getting that oven to the right temperature before our cookie dough makes its grand entrance ensures every cookie bakes evenly and comes out perfectly golden brown.
Next, I turn my attention to the baking sheets. Now, we all want those crispy edges and chewy centers without any sticking drama, right? That’s where lining our baking sheets with parchment paper or silicone baking mats comes into play. Not only do they guarantee our cookies will glide off the sheet like magic, but they also make cleanup a breeze, letting us focus on the joy of baking and the delicious results. So, with our oven humming warmly and our lined baking sheets ready to go, we’re all set to bring our Peanut Butter Chocolate Chip Biscoff Cookies to life!
Mixing the Dry Ingredients
I’ve learned through my baking adventures that the key to perfect cookie texture lies deep within the simplicity of measuring your dry ingredients correctly. It’s like baking is whispering secrets to us, and all we have to do is listen closely. So, when I mix the dry ingredients for these Peanut Butter Chocolate Chip Biscoff Cookies, it’s more than just whisking together flour, baking soda, and salt. It’s about creating a foundation that’s going to carry all those warm spices, rich chocolate, and that distinctive biscoff flavor all the way to the finish line.
With a kitchen scale in one hand and the purpose flour in the other, I ensure every cup and teaspoon is measured with precision, avoiding that dreaded possibility of adding too much flour. This meticulous process ensures that the cookies will have those coveted crispy edges and chewy middles. Honestly, it’s a small step that makes a world of difference. It’s about respecting the ingredients and the process, making sure that every batch of cookies comes out just right – with golden brown perfection.
Creaming the Butter and Sugars
Oh, how I adore the moment when it’s time to cream the butter, peanut butter, and sugars together. It’s like the kitchen comes alive, prepping us for the magic that’s about to unfold. You’ll need to grab your large bowl and either a handheld mixer or a stand mixer with a paddle attachment. This is where the dance begins. Toss in the softened butter, that creamy peanut butter, and both the brown sugar and white sugar.
Dial up the mixer to a medium speed and let it whisk them into a light and fluffy concoction. This isn’t just about mixing; it’s about aerating the butter mixture, infusing it with air to give our cookies their tender, rich base. It’s essential not to rush this part—give it a good 2-3 minutes of whipping to ensure everything is perfectly combined and ready to accept the wet ingredients that’ll turn this base into an irresistible soft dough. Isn’t this just the best way to create the foundation for the most delicious cookies?
Incorporating Wet Ingredients
Now, let’s talk about blending in those wet ingredients, a step so crucial in creating the perfect cookie. After creaming together the butter, peanut butter, and sugars to that light and fluffy nirvana, it’s time to introduce the maple extract, egg, and milk into the mix. Maple extract, you see, isn’t just another ingredient; it’s a secret weapon that imbues our Peanut Butter Chocolate Chip Biscoff Cookies with a layer of rich, complex sweetness you can’t get anywhere else. Next, add the large egg, an indispensable binder that holds our dreams together, ensuring every bite is as decadent as we imagine. And let’s not overlook the milk; a splash of this simple ingredient is all it takes to transform our dough from good to grand, adding just the right amount of moisture for a cookie that’s chewy, soft, and utterly irresistible.
Combining Wet and Dry Mixtures
Now, let’s dive into one of my favorite parts—the magic moment where we marry our wet and dry ingredients together. I know, it might seem like a small step, but trust me, it’s where all the flavors start to find harmony. Combining wet and dry mixtures is more than just a step; it’s an art. You’ve carefully measured your purpose flour, ensuring not too much flour makes its way into the bowl. Your baking soda and salt are whisked to perfection, promising even lift and flavor in every bite. Then, there’s our wet mixture—a rich, cozy blend of butter, creamy peanut butter, and sugars, all whipped until perfectly fluffy. We’ve cracked in our large eggs, poured in a splash of milk, and added that aromatic hint of maple extract—each component adding depth and moisture.
Now, with a gentle hand, we’ll bring them together. Pour the dry mix into the wet, stirring ever so carefully. This is not the time for power tools; a simple spatula or wooden spoon will do. We’re looking for ‘just combined’—a mantra in baking that means mixing until we can no longer see dry flour. Overdo it, and we’re in the realm of tough cookies, quite literally. But get it just right, and we’re on our way to cookies with crispy edges, chewy centers, and pockets of melted chocolate and Biscoff bliss. This step, my friends, is the heart of our cookie journey, blending key ingredients with love and intention for those perfect baked cookies we’re all craving. So, let’s mix with care and imagine the smiles these cookies will bring to our tables.
Folding in Chocolate Chips and Biscoff
After blending our rich butter mixture with the fragrant blend of dry ingredients, it’s time for my favorite part—inviting the stars of our show to dance. We start with a generous scatter of semi-sweet chocolate chips, each a pocket of molten delight waiting to burst through in every bite. But why stop at perfection? Here’s where we introduce the crunch and warm spices of broken Lotus Biscoff cookies, their cinnamon sugar profiles promising a trip to cookie heaven.
I grab my faithful spatula—though a sturdy wooden spoon stands ready for those who prefer—heeding the call for gentle folds. It’s a delicate process, ensuring each dollop of dough gets its fair share of chocolate and Biscoff without reducing our cherished cookie pieces to dust. This step isn’t just about mixing; it’s about preserving the integrity of each flavor-packed morsel, setting the stage for what’s sure to be the best cookies to grace our lined baking sheets.
Scooping and Baking

Now, comes a part that always brings a cheeky grin to my face: scooping and baking. Grab your cookie scoop or a trusty tablespoon to gently cradle that soft dough into balls of potential bliss. As you place these precious mounds onto your lined baking sheet, whispered promises of golden brown edges dance in your head. But here’s a trick from my cozy kitchen to yours: give them space. Yes, like little stars in the night sky, they need their room to shine, about 2 inches apart on the prepared baking sheets. This isn’t just about avoiding social cookie clashes; it’s about ensuring each one bakes evenly, turning into those perfectly crispy edges and chewy centers we dream about. So, with a song in your heart and a spoon in hand, let’s create the best cookies that will turn next week’s blues into delightful, cookie-filled afternoons.
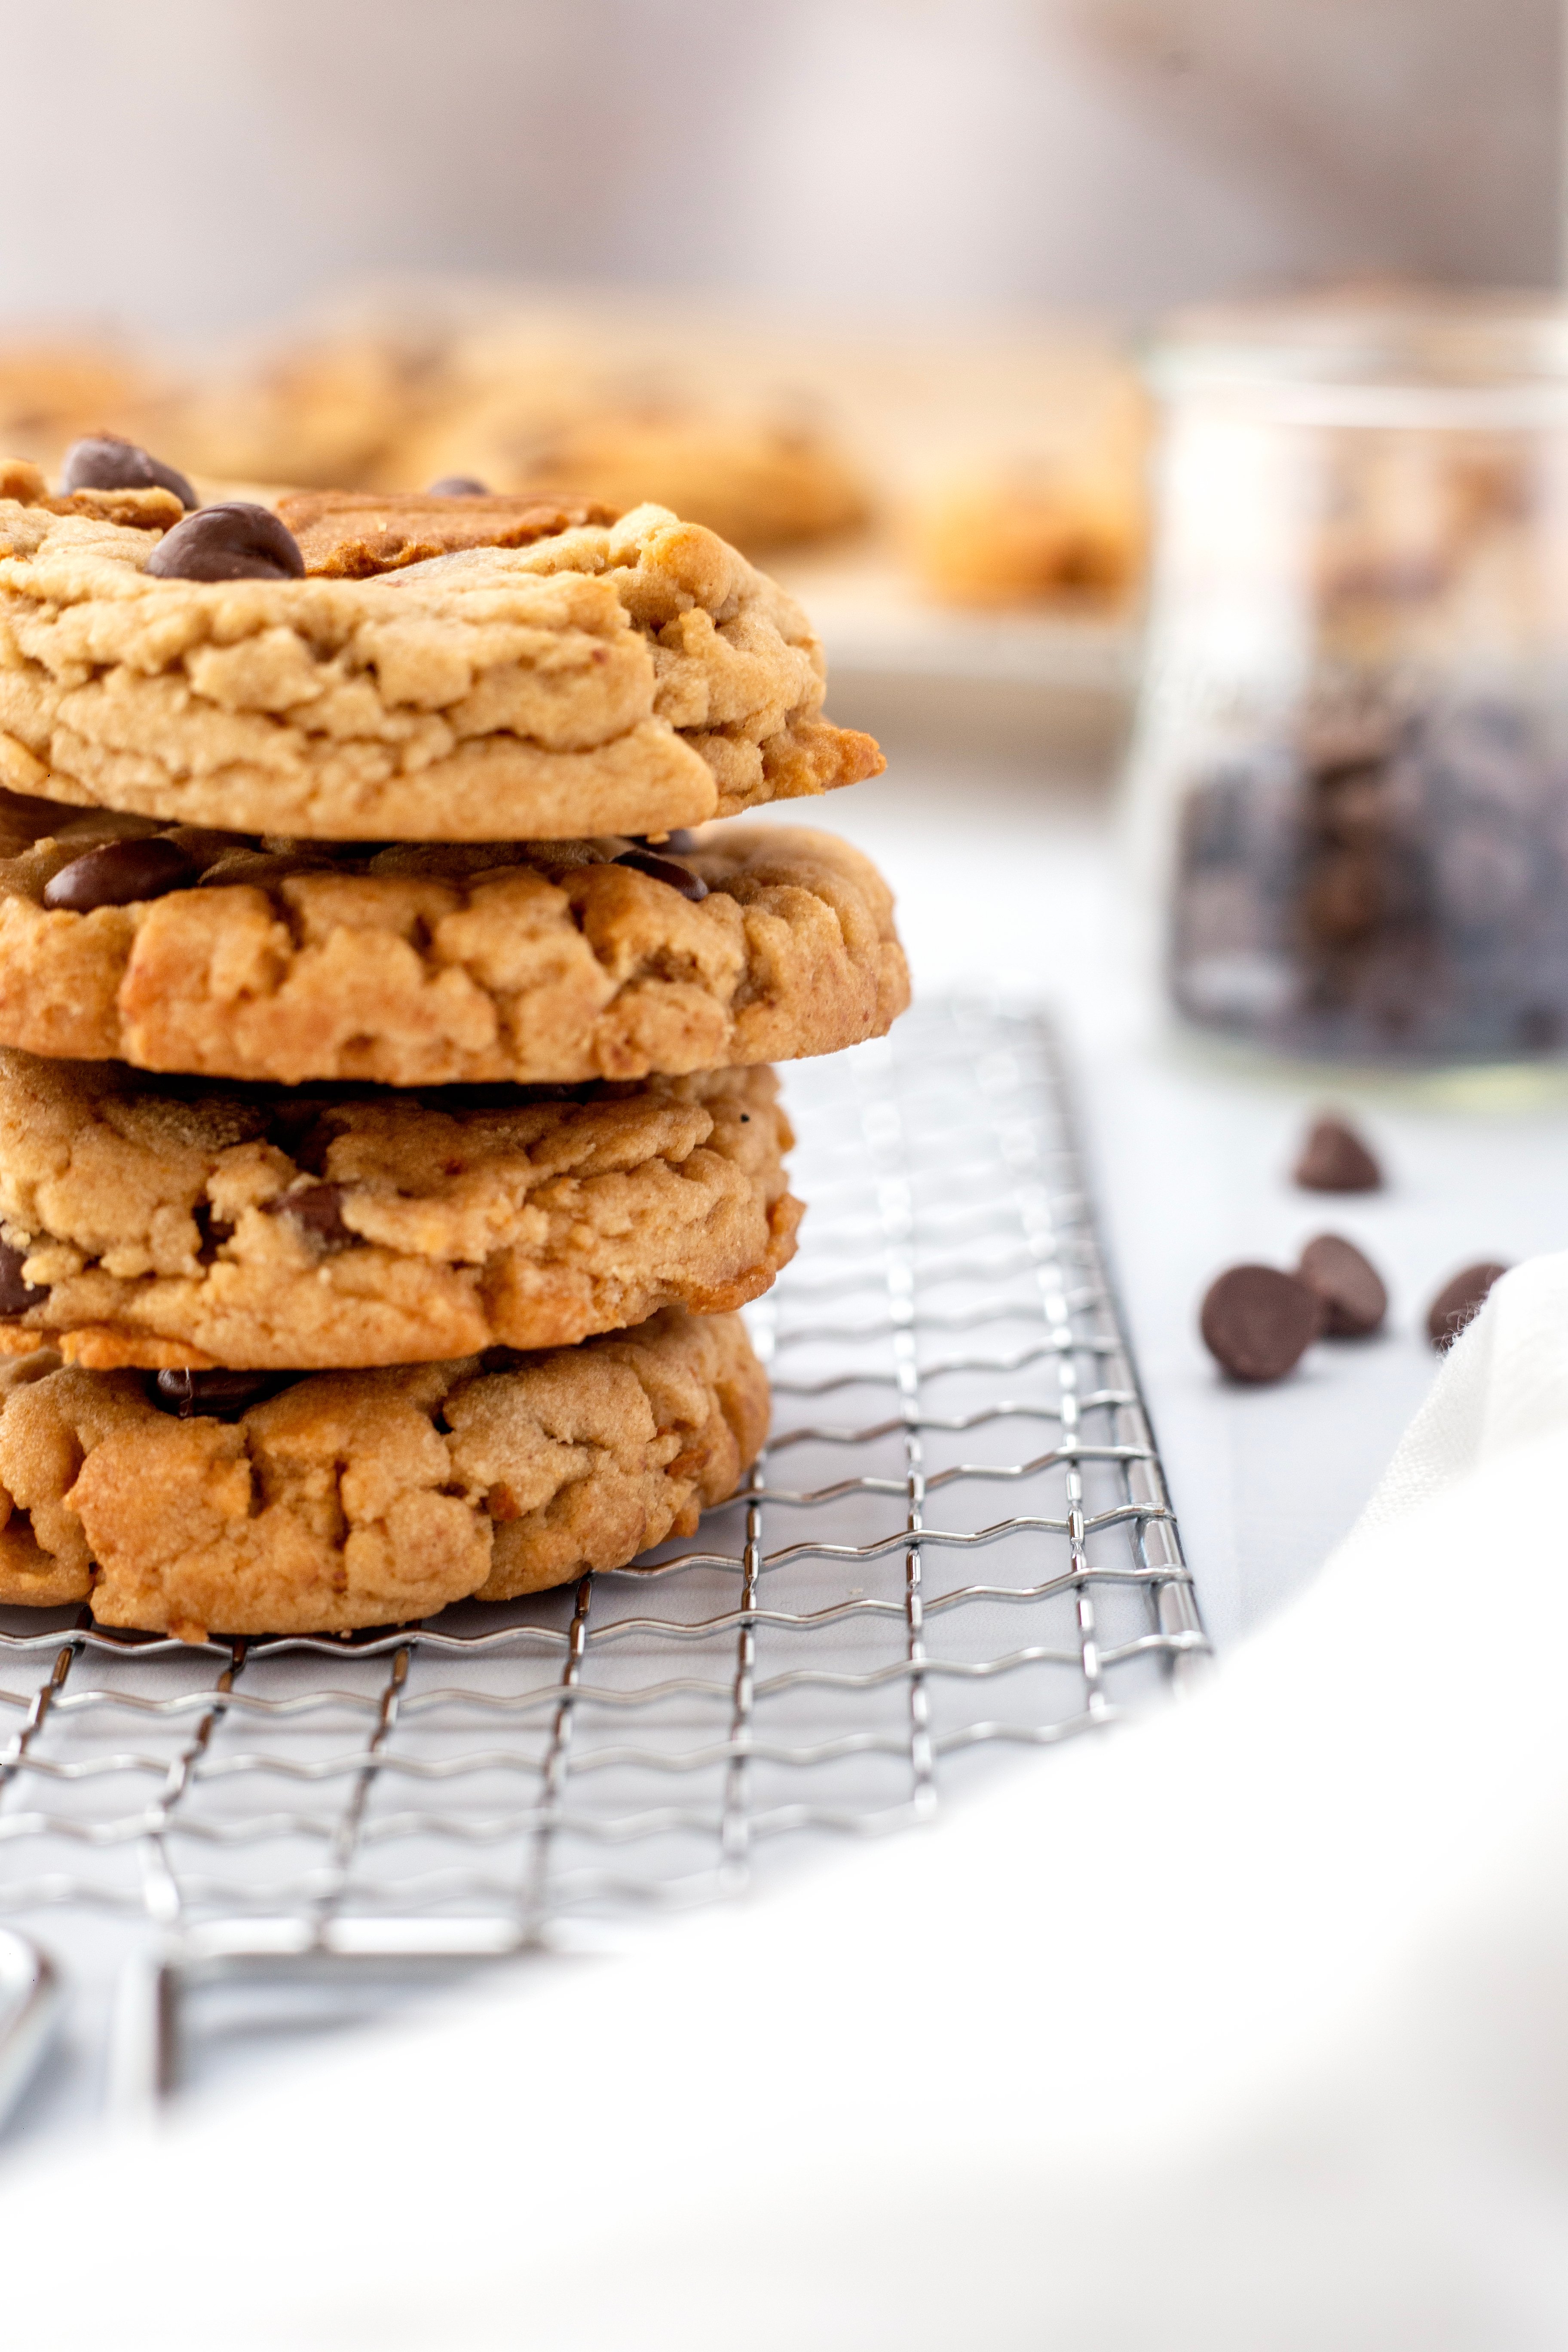
Cooling and Storing
After pulling those decadent Peanut Butter Chocolate Chip Biscoff Cookies out of the oven, their aroma filling the kitchen, here’s what you do next: Let them sit right there on the cookie sheet. I know, the temptation is real, but give them about 5 minutes. This little rest helps them set to that perfect chewy, yet slightly crispy edge we all love. Next, with the gentle touch of an adoring baker, transfer them to a cooling rack. This is crucial – it stops the baking process right in its tracks, ensuring every bite is as good as your first dream of them.
Now, for keeping these treasures as fresh as the moment they left the oven: once they’ve cooled down completely, slide them into an airtight container. I keep mine at room temperature, right on the counter where I can keep an eye on them (and maybe sneak one when no one’s looking). Trust me, stored like this, they’ll maintain that irresistible fresh-baked goodness. It’s like locking in the magic, so every time you reach in, it’s like you’re back in that moment when they first came out of the oven, golden brown and perfect.
Every Cookie Tells a Story
I’ve always believed that the beauty of baking lies in the stories each creation tells, especially when it comes to something as delightful as Peanut Butter Chocolate Chip Biscoff Cookies. These aren’t just your average cookies; they’re a canvas for creativity, a medium for joy, and a testament to the endless possibilities that lie in a mixture of flour, sugar, and love.
Imagine taking the core essence of peanut butter, blending it with the crunchy, caramelized Lotus Biscoff cookies, and throwing in handfuls of melted semisweet chocolate chips—it’s not just about making cookies, it’s about crafting an experience. Every time you scoop that soft dough onto your lined baking sheet, think of it as adding your signature to a work of art.
I encourage you to see these cookies as a starting point. Why not add a pinch of cinnamon sugar for warm spices, or perhaps a sprinkle of sea salt to elevate the rich chocolate taste? The options are limitless. And the best part? Sharing the fruits of your labor. Watching friends and family savor each golden brown, chewy cookie with crisp edges, noticing the surprise as they hit pockets of cookie butter and chocolate chips, is incredibly fulfilling.
So, let’s grab our mixing bowls, preheat our ovens, and prepare those baking trays. Let’s create, share, and most importantly, enjoy the journey of making these delicious cookies. Who knows? Your next batch might just become the next big family favorite, discussed and reminisced about for years to come in your own circle of loved ones.

Peanut Butter Chocolate Chip Biscoff Cookies
Ingredients
- 1 ¾ cup all-purpose flour
- ½ teaspoon baking soda
- ¼ teaspoon kosher salt
- ½ cup butter, softened
- ¾ cup peanut butter, I like creamy
- ¾ cup light brown sugar, packed
- ¼ cup granulated sugar
- 1 teaspoon maple extract
- 1 large egg
- 1 tablespoon milk
- ½ cup semi sweet chocolate chips
- 4 biscoff cookies, broken into pieces
Instructions
- Preheat oven to 350°F. Line a baking sheet with parchment paper or a silicone baking mat.
- Mix dry ingredients:
- In a medium bowl, whisk together the flour, baking soda, and salt. Set aside.
- Cream butter and sugars:
- In a large bowl, use a hand mixer or stand mixer to cream the softened butter, peanut butter, brown sugar, and granulated sugar until light and fluffy—about 2–3 minutes.
- Add wet ingredients:
- Mix in the maple extract, egg, and milk until fully combined.
- Combine wet and dry:
- Slowly add the dry ingredients to the wet mixture and mix until just combined (don’t overmix).
- Fold in the mix-ins:
- Gently stir in the chocolate chips and broken Biscoff cookie pieces with a spatula or wooden spoon.
- Scoop and bake:
- Use a cookie scoop or tablespoon to drop dough onto the prepared baking sheet, spacing them about 2 inches apart.
- Bake for 10–12 minutes, or until the edges are lightly golden and the centers are just set. Don’t overbake—they’ll continue to cook on the baking sheet after you take them out.
- Cool:
- Let cookies rest on the baking sheet for 5 minutes, then transfer to a wire rack to cool completely.
- Tips:
- If you like extra crunch, sprinkle a few more crushed Biscoff pieces on top before baking.
- Want extra gooeyness? Press a few chocolate chips into the tops right after baking.
