Lemon Swirl Cheesecake Bars: a Citrusy Twist on a Classic
Introduction: The Ultimate Lemon Swirl Cheesecake Bars
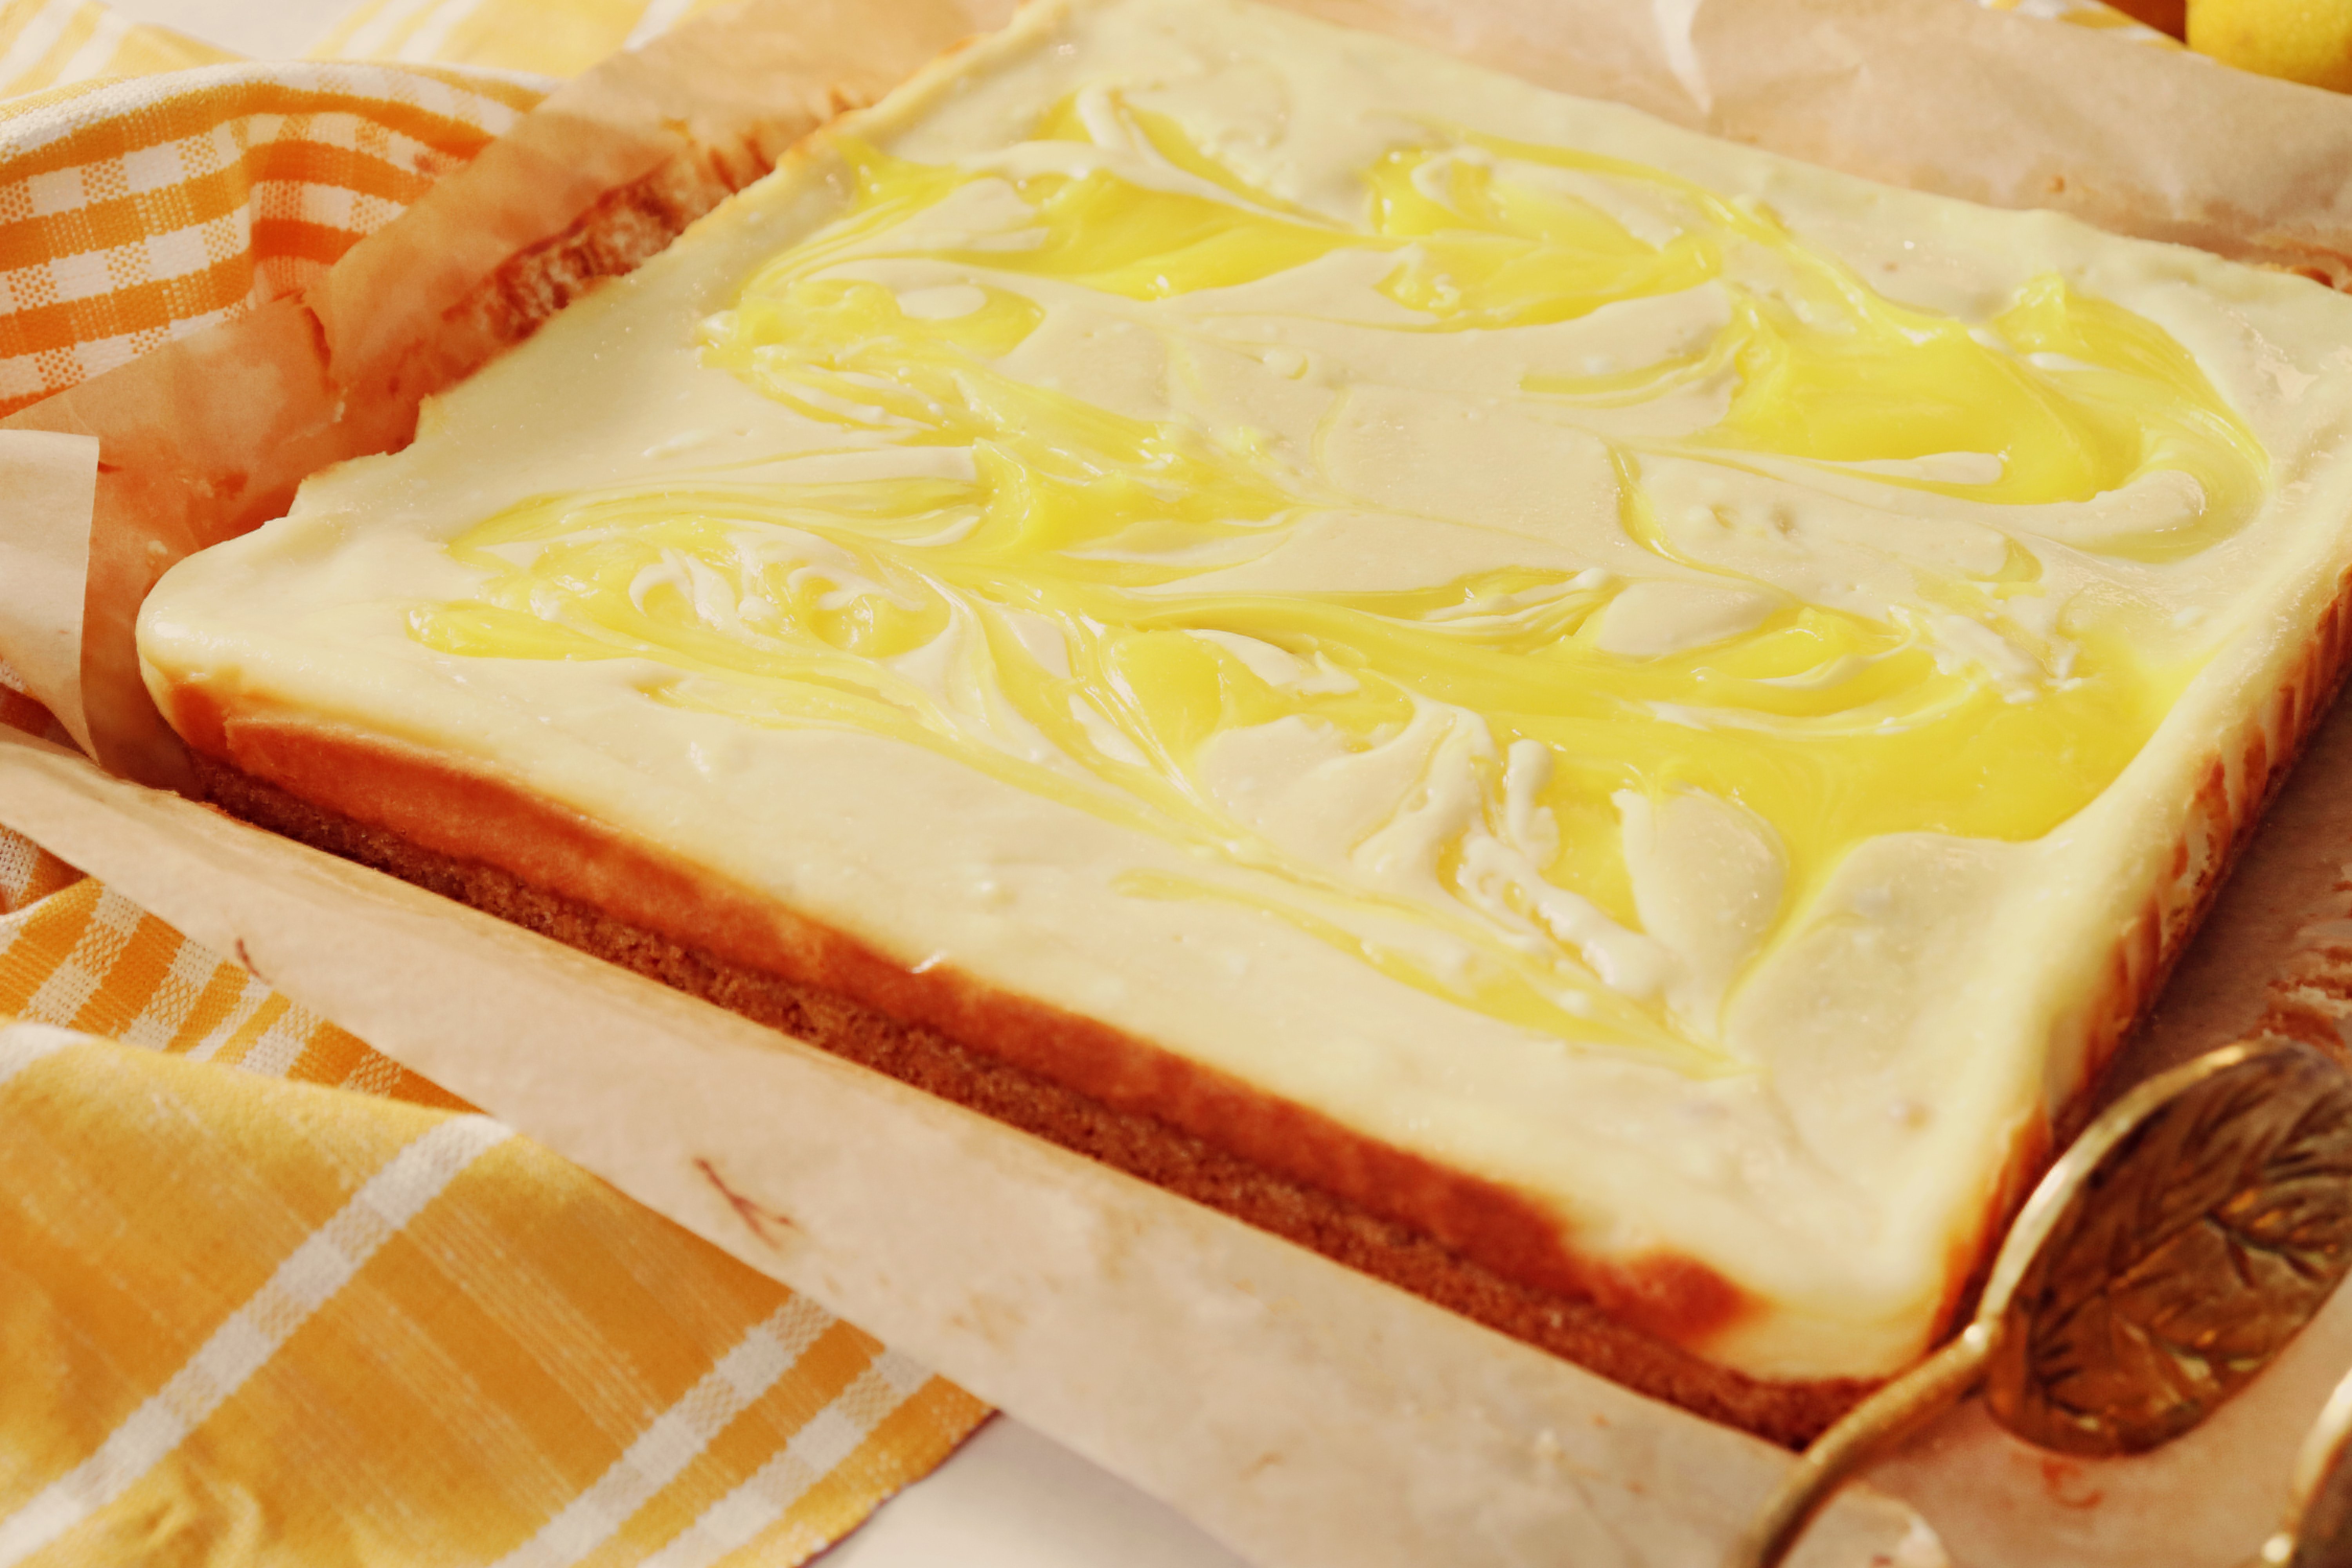
Hey there! I’m here to share something absolutely mouth-watering with you – it’s my take on a classic favorite, now with a citrusy twist! We’re talking about Lemon Swirl Cheesecake Bars. Now, doesn’t that just sound like a bite of heaven? Imagine the creamy richness of cheesecake, now paired with the zesty, tangy burst of lemon. It’s like every bite is a little piece of sunshine. I can’t wait to walk you through this recipe, because trust me, it’s as delightful to make as it is to eat. Whether you’re a seasoned baker or just getting your hands dirty in the kitchen, this one promises to be a crowd-pleaser. The anticipation of sharing this with you has been building up, and I believe it’s finally time to let you in on this delicious secret.
Key Takeaways:
- A Citrusy Twist: Adding a zesty lemon flavor to the classic cheesecake for a bright flavor.
- Easy to Follow: Detailed instructions for both beginners and experienced bakers to achieve the best results.
- Delightful and Delicious: Perfect for sharing with friends and family, these bars are a unique blend of textures and flavors.
Essential Ingredients for Your Cheesecake Bars
- For the buttery graham cracker crust: You’ll need 1 and 1/2 cups of fine graham cracker crumbs (you can pulse sheets of graham crackers in a food processor until crumbly dough forms), 6 tablespoons of melted butter, and a quarter cup of brown sugar for that sweet, crumbly base we all love.
- For the creamy cheesecake layer: Make sure to have 2 8 oz packages of cream cheese (use room temperature ingredients for the best results), 1/2 cup of granulated sugar, 2 large eggs also at room temperature, 3 tablespoons of all-purpose flour, and 1 teaspoon of vanilla extract.
- To add the zesty lemon flavor: We’ll need the juice and zest of 2 lemons (Meyer lemons are a great alternative for a brighter flavor), ensuring that fresh lemon juice gives us that citrusy twist.
Equipment Checklist
- A food processor or a sturdy ziplock bag and a rolling pin for creating fine crumbs out of sheets of graham crackers. It’s all about getting that perfect crumbly dough before we press it into our buttery graham cracker crust.
- A medium bowl, to mix those graham cracker crumbs with melted butter and a touch of brown sugar, transforming them into the base of our citrusy delight.
- An electric mixer (a hand mixer or the paddle attachment of a stand mixer will do splendidly), essential for whisking that cream cheese into a creamy cheesecake layer so smooth it practically sings.
- Large and small bowls, for separating the cheesecake batter before adding that zesty lemon flavor that transforms the whole ensemble into your soon-to-be favorite lemon bar.
- A 9×9-inch baking pan, lined with parchment paper for easy lift-off, ensuring those luscious bars come out effortlessly.
- A sharp knife and a butter knife, for cutting clean slices once your full cheesecake has set and for creating those whimsical swirls in your cheesecake batter that’ll leave each slice looking as delightful as they taste.
- Plastic wrap and cooking spray, to cover your masterpiece while it chills, locking in freshness and making sure it releases from the pan without a hitch.
Preparing the Graham Cracker Crust

So, I’ve got this absolutely foolproof step for starting our zesty lemon swirl cheesecake bars – the buttery graham cracker crust. Picture this: you’re in your kitchen, the scent of citrus in the air, about to embark on what might just be your new favorite baking adventure. First, grab a medium bowl, this will be your stage for the magic to happen.
- Blend the graham cracker crumbs with that delightful brown sugar, making every sweet tooth in the vicinity perk up in anticipation.
- Stir in melted butter, watching as it turns the dry mixture into a formable, crumbly dough that promises a crust no one can resist.
- Press it firmly – with a dash of love and a bit of muscle – into the bottom of a prepared pan coated with cooking spray, creating the foundation of what’s destined to be a showcase of your baking prowess.
Can you feel the excitement? Because I sure can! With every press and pat, we’re a step closer to swirling our way into cheesecake bar bliss.
Creating the Creamy Cheesecake Layer
Oh, you’re in for a treat with this next step! We’re about to blend some heavenly ingredients to create that creamy cheesecake layer that makes our Lemon Swirl Cheesecake Bars so irresistible. First, let’s gather our cream cheese – and remember, for the creamiest texture, make sure it’s at room temperature. Now, in a large bowl, drop in the cream cheese, a dash of fresh lemon juice for that bright flavor we’re after, and the other ingredients we talked about.
Here’s where the magic happens. Grab your electric mixer – this tool is our best friend for guaranteeing the smooth, creamy consistency we’re drooling over. On a low speed (to keep as much air out of our batter as possible, ensuring a dense, sinfully good cheesecake layer), blend everything together until it’s perfectly smooth. It’s all coming together, isn’t it? Just you wait until we add that lemon swirl!
Adding the Lemon Swirl

Now, here’s where the real magic happens, transforming a good cheesecake into a great one. Take a small bowl and mix together fresh lemon juice and zest with just a bit of the cheesecake batter. This isn’t just any step; it’s the secret to getting that bright, zesty lemon flavor that makes these bars unforgettable. The trick to a perfect swirl? Gently fold this lemon mixture into your creamy cheesecake layer with a butter knife or the back of a spoon, aiming for a beautiful marbling effect. It’s kind of like creating art right there in your kitchen. You want just enough swirls to distribute that lovely lemon essence, but not so much that the two become one. It’s about finding that balance, so every bite has the perfect blend of creamy cheesecake and tangy lemon.
Baking Your Cheesecake Bars to Perfection
Alright, let’s talk about baking your zesty lemon swirl cheesecake bars to absolute perfection. This part is where the magic happens, where all the elements of baking come together to create something truly special. Preheat your oven to a cozy 350°F, a temperature that’s just right to bake cheesecake evenly without hurrying it. Place your pan in the center of the oven to ensure even heat distribution. Now, how do you know when they’re done? Look for the sides to be slightly puffed and the center to have a slight jiggle – it’s the secret to a creamy texture. And remember, patience is your friend here; overbaking is the nemesis of that dreamy, creamy cheesecake layer we’re after. Watching those swirls of lemony goodness come to life without losing their bright flavor or becoming too dry is what we’re aiming for. Trust me, it’s worth the wait.
Cooling and Chilling for Best Results
After you’ve watched those lovely Zesty Lemon Swirl Cheesecake Bars turn golden in the oven, the real magic happens outside of that hot environment. I always say, patience is a virtue, especially when it comes to baking. So, the moment you pull that pan from the oven, gently set it upon a wire rack. This isn’t just a step to rush through; letting it cool gradually avoids any dramatic temperature change that might lead to cracks or an uneven texture. Think of it as giving your creation time to settle and firm up, embracing all that zesty lemon and creamy cheesecake layer goodness.
Now, here’s where we wrap things up quite literally. Once the pan has reached room temperature, I take plastic wrap and cover the top. This isn’t just to protect it in the fridge; it’s to prevent any odors from sneaking into your dessert. Then, into the refrigerator it goes. I recommend a minimum of a few hours, but overnight? That’s where the magic of flavors truly comes together. It’s this cooling and chilling process that takes your Lemon Swirl Cheesecake Bars from good to unforgettable. Every bite will thank you for your patience, offering up the perfect creamy, citrusy delight.
Slicing into Bars

After the painstaking patience of cooling and chilling your zesty lemon swirl cheesecake bars, the final, oh-so rewarding step awaits: slicing into beautiful bars. I’ve found, through trial and lots of error, that the key here is to gently lift the chilled cheesecake out of the pan by the parchment paper overhang – a little trick that feels a bit like unveiling a masterpiece. Now, with your chilled cheesecake securely on a cutting board, grab a sharp knife. This is where the magic happens. Dip the knife in hot water and wipe it dry. This little maneuver ensures those clean, magazine-worthy cuts that’ll have your cheesecake bars looking as good as they taste. And trust me, you’ll want to relive this moment every time you bake because those perfect slices bring out the stunning swirls and the creamy, dreamy texture, making every effort absolutely worth it.
Tools Used For Recipe
 Buy Now →
  Buy Now →
 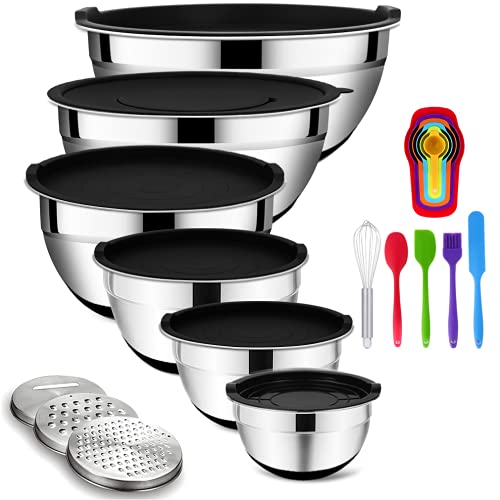 Buy Now →
  Buy Now →
 Serving and Storage Tips
After all the love and care you’ve put into your zesty lemon swirl cheesecake bars, serving them in just the right way can make all the difference. First things first, let’s talk presentation. Imagine a plate drizzled with a bit of lemon sauce or a sprinkle of powdered sugar to really make those citrusy swirls pop. Sometimes, I like to add a thin slice of lemon on top for that extra touch of elegance. Trust me, it’s all about those little details that turn a simple dessert into a show-stopper.
Now, onto storing these beauties. If by some miracle you have leftovers, wrapping them tightly in plastic wrap ensures they stay fresh. For best results, I always recommend a snug storage container too. Pop them in the fridge, and you’re good to go. Honestly, they’re almost better the next day when the flavors have really had a chance to mingle. Just remember to let them come to room temperature for a few minutes before serving again – it really brings out the bright flavor of the lemon and the creamy cheesecake layer. So here’s to making and enjoying these little slices of heaven to their fullest!
Your New Favorite Lemon Dessert Awaits

There you have it, a whirlwind guide to creating what I predict will become your new go-to dessert — Zesty Lemon Swirl Cheesecake Bars. These little slices of heaven are not just a treat for your taste buds but a bright, citrusy journey that turns the classic cheesecake on its head. I’ve walked you through every step, from the buttery graham cracker crust up to the creamy cheesecake layer, and that vibrant lemon swirl, not to mention the swirl cheesecake bars that come out looking like they belong in a bakery window.
Now, it’s your turn. Imagine the look on your friends’ and family’s faces when you pull these out at your next gathering. Picture the burst of lemon flavor paired with the richness of cream cheese and the crunch of graham cracker crumbs—yes, it’s as good as it sounds. And let’s not forget, using fresh lemon juice makes all the difference, infusing these bars with a bright flavor that bottled juice just can’t compete with. Use room temperature ingredients to ensure your cheesecake batter is perfectly smooth, and don’t rush the chilling process; it’s key to achieving that irresistible creamy texture.
So, gather your cooking spray, line that pan, and preheat your oven. Let’s bring this full recipe to life and fill our kitchens with the scent of baking lemons and cheesecake. These Zesty Lemon Swirl Cheesecake Bars are not just a dessert; they’re an experience, blending the tanginess of lemon with the creamy decadence of cheesecake. Each bite is a reminder of why sometimes, mixing up the classic can lead to something even more extraordinary. Here’s to making life a little sweeter, one lemony swirl at a time.

Lemon Swirl Cheesecake Bars
Ingredients
- Crust:
- 1 ½ cups graham cracker crumbs
- 6 tablespoons butter, melted
- 1/2 cup granulated sugar
- Filling:
- 2 8 oz packages Philadelphia cream cheese, room temperature
- 2 large eggs, room temperature
- 1/2 cup granulated sugar
- 3 tablespoons all purpose flour
- 1 1/2 teaspoon vanilla extract
- ¼ teaspoon kosher salt
- 1 cup lemon cream pie filling, about a half can
Instructions
- Set your oven to 350°F and line a 9×9-inch baking pan with parchment paper, letting it hang over the sides for easy removal later.
- In a medium bowl, stir together the graham cracker crumbs, melted butter, and sugar until the mixture looks like damp sand. Press it firmly into the bottom of the prepared pan to form the crust. Bake for 8 minute.
- In a large mixing bowl, beat the cream cheese, eggs, sugar, flour, vanilla, and a pinch of salt with a hand mixer until smooth and creamy. Spread this filling evenly over the crust.
- Drop spoonfuls of lemon pie filling across the top. Use a butter knife to gently swirl it into the cheesecake layer for a marbled look.
- Bake for 35–40 minutes, or until the center is set.
- Place the pan on a wire rack and let it cool completely, about 1 hour. Then refrigerate for at least another hour, or until thoroughly chilled. Slice and serve cold.
Video


The article is insightful and beautifully written. This website has so much useful material.