

Easy Red Velvet Cupcakes
Easy Red Velvet Cupcakes
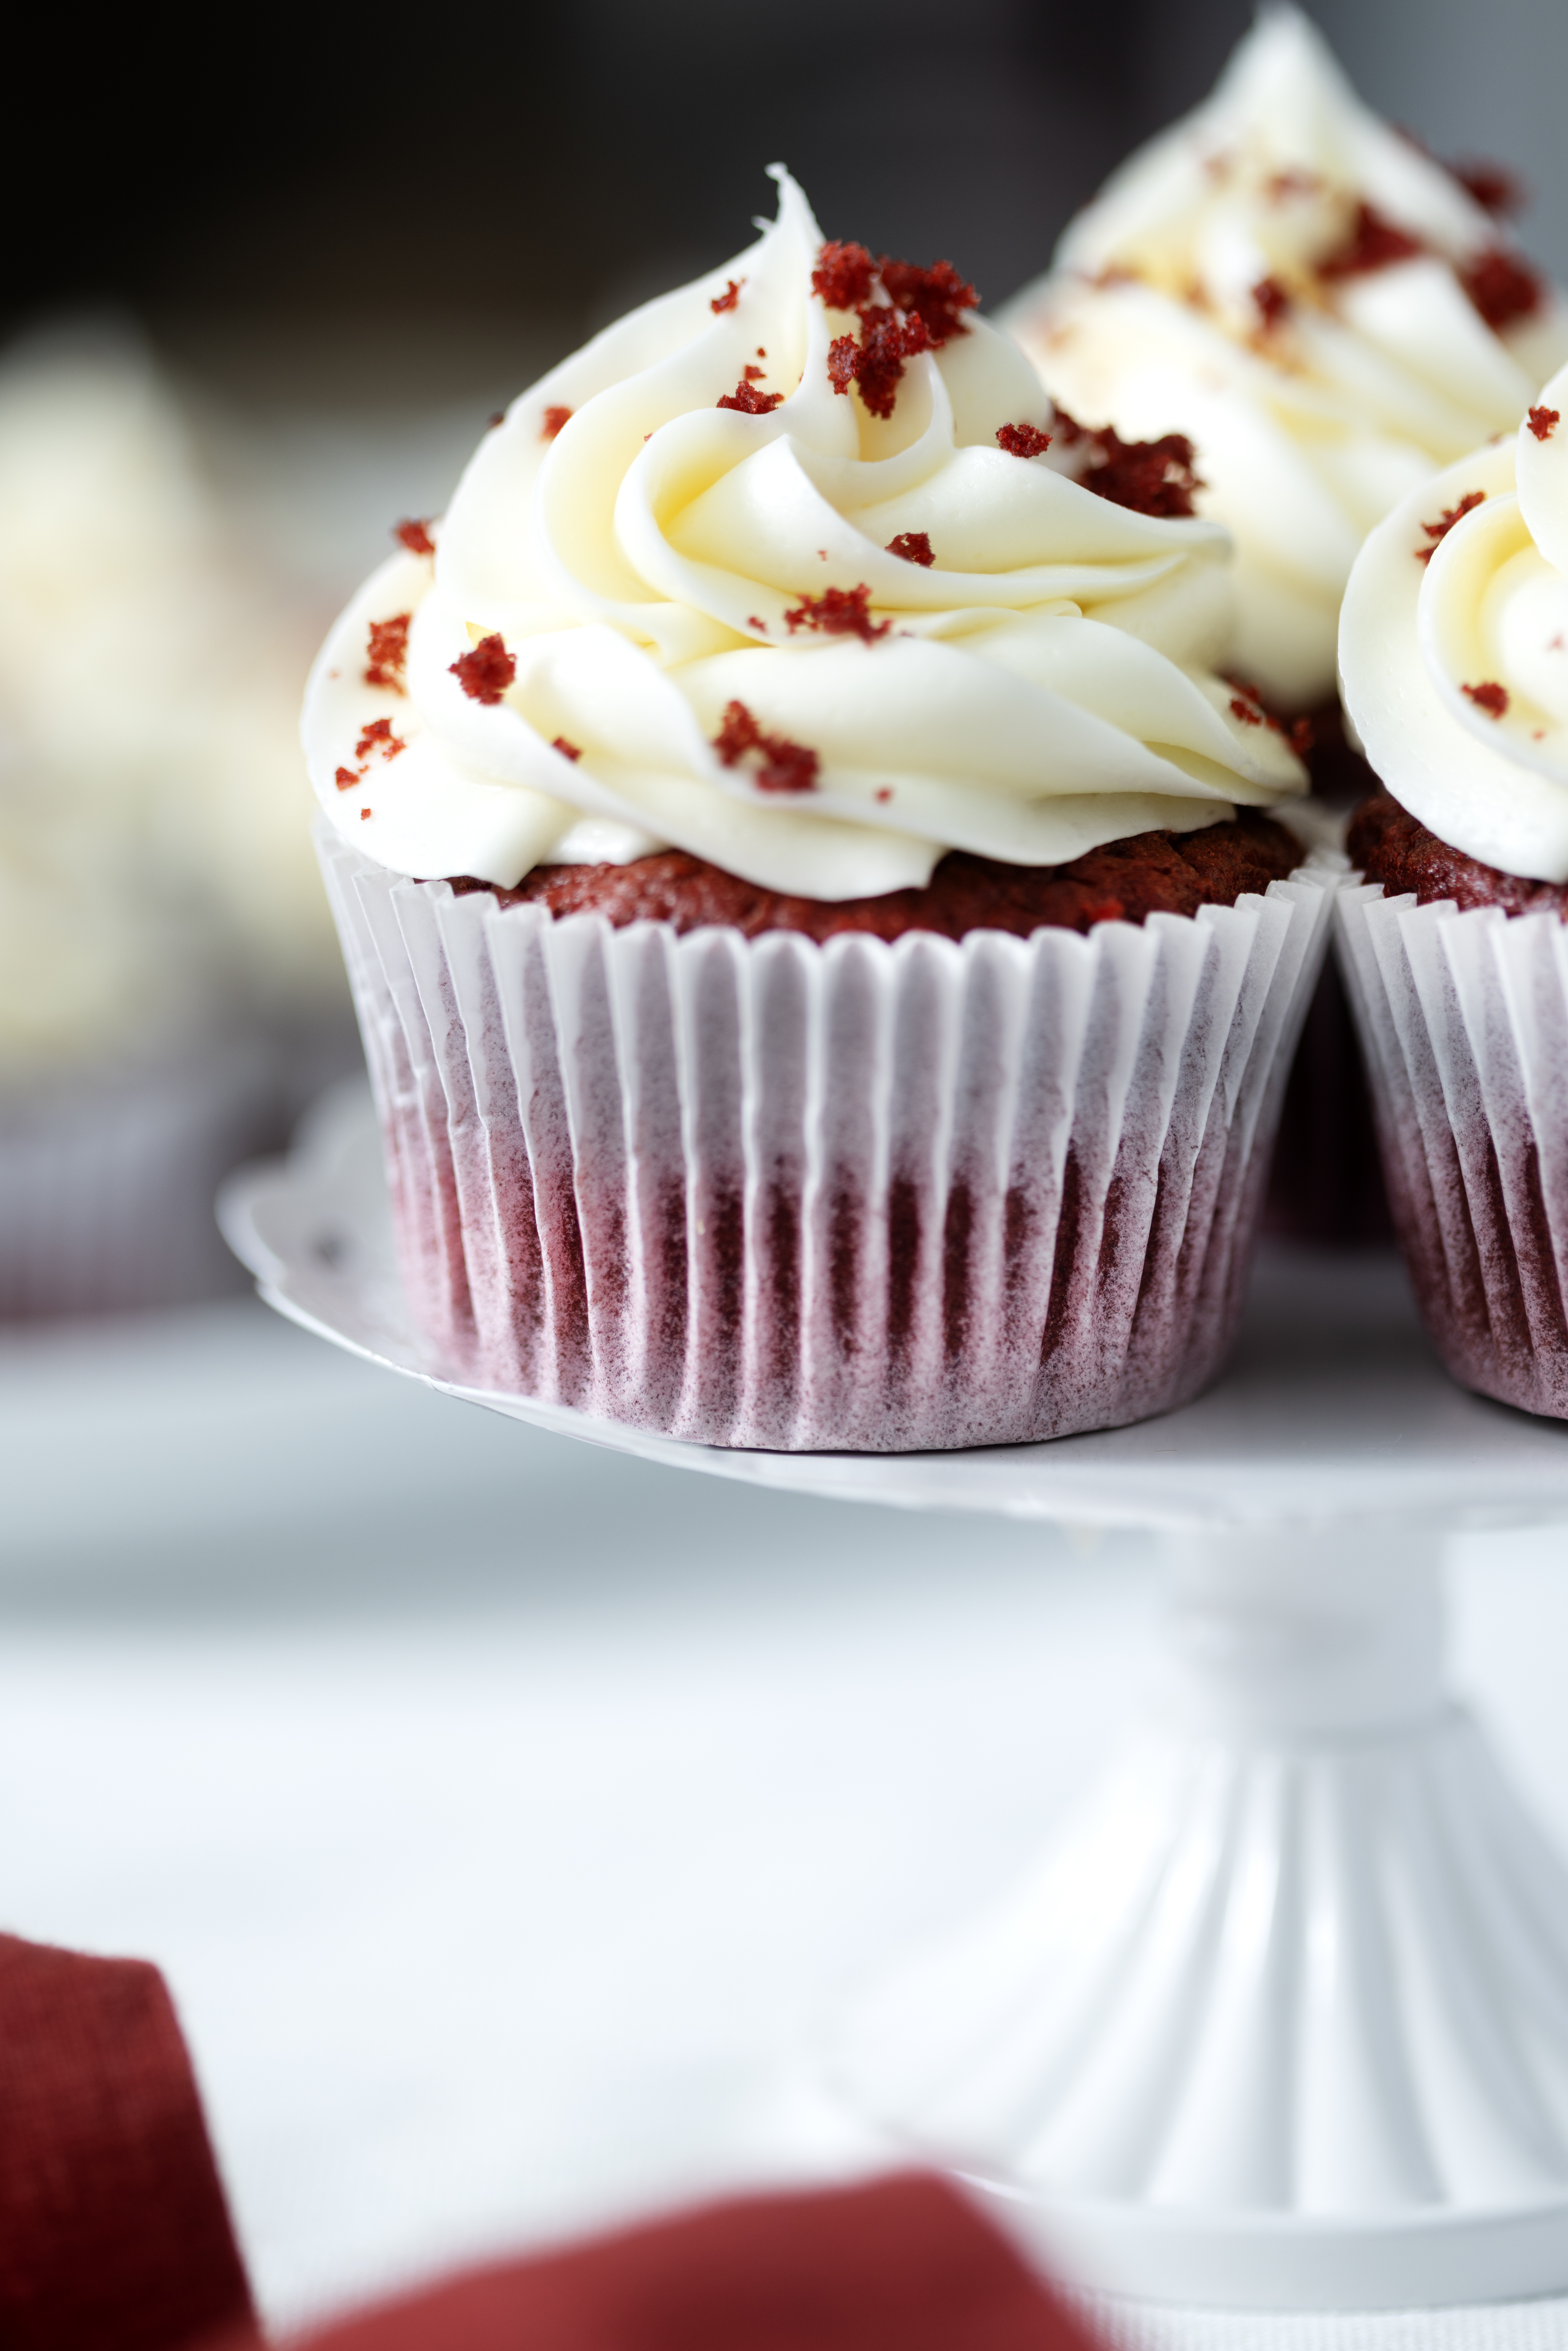
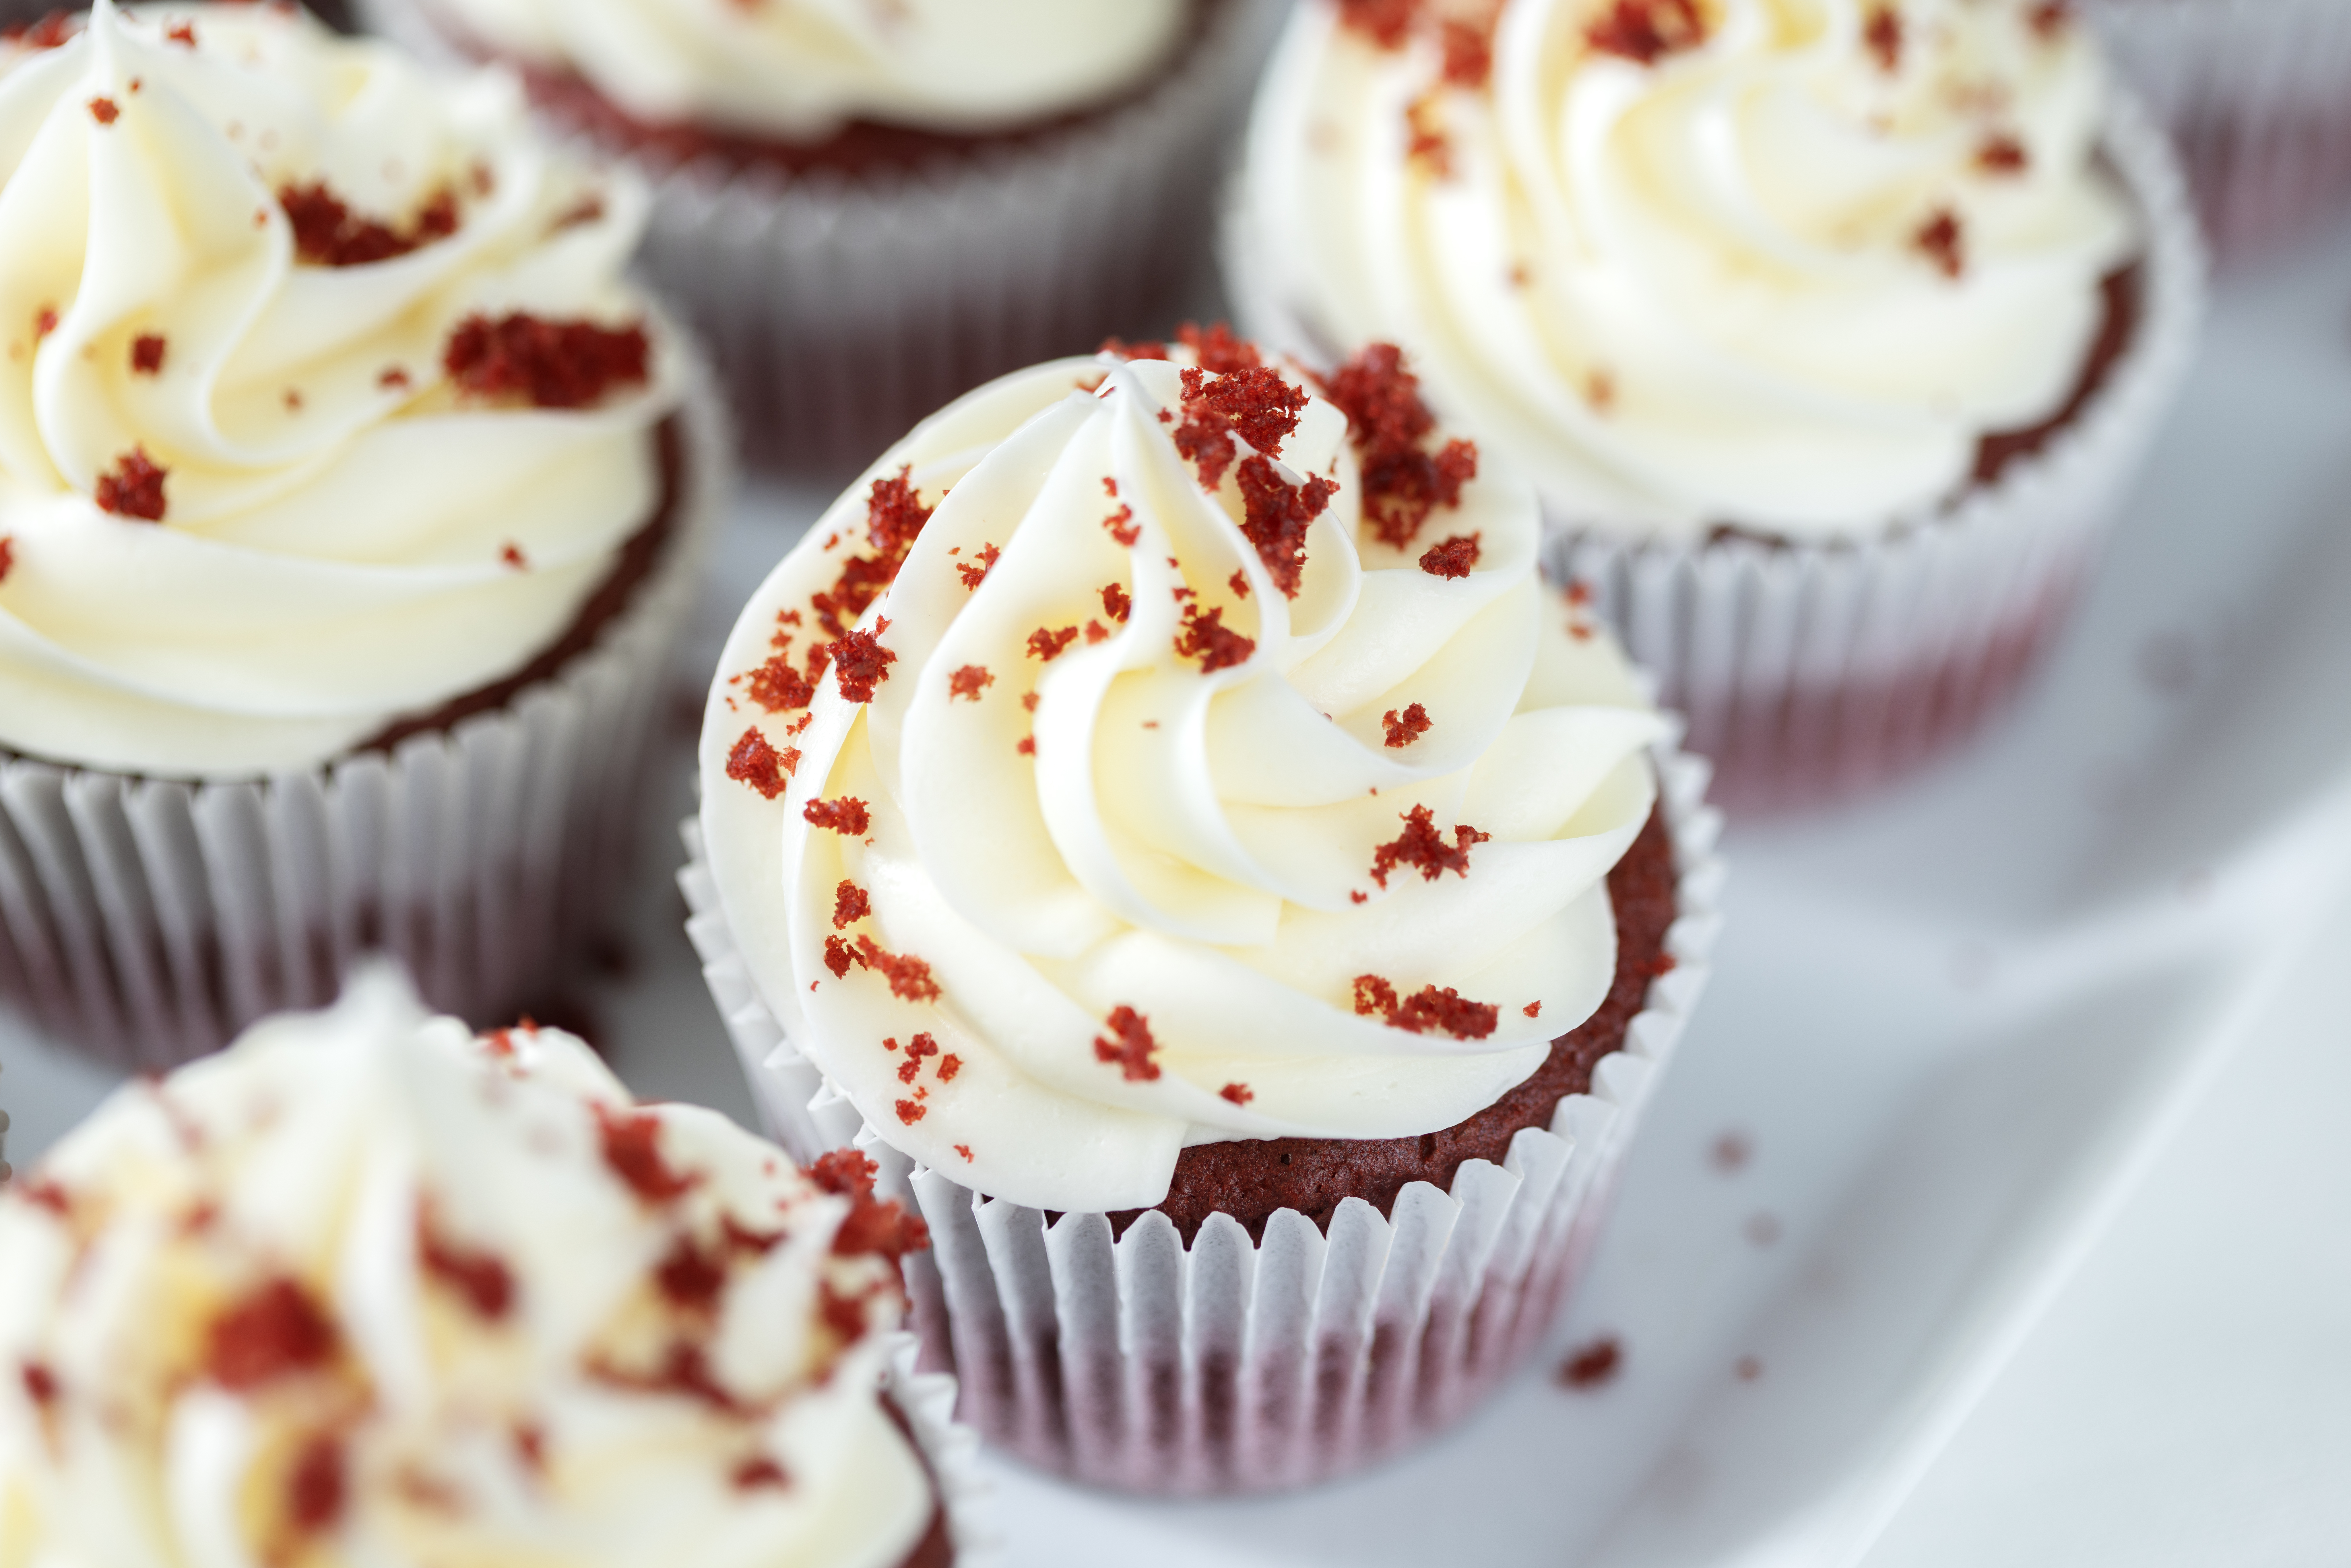
These Easy Red Velvet Cupcakes are soft, moist, and fluffy with the perfect balance of vanilla, cocoa, and that signature red velvet tang. Top them with a generous swirl of cream cheese frosting and you have a classic homemade cupcake that’s beautiful enough for Valentine’s Day, Christmas, birthdays, or just because you’re craving something sweet.
Red velvet has always been one of those desserts that feels a little extra special. It looks dramatic, but the flavor is actually more delicate than a traditional chocolate cupcake. You get just a hint of cocoa along with vanilla, buttermilk, and a little vinegar to create that unmistakable red velvet flavor.
For this recipe, I use both butter and vegetable oil. The butter brings flavor while the oil helps keep the cupcakes soft and moist. I also separate the eggs and whip the egg whites before gently folding them into the batter. It’s one extra step, but it helps give these cupcakes an incredibly light and tender texture.
And of course, you can’t talk about classic red velvet cupcakes without cream cheese frosting. That creamy, slightly tangy frosting is the perfect match for the soft red velvet cake underneath.
Why You’ll Love These Red Velvet Cupcakes
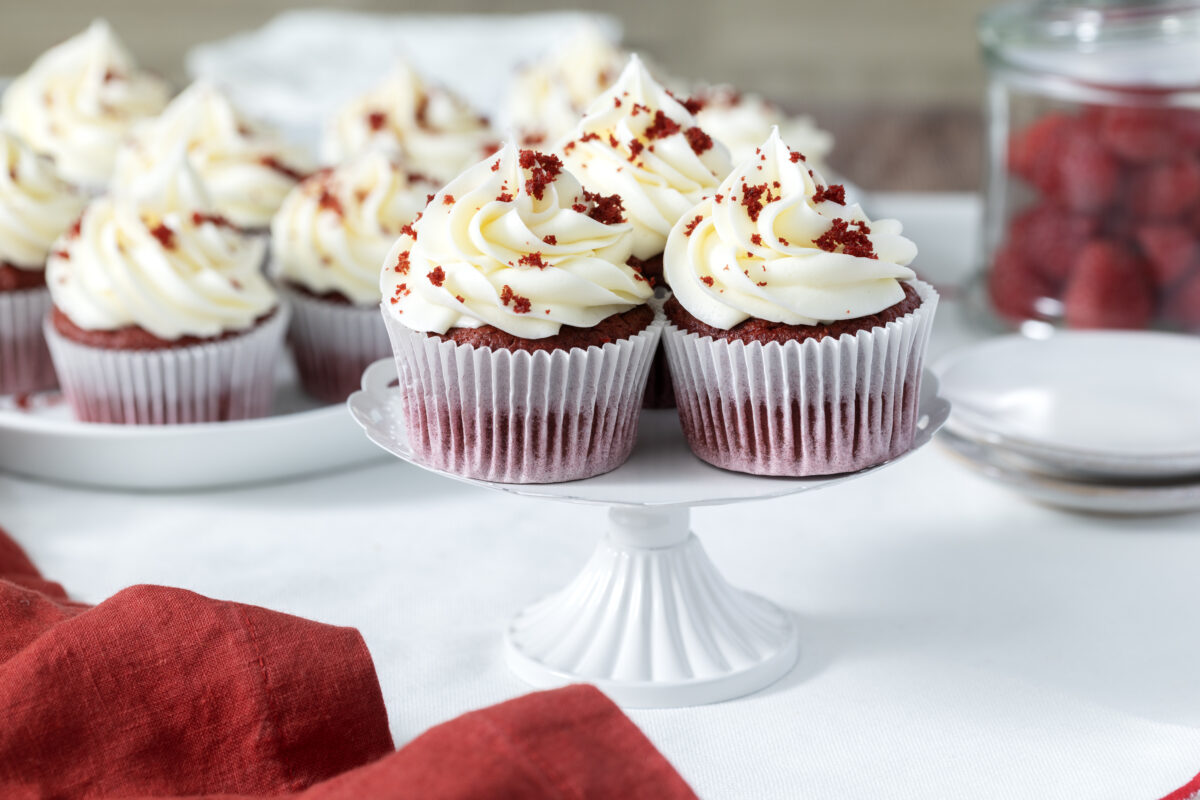
There are so many reasons this has become one of my favorite cupcake recipes:
- Soft and fluffy centers
- Moist without feeling heavy
- Subtle chocolate flavor
- Plenty of vanilla
- Classic tangy red velvet flavor
- Beautiful deep red color
- Made with simple baking ingredients
- Only 15 minutes of prep
- Makes a convenient batch of 12 cupcakes
- Perfect with cream cheese frosting
- Great for holidays and special occasions
They look impressive on a dessert table, but you don’t need complicated decorating skills to make them beautiful.
A simple layer of cream cheese frosting is really all they need.
What Does Red Velvet Taste Like?
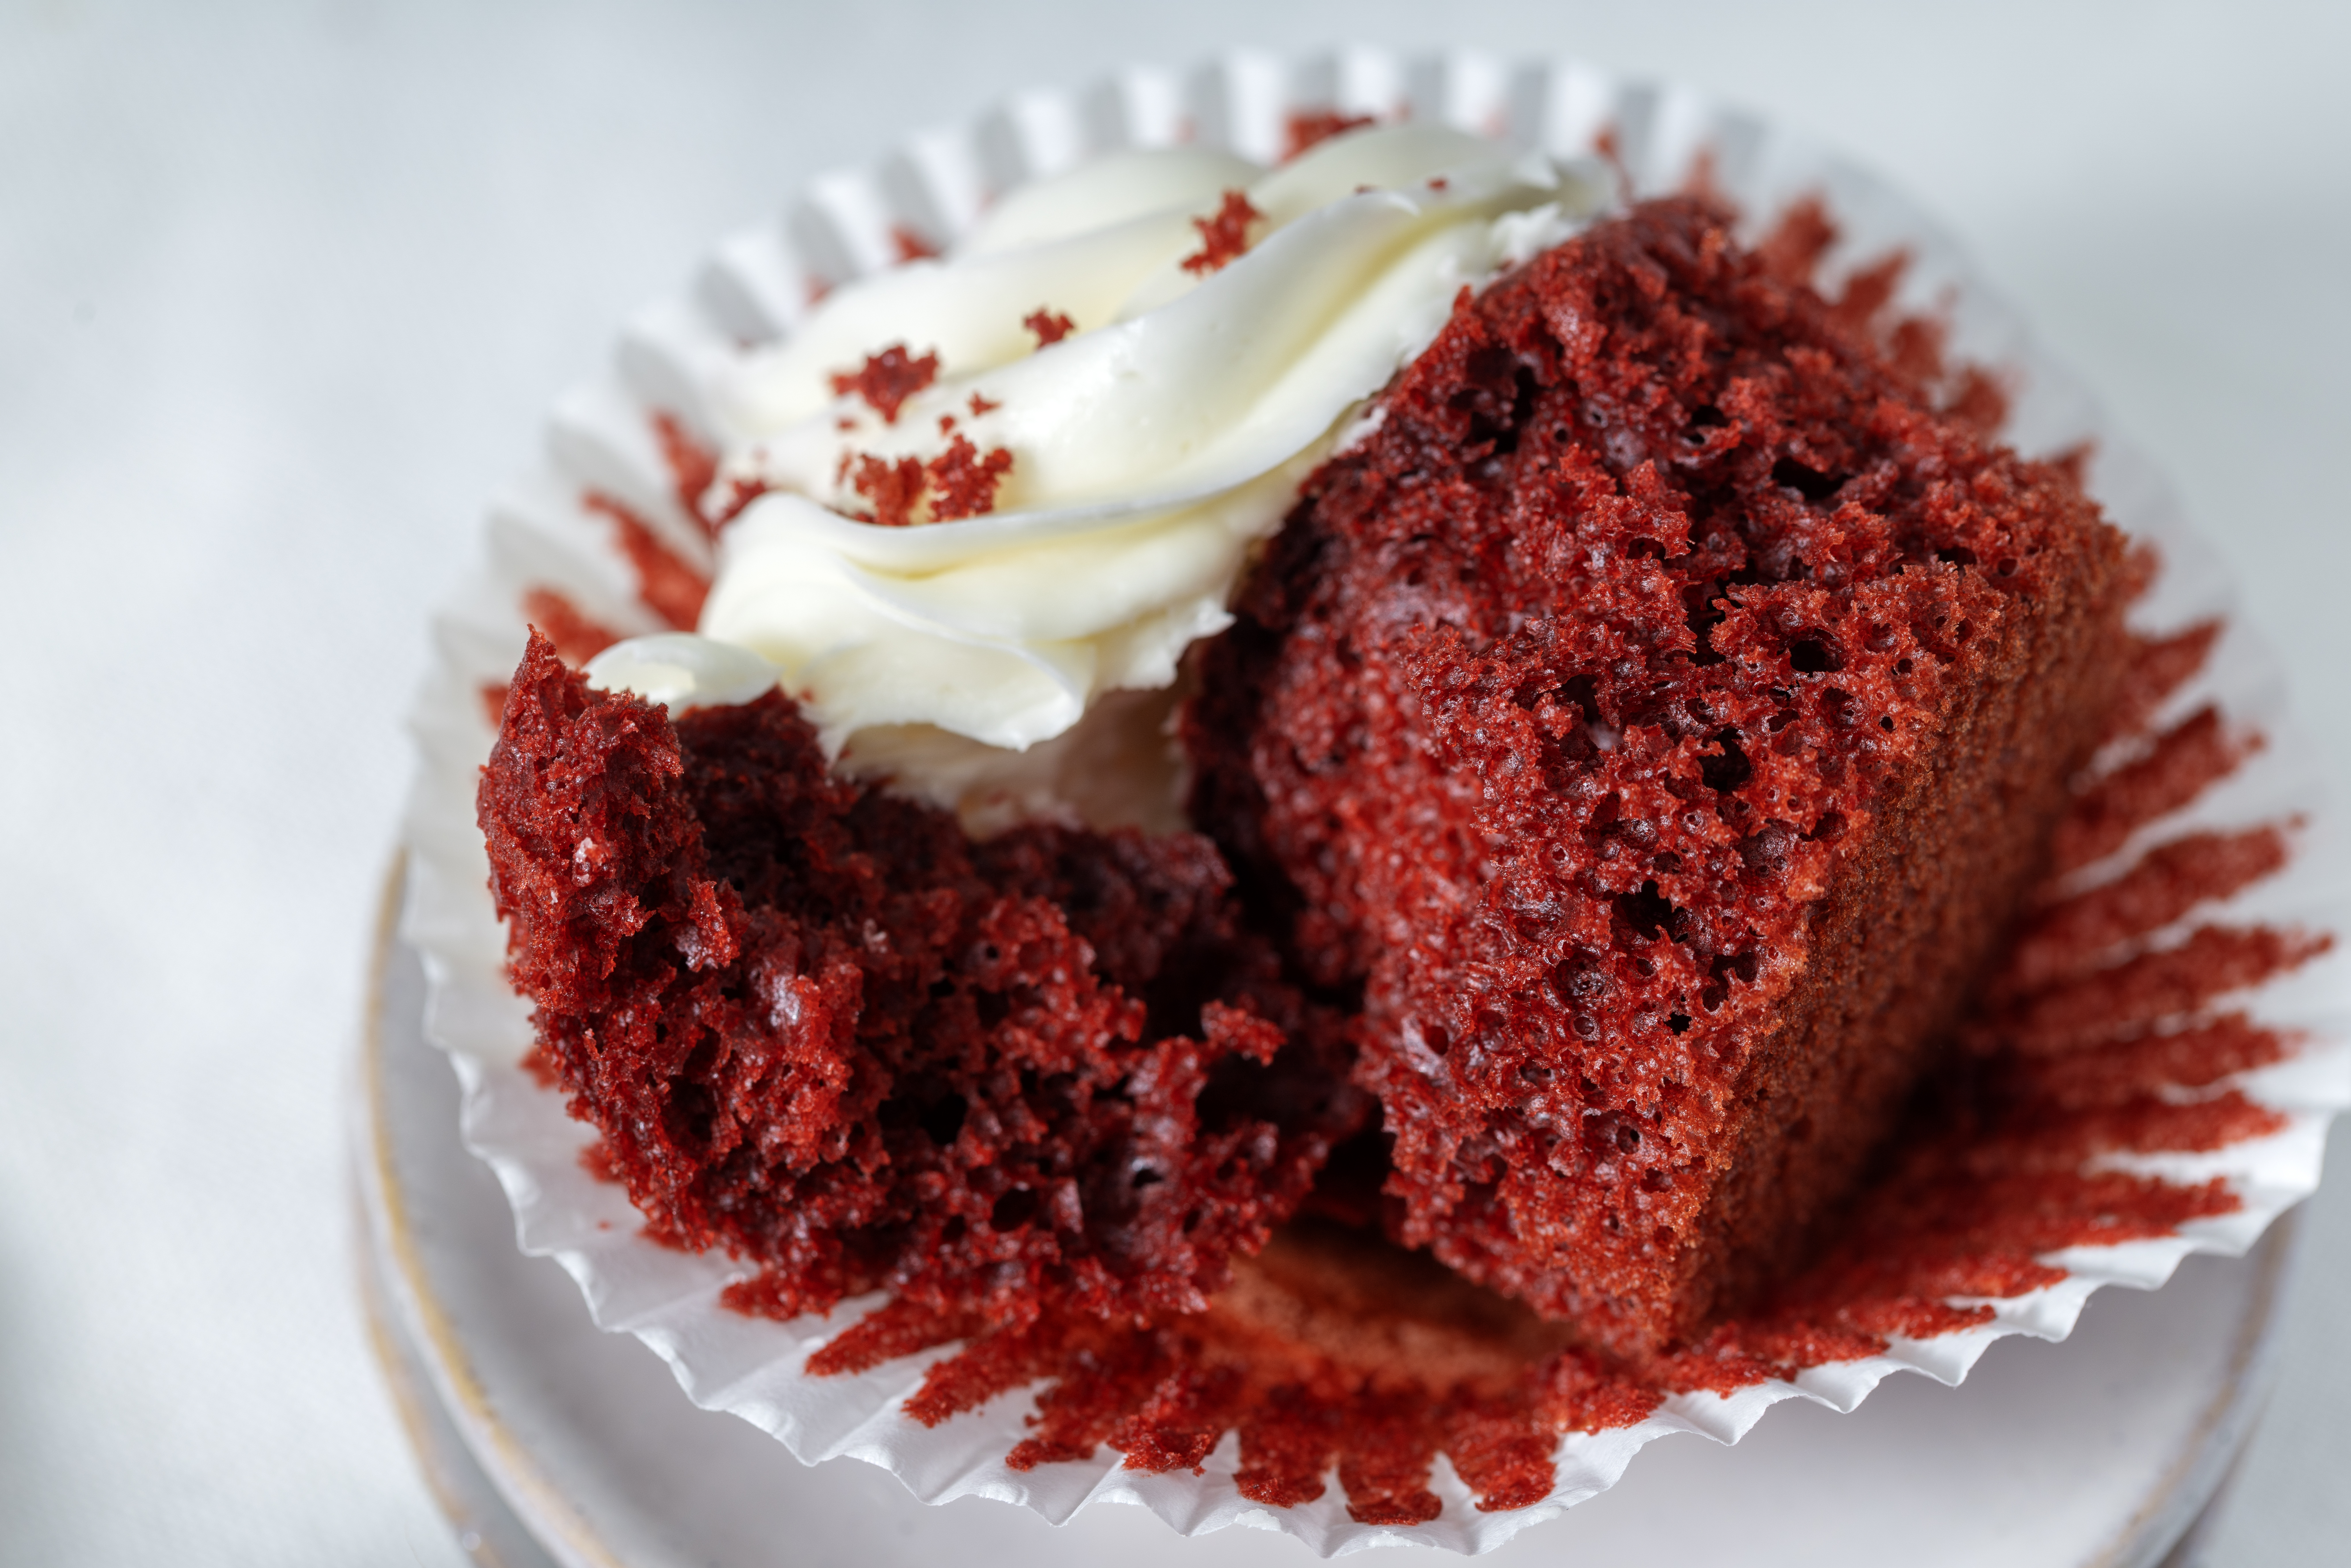
One of the biggest misconceptions about red velvet is that it’s simply chocolate cake dyed red.
It isn’t.
A good red velvet cupcake has a much more subtle cocoa flavor than a traditional chocolate cupcake.
The flavor comes from a combination of natural cocoa powder, vanilla, buttermilk, and vinegar. Together, those ingredients create a cake that’s slightly chocolatey, slightly tangy, and rich without having an overwhelming chocolate flavor.
That combination is also why cream cheese frosting pairs so beautifully with red velvet.
Ingredients You’ll Need
All-Purpose Flour
You’ll need 1⅓ cups all-purpose flour to give the cupcakes their structure.
For the best results, measure your flour carefully. Adding too much flour is one of the easiest ways to accidentally make cupcakes dry.
Cornstarch
A ¼ cup of cornstarch helps create a softer, more tender crumb.
Baking Soda
Baking soda provides the leavening for these cupcakes and works particularly well with the acidic ingredients in the batter.
Natural Unsweetened Cocoa Powder
You’ll only need 2 tablespoons.
That’s enough to give red velvet its subtle cocoa flavor without turning these into full chocolate cupcakes.
Salt
A little salt balances the sweetness and enhances the other flavors.
Butter
Use room-temperature butter so it creams properly with the sugar.
Butter gives the cupcakes richness and flavor.
Granulated Sugar
One cup sweetens the cupcakes while also contributing to their texture.
Vegetable Oil
Vegetable oil helps keep these cupcakes moist and tender even after they’ve cooled.
Eggs
You’ll need 2 large eggs, separated.
The yolks are mixed directly into the batter while the whites are whipped separately and folded in at the end.
Pure Vanilla Extract
Three teaspoons of vanilla give these cupcakes plenty of flavor.
White Vinegar
Don’t worry—you aren’t going to taste vinegar in your cupcakes.
The small amount contributes acidity to the batter and is part of that traditional red velvet flavor.
Red Food Coloring
You can use either gel or liquid red food coloring.
Add enough to achieve the shade of red you prefer.
Buttermilk
Use room-temperature buttermilk.
It contributes moisture, acidity, and that subtle tang that helps distinguish red velvet from regular chocolate cake.
Cream Cheese Frosting
Cream cheese frosting is the classic choice for red velvet cupcakes, although you can certainly use another frosting you love.
Why Use Natural Cocoa Powder?
For this particular recipe, use natural unsweetened cocoa powder rather than automatically swapping in Dutch-process cocoa.
Natural cocoa is acidic, while Dutch-process cocoa has been treated to reduce its acidity.
Because this recipe uses baking soda along with acidic ingredients like buttermilk and vinegar, changing the type of cocoa can affect the balance of the recipe.
It’s always safest to use the cocoa specified in a tested recipe.
You also only need 2 tablespoons.
Remember, we’re making red velvet—not chocolate cupcakes.
Why Add Cornstarch to Cupcakes?
Cornstarch is one of the ingredients helping us create that soft, delicate crumb.
Combining cornstarch with all-purpose flour effectively lowers the protein concentration of the flour mixture.
Less gluten development means a more tender cake texture.
It’s a simple technique that works especially well when you want light, soft cupcakes.
Why Use Both Butter and Vegetable Oil?
Butter and oil do different jobs in a cake batter, which is exactly why I like using both.
Butter adds flavor.
There’s a richness that butter brings to baked goods that oil simply doesn’t duplicate.
Vegetable oil adds lasting moisture.
Unlike butter, oil remains liquid at room temperature. That helps the cupcakes stay soft after they cool.
Together, you get a cupcake with the flavor of butter and the moist texture that oil provides.
Why Separate the Eggs?
This is one of the steps that makes this recipe a little different.
Instead of simply adding 2 whole eggs to the batter, separate the yolks from the whites.
The egg yolks are mixed into the butter and sugar mixture.
The egg whites are whipped until soft peaks form and gently folded into the batter at the very end.
Whipping incorporates air into the egg whites. Carefully folding that air into the batter helps create a lighter, fluffier cupcake.
Don’t rush the folding step or aggressively stir the whites into the batter.
You want to preserve as much of that air as possible.
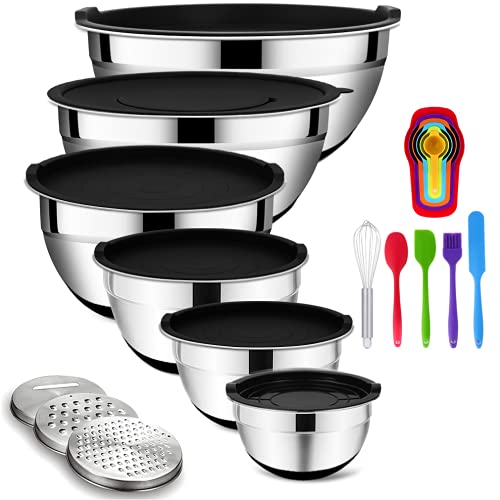
Tools for this recipe
 Buy Now →
  Buy Now →
  Buy Now →
 How to Make Easy Red Velvet Cupcakes
Step 1: Preheat the Oven
Preheat your oven to 350°F.
Line a standard 12-cup muffin pan with cupcake liners.
If you don’t have liners, grease the muffin cups well instead.
Step 2: Combine the Dry Ingredients
In a medium bowl, sift together:
- 1⅓ cups all-purpose flour
- ¼ cup cornstarch
- ½ teaspoon baking soda
- 2 tablespoons natural unsweetened cocoa powder
- ½ teaspoon salt
Set the flour mixture aside.
Sifting is particularly helpful here because cocoa powder can sometimes contain little lumps.
Step 3: Whip the Egg Whites
Separate the 2 eggs.
Place the egg whites into the clean bowl of your stand mixer.
Using the whisk attachment, beat the egg whites until soft peaks form, about 2–3 minutes.
When you lift the whisk, the egg whites should form a peak that gently bends over at the top rather than standing completely stiff.
Set the whipped whites aside.
Step 4: Beat the Butter
Switch to the paddle attachment.
Place the room-temperature butter into the mixing bowl and beat until smooth.
Step 5: Cream the Butter and Sugar
Add the granulated sugar.
Beat on high speed for approximately 2 minutes.
Stop and scrape down the sides and bottom of the bowl so everything mixes evenly.
Step 6: Add the Oil
Pour in the vegetable oil.
Beat for another 2 minutes.
The mixture may not look exactly like traditional creamed butter and sugar once the oil is incorporated, and that’s completely fine.
Step 7: Add the Yolks and Vanilla
Add the 2 egg yolks and vanilla extract.
Mix until well combined.
Scrape down the bowl again.
Step 8: Add Vinegar and Food Coloring
Mix in the white vinegar.
Add red food coloring until the batter reaches the shade you want.
Remember that gel food coloring is more concentrated than liquid food coloring, so you generally need much less.
Step 9: Alternate the Dry Ingredients and Buttermilk
Turn your mixer to low speed.
Add the dry ingredients in three portions, alternating with the room-temperature buttermilk.
Begin and end with the dry ingredients.
A simple order is:
- One-third of the dry ingredients
- Half of the buttermilk
- Another third of the dry ingredients
- Remaining buttermilk
- Remaining dry ingredients
Mix briefly after each addition.
Stop as soon as everything is incorporated.
Step 10: Fold in the Egg Whites
Gently fold the whipped egg whites into the cupcake batter using a rubber spatula.
I like to add them in portions rather than dumping everything in at once.
Cut through the center of the batter with your spatula, scoop underneath, and fold the batter over the whites.
Continue just until you no longer see obvious streaks of egg white.
Don’t beat or vigorously stir the batter.
Step 11: Fill the Cupcake Liners
Divide the batter evenly among the prepared cupcake liners.
Fill each approximately ⅔ full.
A cookie or ice cream scoop makes this much easier and helps you get evenly sized cupcakes.
Step 12: Bake
Bake at 350°F for 18–22 minutes.
The cupcakes are done when the tops spring back after being gently touched.
You can also insert a toothpick into the center. It should come out clean or with a few moist crumbs.
Start checking at 18 minutes so you don’t accidentally overbake them.
Step 13: Cool
Allow the cupcakes to cool in the pan for approximately 5 minutes.
Then transfer them to a wire rack.
Let them cool completely before frosting.
This is important, especially when you’re using cream cheese frosting.
Warm cupcakes will soften or melt the frosting.
How to Get Moist Red Velvet Cupcakes
No one wants a dry cupcake, and there are a few simple things you can do to prevent it.
Measure Your Flour Properly
Too much flour can quickly turn a moist cupcake into a dry one.
If you have a kitchen scale, weighing flour gives you the most consistent results.
If you’re measuring by volume, spoon flour into your measuring cup and level the top rather than scooping directly from the flour container and packing it down.
Don’t Leave Out the Oil
It may be tempting to replace the vegetable oil with more butter, but the oil plays an important role in keeping these cupcakes moist.
Don’t Overmix
Once flour enters the batter, mix only as much as necessary.
Overmixing develops gluten and can give you a tougher cake texture.
Fold the Egg Whites Gently
The air in those whipped egg whites contributes to the cupcake’s light texture.
Don’t Overbake
Start checking the cupcakes around 18 minutes.
A few extra minutes in the oven can make a surprisingly big difference in a small cake like a cupcake.
Room-Temperature Ingredients Make a Difference
Your butter and buttermilk should be at room temperature, and having your eggs closer to room temperature is helpful too.
Ingredients that are similar in temperature combine more easily into a smooth batter.
Cold buttermilk or eggs can cause softened butter to firm up again, making it more difficult to create a properly emulsified batter.
If you know you’re baking later in the day, set your refrigerated ingredients out ahead of time.
Gel vs. Liquid Red Food Coloring
Both work.
Gel food coloring is highly concentrated, so you can achieve a vibrant red without adding much extra liquid.
Liquid food coloring is less concentrated, so you’ll generally need more.
I usually prefer gel when I want a deeper red.
Add coloring gradually until you reach a shade you’re happy with rather than adding a huge amount at once.
How Much Food Coloring Do I Need?
There isn’t one perfect amount because brands and types of food coloring vary considerably in concentration.
Gel coloring can be very strong, while standard liquid coloring is much weaker.
Start with a smaller amount and add more as necessary.
The natural cocoa powder means your batter won’t begin completely white, so you’ll need enough red to overcome some of that brown color.
Why Do Red Velvet Cupcakes Have Vinegar?
Vinegar might sound strange in a cupcake, but it’s a classic red velvet ingredient.
You’re only using 1 teaspoon, so the finished cupcakes won’t taste like vinegar.
It contributes acidity to the batter and works alongside the buttermilk and baking soda.
That acidity is part of the subtle tang that makes red velvet taste different from ordinary chocolate or vanilla cake.
Can I Substitute Regular Milk for Buttermilk?
For the best flavor and texture, I recommend using real buttermilk.
Buttermilk doesn’t just provide liquid. Its acidity and characteristic tang are part of the recipe.
If you absolutely need a substitute, you can use a homemade soured-milk substitute, but the flavor and consistency may not be exactly the same.
For the best red velvet cupcakes, use buttermilk when possible.
What’s the Best Frosting for Red Velvet Cupcakes?
Cream cheese frosting is the classic pairing.
Its creamy, tangy flavor works perfectly with the vanilla, cocoa, and buttermilk flavors in red velvet.
You could also use:
- Vanilla buttercream
- White chocolate buttercream
- Chocolate frosting
But if you want that traditional red velvet experience, I’d choose cream cheese frosting.
A Note About Piping Cream Cheese Frosting
Some cream cheese frosting recipes are deliberately soft and creamy, which makes them delicious for spreading but not necessarily ideal for tall decorative piping.
If your frosting is too soft, don’t keep adding huge amounts of powdered sugar just to force it to hold a shape.
You can simply spread it over the cupcakes with an offset spatula for a pretty homemade finish.
If you specifically want tall bakery-style swirls, use a cream cheese frosting recipe formulated to be sturdy enough for piping.
Easy Ways to Decorate Red Velvet Cupcakes
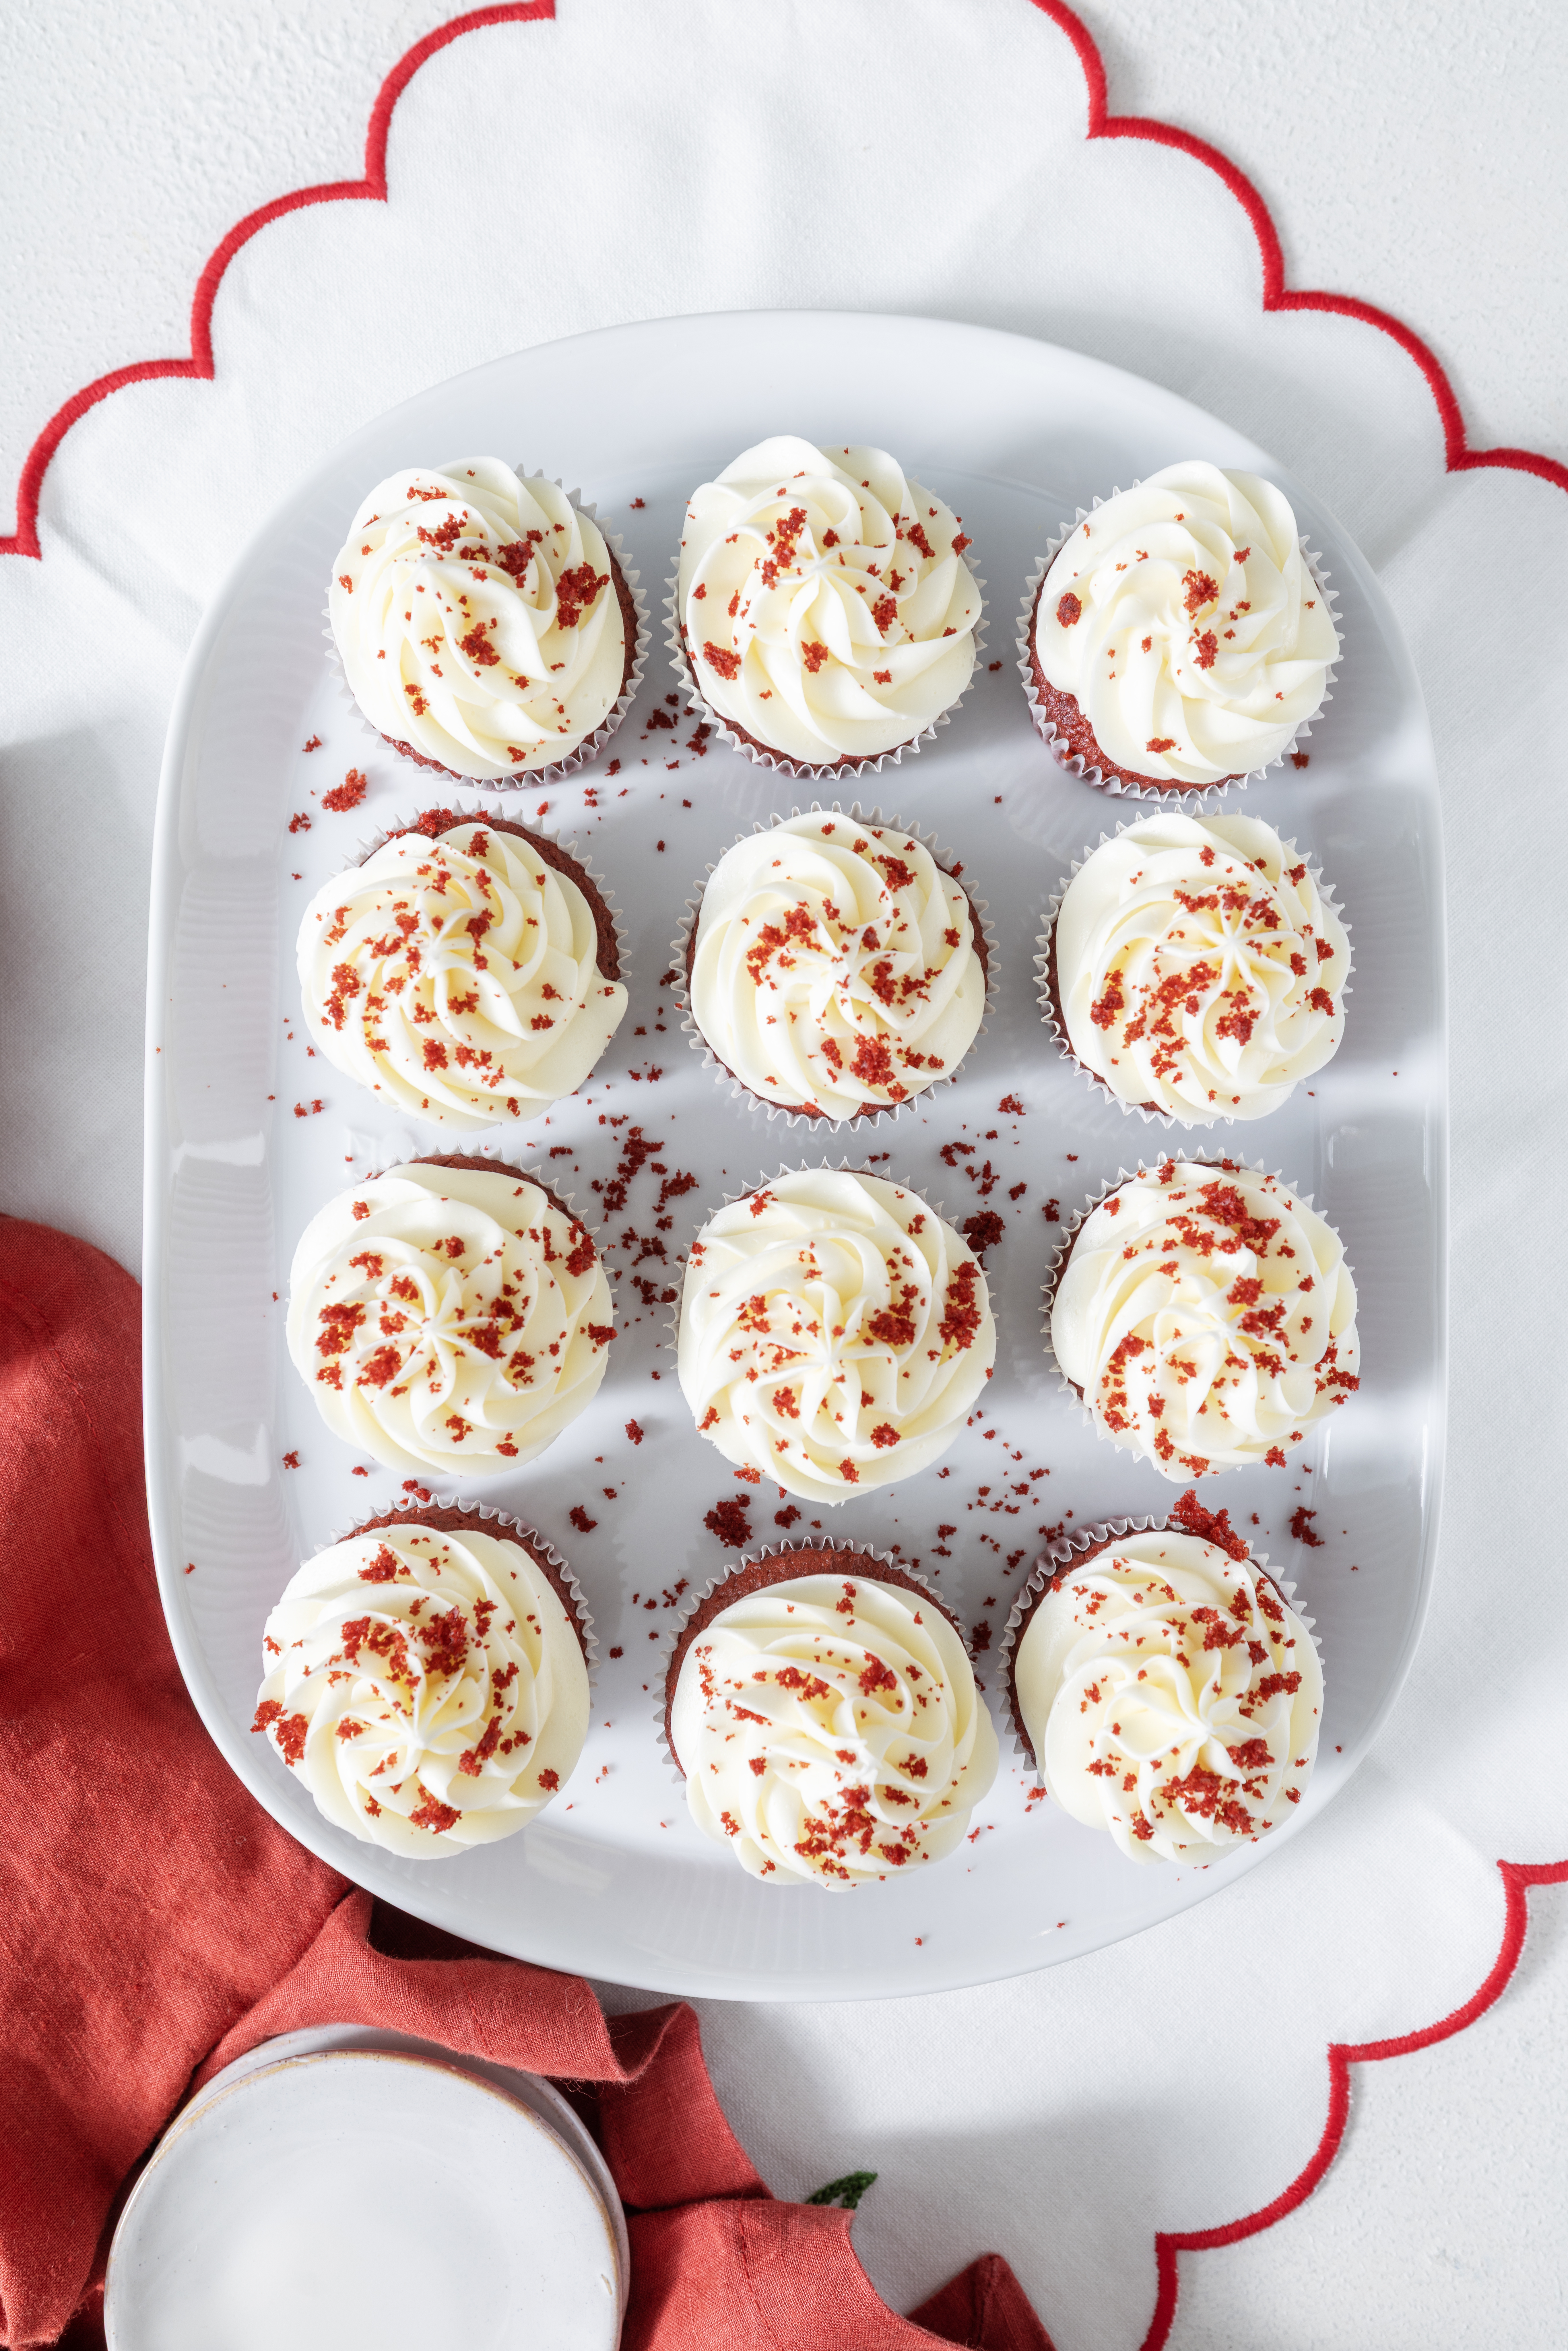
You don’t need elaborate decorating skills.
One of my favorite finishes is simply frosting the cupcake and sprinkling a few red velvet crumbs over the top.
You could also use:
- Red or pink sprinkles for Valentine’s Day
- Heart sprinkles
- White chocolate curls
- Chocolate shavings
- Fresh strawberries
- Fresh raspberries
- Holiday sprinkles for Christmas
- Mini chocolate chips
The contrast between the red cake and white cream cheese frosting is already beautiful, so simple decorations work especially well.
Perfect for Valentine’s Day
Red velvet cupcakes are one of my favorite Valentine’s Day desserts because you don’t have to do much to make them feel festive.
Add cream cheese frosting and a few heart-shaped sprinkles and they’re ready for a Valentine’s party or dessert.
They’re also easy to transport compared with a full-size layer cake.
Red Velvet Cupcakes for Christmas
That beautiful red color works just as well for Christmas.
Top the cupcakes with cream cheese frosting and red, green, or white sprinkles.
You can even arrange them on a platter with other Christmas cookies and desserts for an easy holiday dessert table.
Can I Make These Cupcakes Ahead of Time?
Yes.
Bake the cupcakes, allow them to cool completely, and store the unfrosted cupcakes in an airtight container.
For the freshest result, I like to frost them closer to when they’ll be served.
You can easily bake the cupcakes the day before a party and decorate them the following day.
How to Store Red Velvet Cupcakes
Unfrosted cupcakes can be kept in an airtight container at room temperature for about 2 days.
Once you’ve added cream cheese frosting, store the cupcakes covered in the refrigerator.
For the best texture and flavor, take refrigerated cupcakes out a little before serving so they aren’t ice-cold.
Can I Freeze Red Velvet Cupcakes?
Yes.
These cupcakes are easiest to freeze before frosting.
Let them cool completely.
Wrap the cupcakes individually and place them in a freezer-safe airtight container or freezer bag.
Freeze for up to about 2–3 months.
Thaw at room temperature and frost once completely defrosted.
Can I Make Mini Red Velvet Cupcakes?
Yes.
Use a mini muffin pan and fill each cup about two-thirds full.
Because mini cupcakes are much smaller, they’ll bake considerably faster.
Start checking them early rather than using the full baking time for standard cupcakes.
Can I Double This Recipe?
Yes.
If you’re making cupcakes for a birthday, Valentine’s Day party, holiday gathering, or bake sale, you can double the recipe to make approximately 24 standard cupcakes.
For the most consistent baking, avoid overcrowding your oven.
Why Did My Cupcakes Turn Out Dense?
A few things can cause dense cupcakes.
The batter may have been overmixed after the flour was added.
The whipped egg whites may also have been stirred too aggressively into the batter, knocking out the air you worked to incorporate.
Old baking soda can also affect how well cupcakes rise.
Finally, check that you measured your flour accurately.
Why Did My Cupcakes Sink in the Middle?
Cupcakes that rise and then collapse may have been underbaked.
Opening the oven door too early can also cause the temperature to suddenly drop before the cupcake structure has set.
Incorrectly measuring the baking soda can create problems too.
Wait until you’re close to the end of the baking time before checking them.
Why Are My Cupcakes Dry?
The most likely causes are too much flour or too much time in the oven.
Because cupcakes are small, they can go from perfectly baked to dry relatively quickly.
Measure the flour carefully and start checking them at 18 minutes.
Why Aren’t My Cupcakes Bright Red?
Natural cocoa powder gives the batter some brown color before you ever add food coloring.
That’s normal.
The final shade will depend heavily on the food coloring you’re using.
If you’re having trouble achieving a deep red with liquid coloring, try a concentrated gel food coloring instead.
Are Red Velvet Cupcakes Chocolate Cupcakes?
Not really.
Although red velvet contains cocoa powder, this recipe only uses 2 tablespoons.
A traditional chocolate cupcake uses considerably more cocoa or chocolate because chocolate is meant to be the dominant flavor.
With red velvet, cocoa is only one part of the flavor.
Vanilla, buttermilk, butter, and that slight acidic tang are just as important.
More Dessert Recipes From Krystel’s Cooking
If you love red velvet, make my The Best Red Velvet Cookies next. They’re soft, chewy, filled with subtle cocoa flavor, and loaded with white chocolate chips for another fun way to enjoy that classic red velvet combination.
If you’re craving something with even more chocolate, try my Easy Chocolate Turtle Cupcakes. They combine moist chocolate cupcakes with caramel buttercream, chocolate, caramel sauce, and toasted pecans for a completely different but equally indulgent cupcake.
My Easy Chocolate Crinkle Cookies are another great option for chocolate lovers. They’re soft and fudgy with a pretty powdered sugar coating and are especially good for holiday baking.
And for something completely different but still bakery-inspired, try my Coffee Cake Cookies with cinnamon streusel and vanilla icing.
Frequently Asked Questions
What flavor are red velvet cupcakes?
Red velvet has a subtle cocoa flavor combined with vanilla and a slight tang from buttermilk and vinegar.
What cocoa powder should I use?
Use natural unsweetened cocoa powder for this recipe.
Can I use Dutch-process cocoa?
I recommend sticking with natural cocoa because that’s what this recipe was developed around. Natural and Dutch-process cocoa have different acidity levels.
Why is there vinegar in red velvet cake?
Vinegar contributes acidity to the batter and works alongside the buttermilk and baking soda. You won’t taste vinegar in the baked cupcakes.
Why do you use cornstarch?
Cornstarch helps create a softer, more tender cupcake crumb.
Why do you use butter and oil?
Butter provides flavor while vegetable oil helps keep the cupcakes moist.
Why are the eggs separated?
The egg whites are whipped separately to incorporate air, then gently folded into the batter to help create a lighter texture.
What frosting goes best with red velvet?
Cream cheese frosting is the classic choice.
Can I make the cupcakes without food coloring?
Yes. Food coloring affects the appearance rather than creating the red velvet flavor. Without it, your cupcakes will simply be much less red.
Can I use gel food coloring?
Yes. Gel food coloring is actually my preference when I want a deeper red because it’s more concentrated.
How full should I fill the cupcake liners?
Fill them approximately two-thirds full.
How do I know when red velvet cupcakes are done?
The tops should spring back when lightly touched. A toothpick inserted into the center should also come out clean or with a few moist crumbs.
How long should I cool cupcakes before frosting?
Let them cool for about 5 minutes in the pan before moving them to a wire rack. Wait until they’re completely cool before adding frosting.
Can I make these the day before?
Yes. Bake and store the unfrosted cupcakes in an airtight container, then decorate them the next day.
Final Thoughts
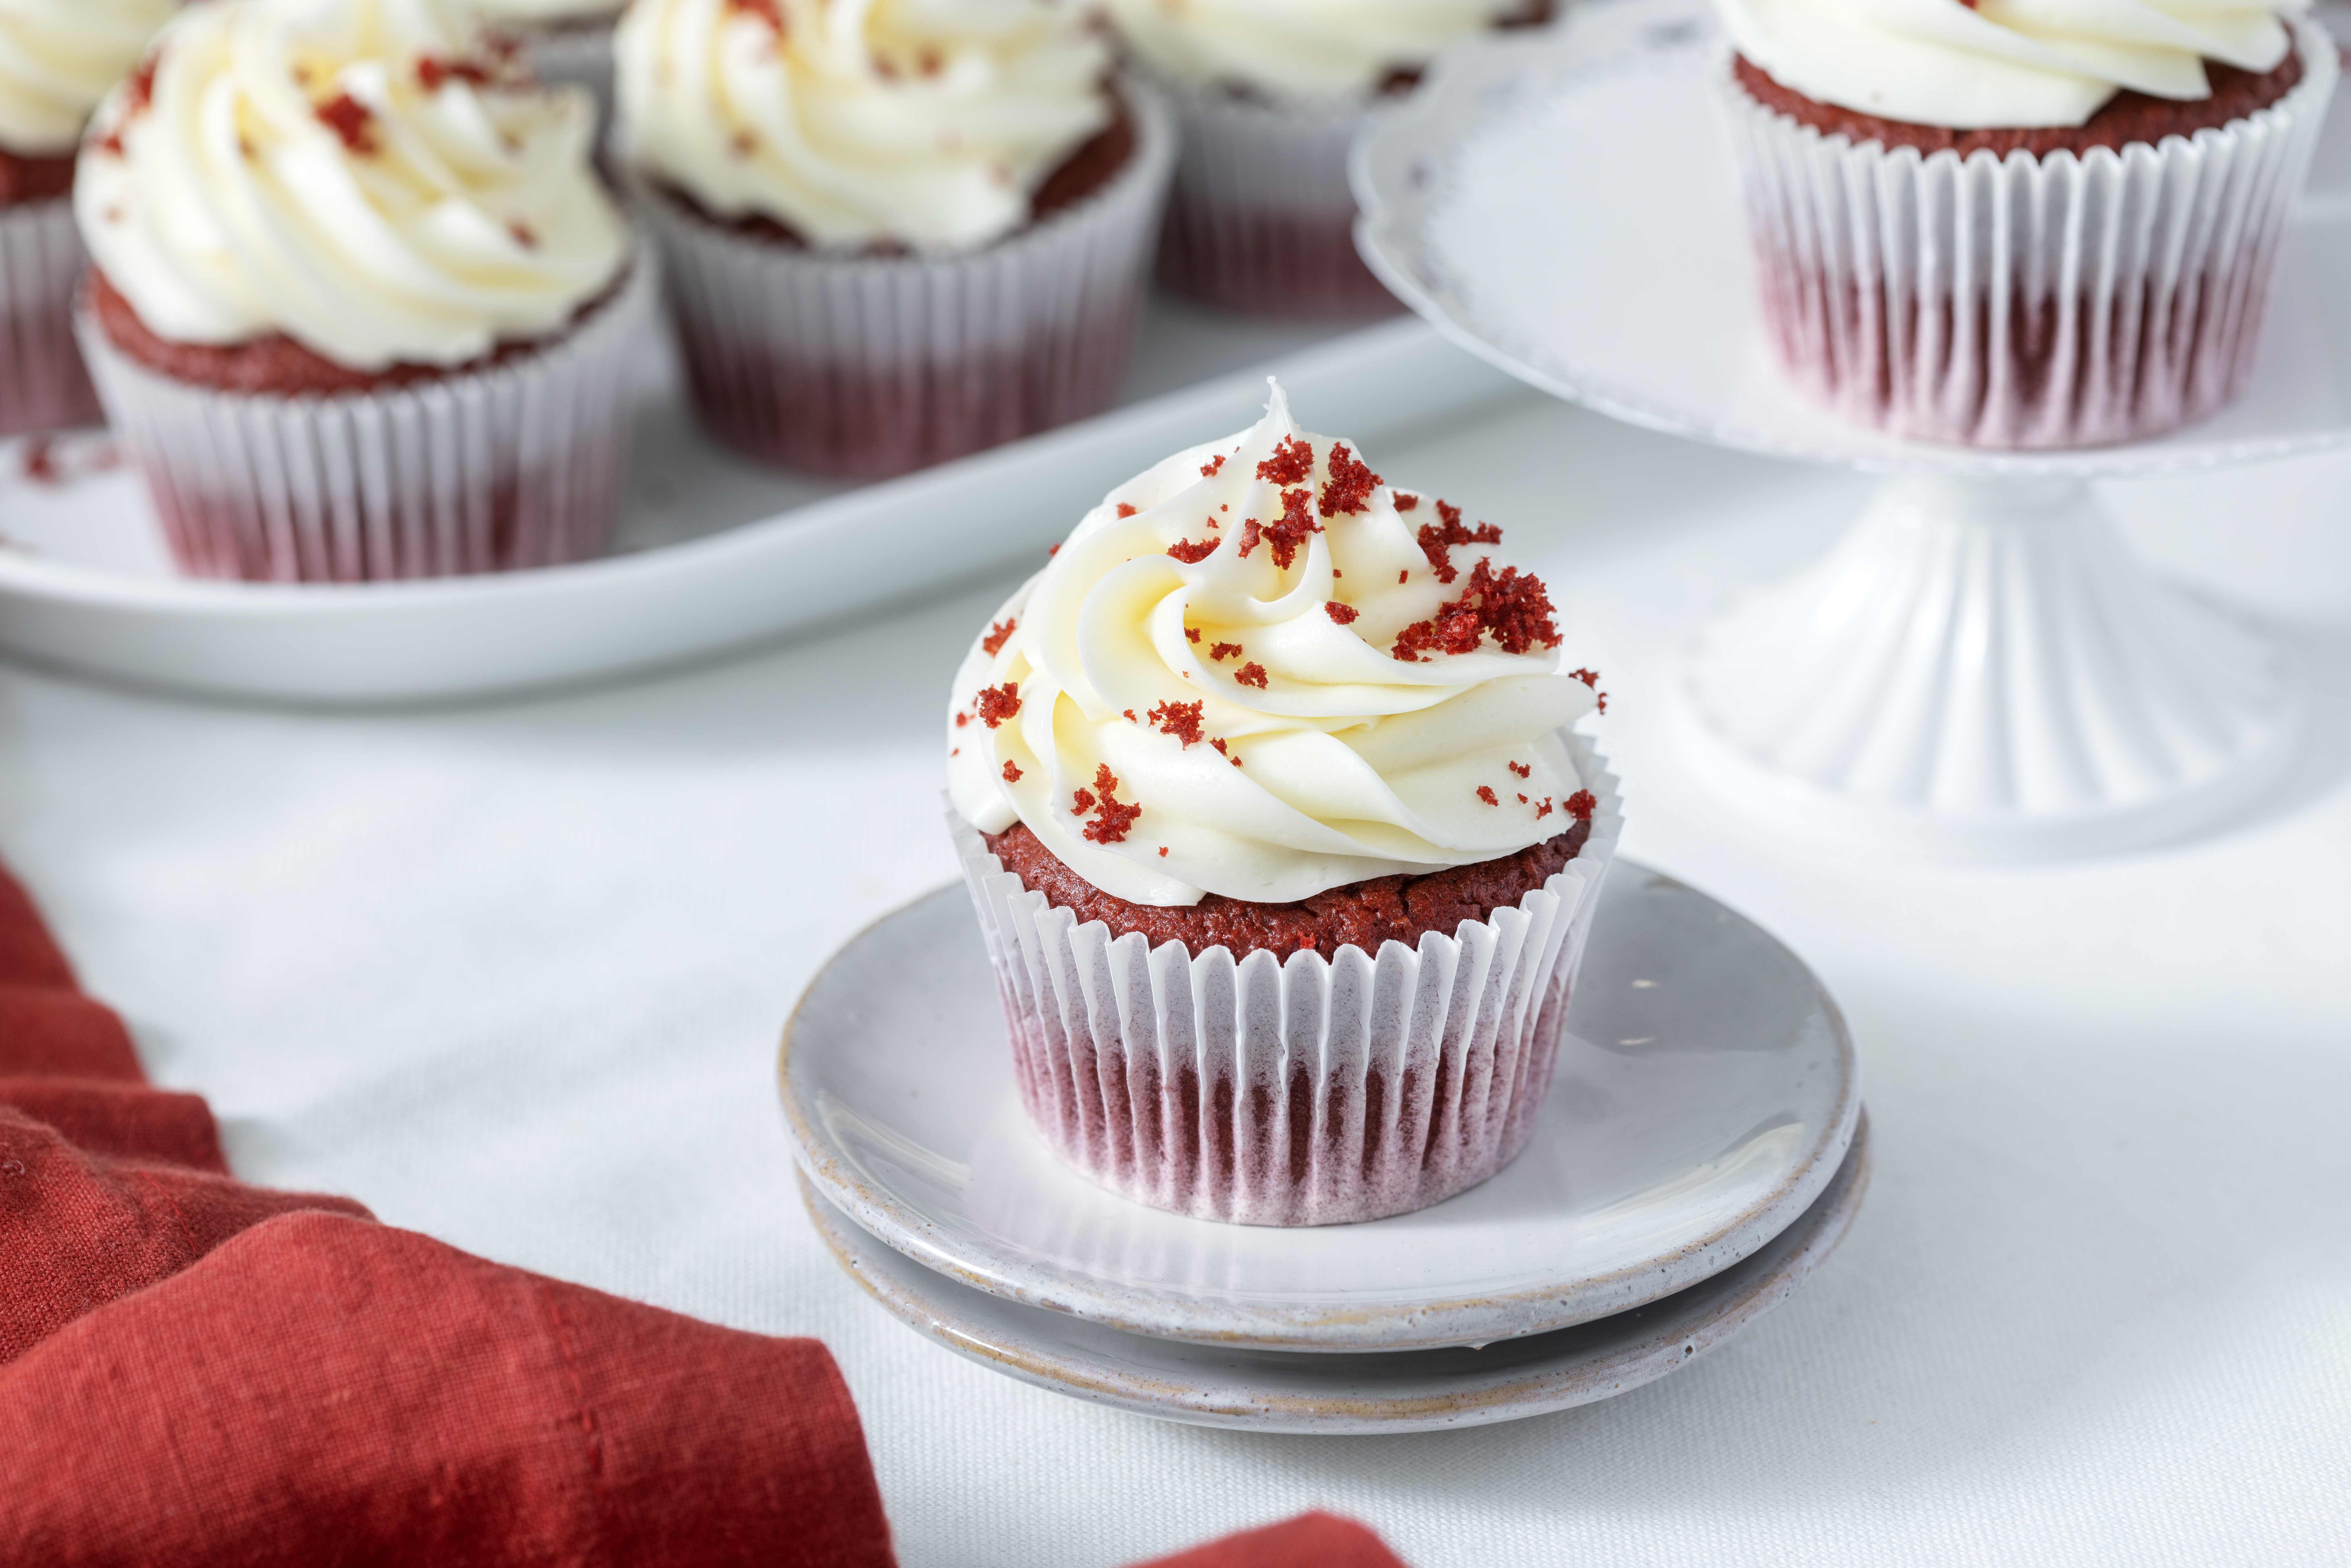
These Easy Red Velvet Cupcakes have everything I want in a classic red velvet dessert: a beautiful red color, soft and fluffy texture, plenty of moisture, subtle cocoa flavor, vanilla, and just enough tang from the buttermilk and vinegar.
Using both butter and vegetable oil gives you the best of both worlds—rich buttery flavor with a soft cupcake that stays moist after cooling.
And while whipping the egg whites separately adds one extra step, it’s worth taking those few additional minutes for that lighter, more delicate crumb.
Finish them with cream cheese frosting and keep the decorations simple, or dress them up for Valentine’s Day, Christmas, birthdays, or another special occasion.
Either way, this is an easy homemade red velvet cupcake recipe that’s just as pretty on the dessert table as it is delicious.
Easy Red Velvet Cupcakes
Ingredients
- 2 large eggs separated
- 1 1/3 all-purpose flour
- 1/4 cup cornstarch
- 1/2 teaspoon baking soda
- 2 tablespoons natural unsweetened cocoa powder
- 1/2 teaspoon salt
- 1/4 cup butter room temperature
- 1 cup granulated sugar
- 1/2 cup vegetable oil
- 3 teaspoons pure vanilla extract
- 1 teaspoon white vinegar
- Red food coloring, gel or liquid
- 1/2 cup buttermilk room temperature
- Cream Cheese frosting or other frosting if you have a favorite.
Instructions
- Heat the oven to 350°F. Prepare a muffin pan with liners or grease well.
- Sift together flour, cornstarch, baking soda, cocoa powder, and salt. Set aside.
- Using a mixer with a whisk attachment, beat 2 egg whites until soft peaks form (about 2-3 mins). Set aside.
- Switch to a paddle attachment, beat butter until smooth. Add sugar, creaming on high for 2 mins. Scrape down, add oil, and beat for another 2 mins.
- Incorporate 2 egg yolks and vanilla. Mix well, scrape down, and add vinegar and food coloring for desired hue.
- On low speed, add dry ingredients in three parts, alternating with buttermilk. Begin and end with dry ingredients. Mix after each addition, avoiding overmixing.
- Gently fold whipped egg whites into the batter.
- Fill cupcake liners 2/3 full and bake for 18-22 minutes until tops spring back. Cool for 5 minutes, then transfer to a wire rack.
- Ensure cupcakes are completely cool before frosting with your chosen icing. Cream cheese frosting is a classic choice, though it may be too thin for piping.
