

Chicken Pot Pie
The Ultimate Chicken Pot Pie
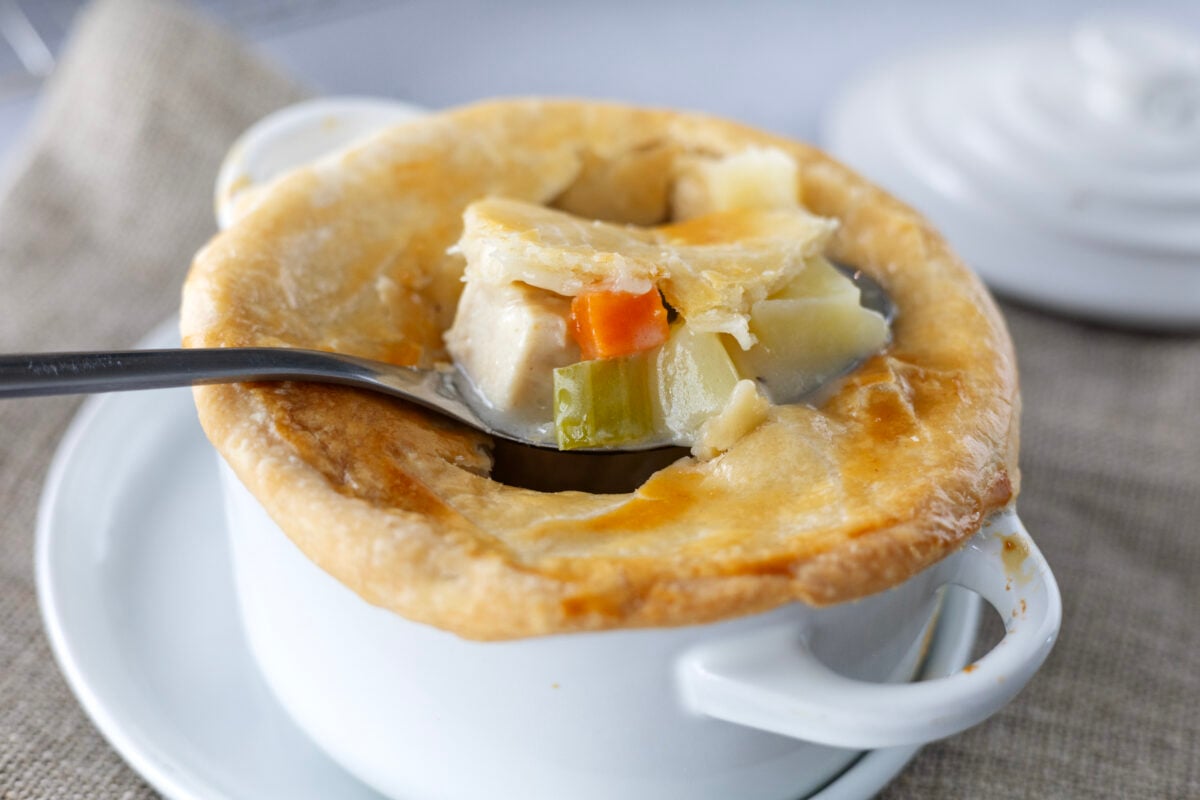
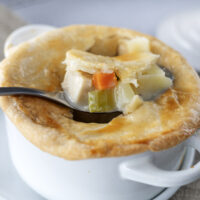
There are some dinners that just feel like comfort food the second they hit the table, and this homemade Chicken Pot Pie is definitely one of them. Each individual pie is filled with tender chicken, potatoes, carrots, peas, celery, and onion in a creamy chicken gravy, then topped with a buttery homemade pie crust that bakes until crisp and golden brown.
What really makes this recipe special is that we aren’t relying on a canned soup or store-bought crust. The creamy chicken pot pie filling is made from scratch with chicken broth, butter, flour, milk, and vegetables, and the flaky pie crust comes together with just flour, cold butter, salt, and ice water.
The result is a cozy meal that tastes like the classic chicken pot pie you remember, only made in individual ramekins so everyone gets plenty of flaky crust.
If you’re looking for the ultimate comfort food for a cool evening, Sunday dinner, or an easy way to use leftover chicken, this is one of those recipes worth keeping.
Why You’ll Love This Chicken Pot Pie
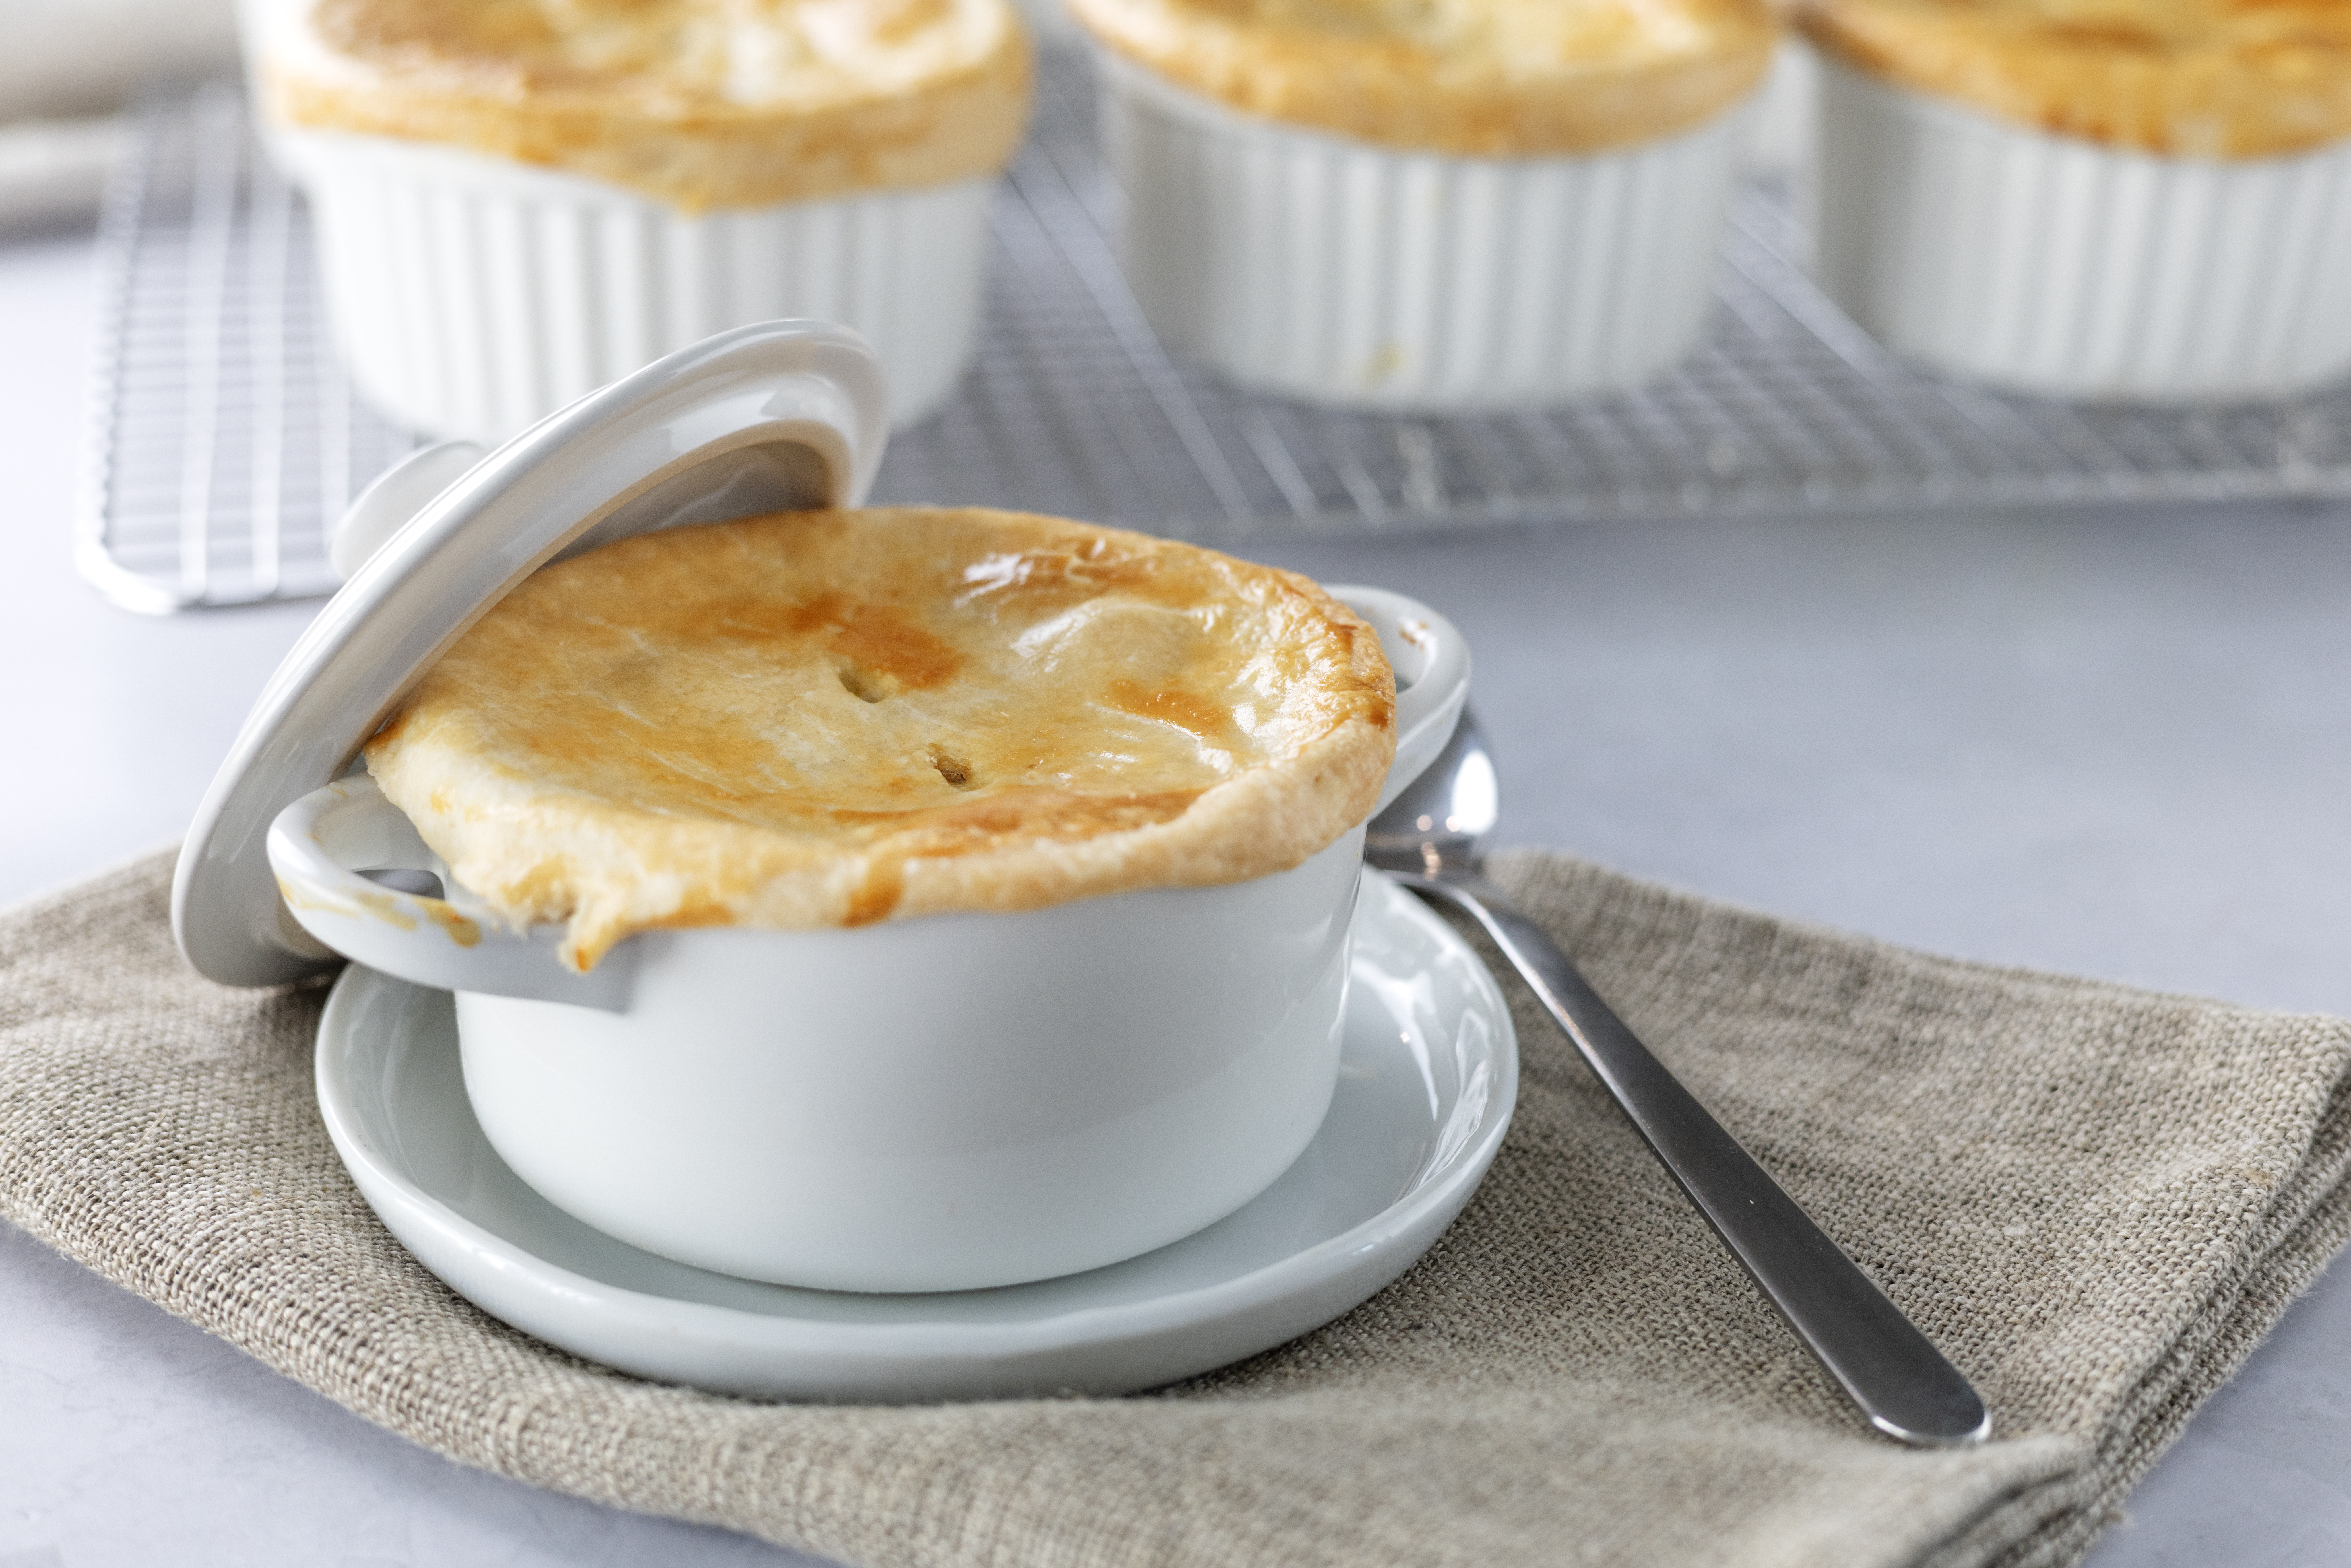
There is a lot to love about this easy homemade chicken pot pie.
- The creamy filling is made completely from scratch.
- You get tender chicken and vegetables in every bite.
- The homemade pie crust is buttery and flaky.
- Individual chicken pot pies give everyone their own golden top crust.
- It’s a great way to use leftover chicken.
- Rotisserie chicken can make the filling even easier.
- The recipe is hearty enough to be a complete meal.
- You can prepare parts of it ahead of time.
- The filling can also be adapted for a whole pie.
- It’s classic comfort food the whole family can enjoy.
For me, the best part is breaking through that crisp crust and getting a spoonful of creamy filling underneath.
Ingredients You’ll Need
For the Chicken Pot Pie Filling
- 2 medium baked chicken breasts, diced
- 1¼ cups hot water
- 2 chicken bouillon cubes
- 6 tablespoons butter, softened and divided
- ½ cup milk
- 1 celery stalk, diced
- ⅓ cup frozen diced carrots
- ¼ cup frozen peas
- ¼ cup all-purpose flour
- ¼ cup onion, finely chopped
- 1 tablespoon cornstarch
- 1 Yukon Gold potato, peeled and diced
- Salt and black pepper to taste
For the Homemade Pie Crust
- 2¼ cups all-purpose flour
- 1 cup cold butter, cut into cubes
- ½ cup cold water, plus up to 2 additional tablespoons as needed
- ½ teaspoon salt
For Finishing
- 1 egg, beaten, for egg wash
Equipment You’ll Need
- Food processor
- Rolling pin
- Ramekins
- Large saucepan
- Mixing bowls
- Pastry brush
- Sharp knife
What Kind of Chicken Is Best for Chicken Pot Pie?
This recipe uses cooked chicken breasts, which keeps the filling simple.
You can bake boneless skinless chicken breasts specifically for the recipe, or use chicken you already have.
Leftover chicken is a great option.
Rotisserie chicken also works really well and can save a lot of prep time. Just remove the skin, shred or dice the meat, and measure what you need for the filling.
Whatever chicken you use, make sure it is already fully cooked before stirring it into the creamy filling.
Can I Use Leftover Chicken?
Absolutely.
Chicken pot pie is one of my favorite ways to turn leftover chicken into an entirely different meal.
You can use leftover:
- Baked chicken
- Roasted chicken
- Rotisserie chicken
- Grilled chicken
- Poached chicken
Dice or shred it before adding it to the filling.
This recipe is also a great way to use leftover turkey after the holidays. Simply swap the cooked chicken for turkey and make a turkey pot pie instead.
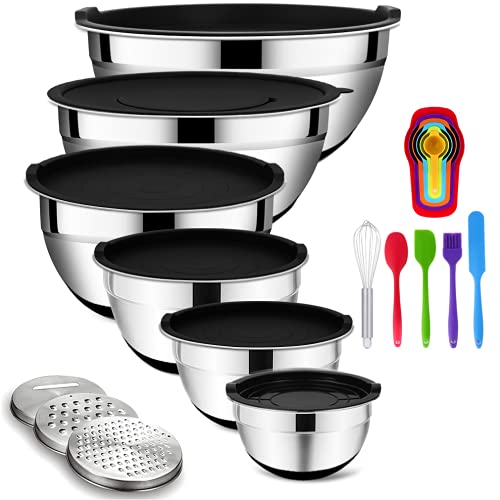
Tools for this recipe
 Buy Now →
  Buy Now →
  Buy Now →
 How to Make Chicken Pot Pie
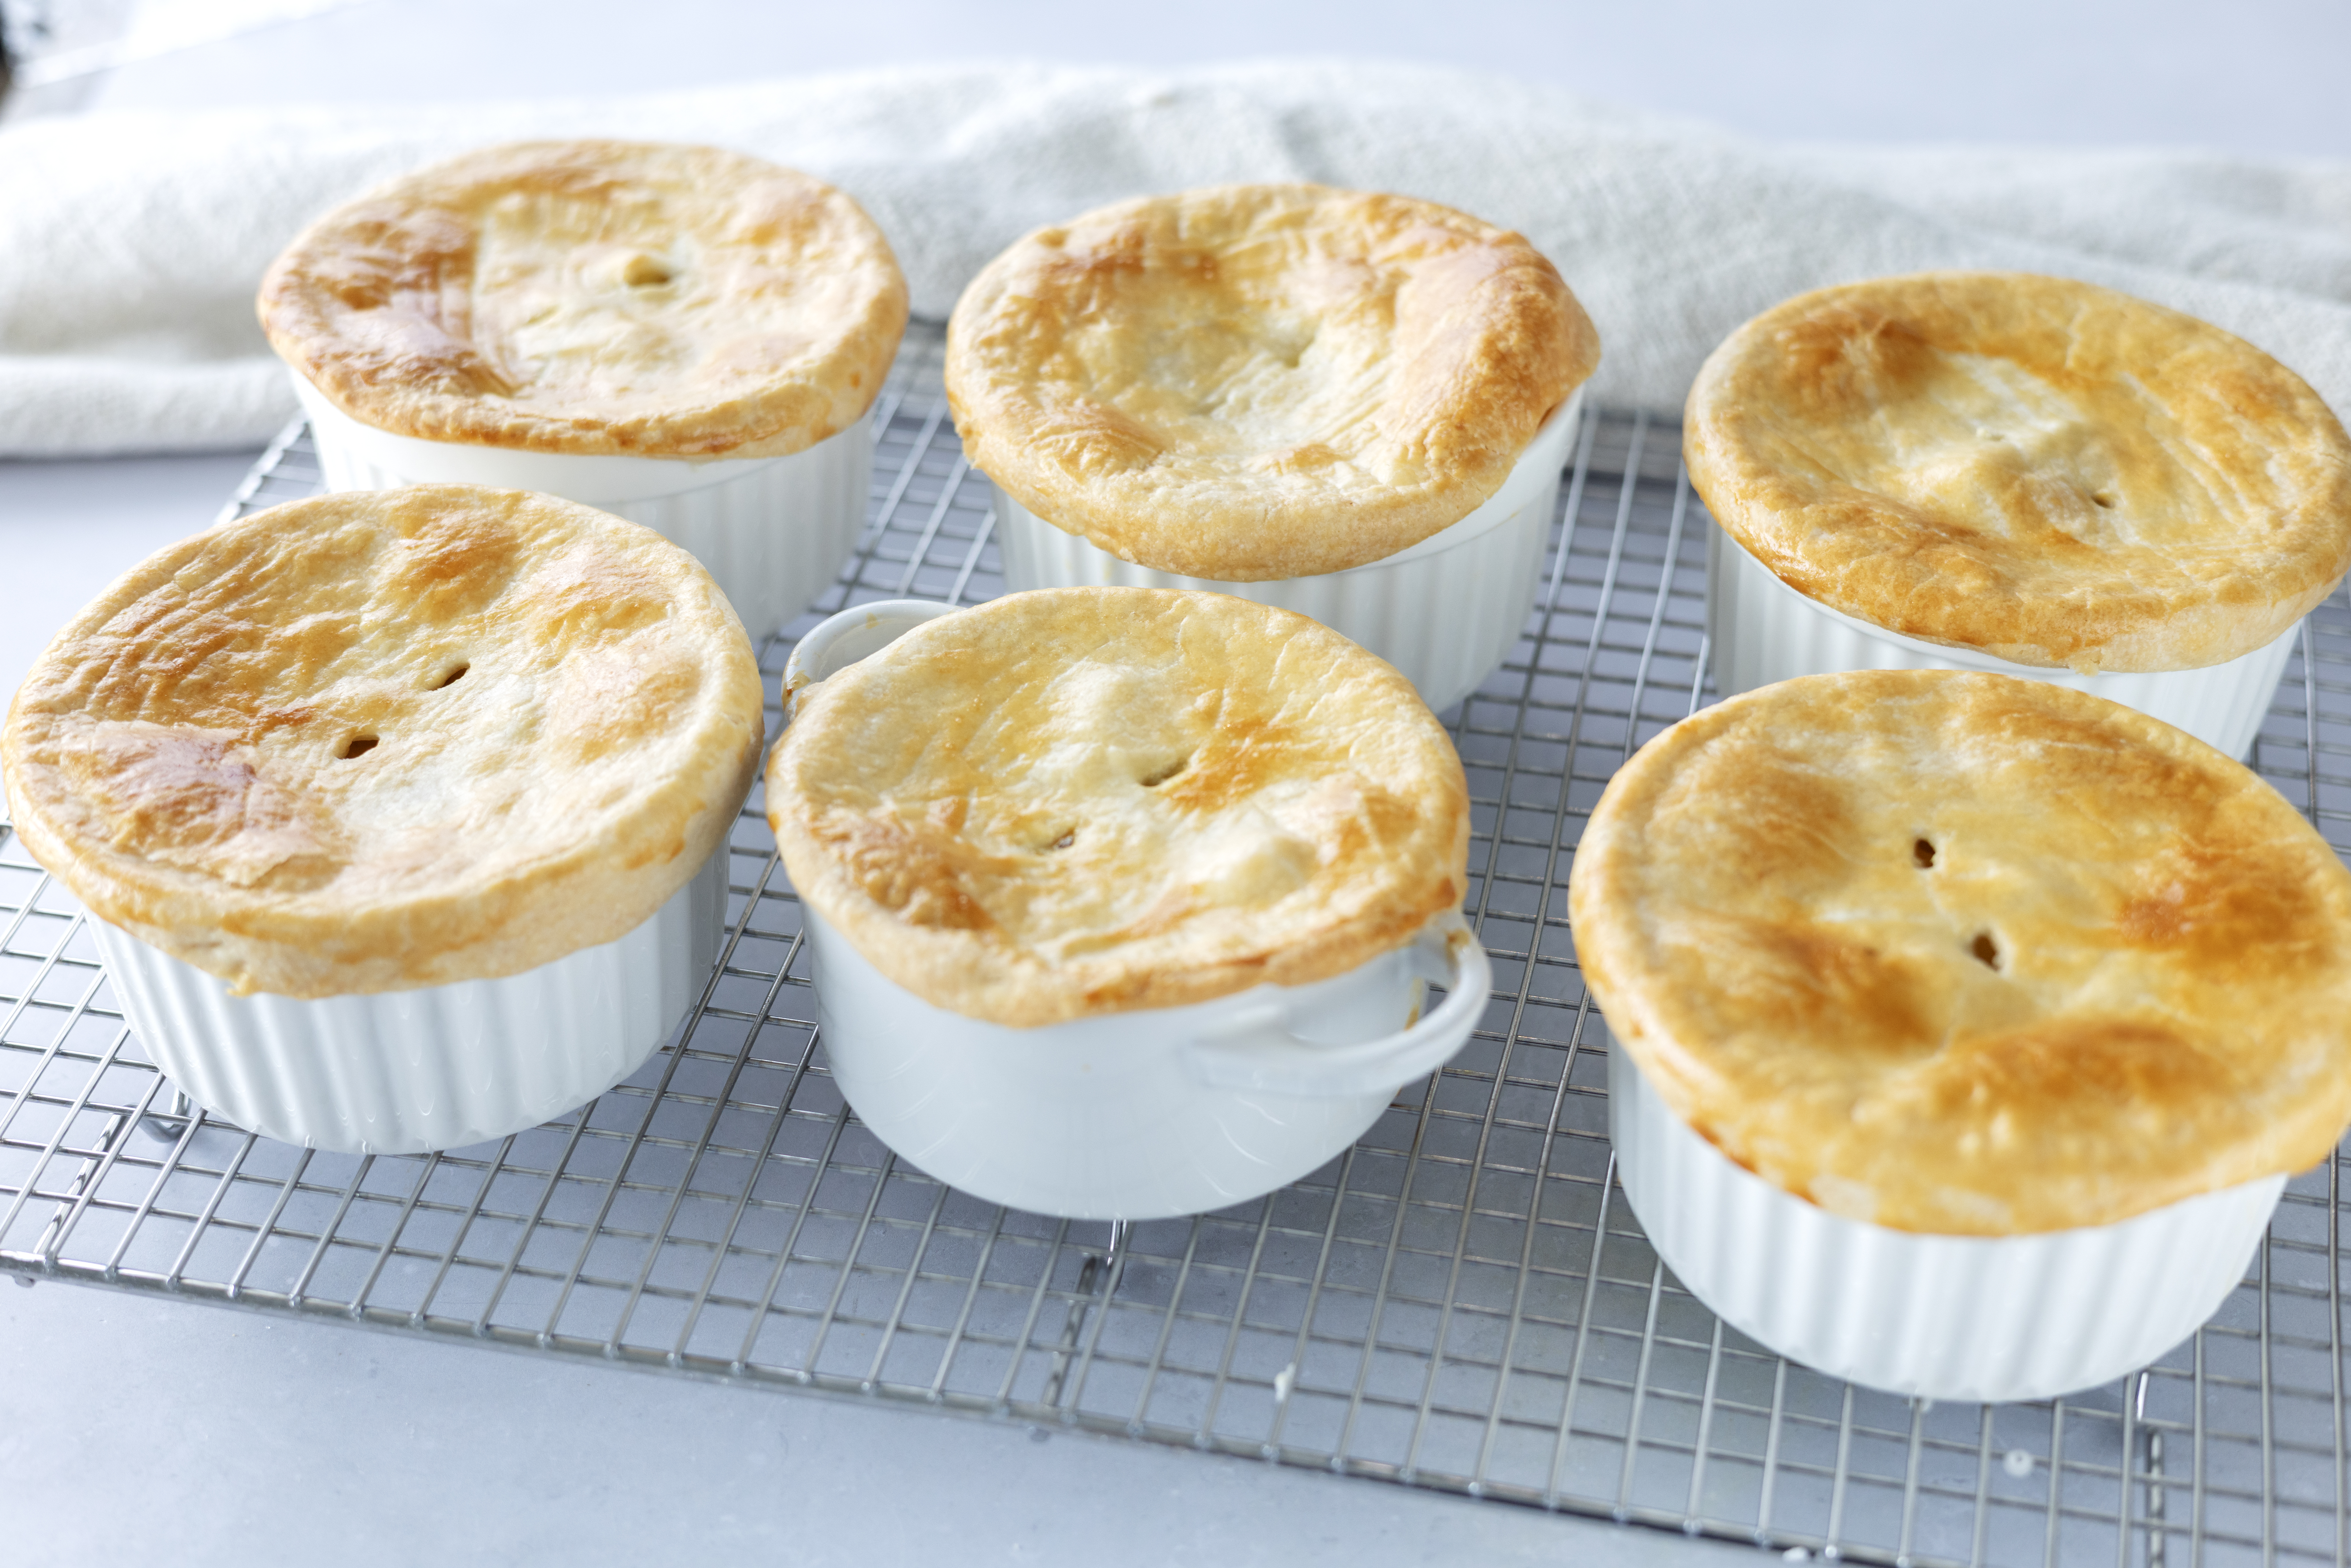
There are two main parts to this recipe: the creamy chicken filling and the homemade crust.
It looks like a lot of steps when written out, but each part is straightforward.
Step 1: Preheat the Oven
Preheat your oven to 375°F.
You want the oven fully heated before the assembled pot pies go in so the crust begins baking immediately.
Step 2: Make the Butter and Flour Mixture
In a small bowl, combine:
- 4 tablespoons softened butter
- ¼ cup all-purpose flour
Mix until smooth.
Set this mixture aside.
This will help thicken the chicken pot pie filling later.
Step 3: Make the Cornstarch Mixture
In another small bowl or measuring cup, whisk the cornstarch into the milk.
Mix until there are no visible lumps.
Set aside.
Using both flour and cornstarch helps create a rich, creamy filling that is thick enough to stay inside the crust rather than running everywhere when you cut into the pie.
Step 4: Sauté the Vegetables
Place a large saucepan over medium-high heat.
Melt the remaining 2 tablespoons of butter.
Add:
- Onion
- Carrots
- Celery
Sauté for approximately 3 minutes.
You’re not trying to fully cook the vegetables at this point. This step simply begins softening them and develops a little more flavor.
Step 5: Add the Chicken Broth and Potato
Dissolve the chicken bouillon cubes in the hot water.
Pour the chicken broth into the saucepan.
Add the diced Yukon Gold potato.
Bring the mixture to a boil.
Cover and reduce the heat to a simmer.
Cook for about 10 minutes or until the vegetables and potato are just tender.
You don’t want the potato falling apart because it will continue cooking once the pot pie bakes.
Step 6: Thicken the Filling
Stir the butter and flour mixture into the hot broth.
Continue stirring as the filling returns to a gentle boil.
The mixture will begin to thicken.
Next, pour in the milk and cornstarch mixture while stirring.
Bring everything back to a gentle boil.
You should now have a creamy sauce that coats the vegetables.
Step 7: Add the Chicken and Peas
Season the filling with salt and black pepper to taste.
Stir in:
- Cooked chicken
- Frozen peas
Mix until everything is evenly coated in the creamy filling.
Remove from the heat.
Cover and allow the filling to cool while you prepare the homemade crust.
Cooling the filling a little before assembly is important because extremely hot filling can begin melting the butter in the pie dough before the pot pies ever reach the oven.
How to Make Homemade Pie Crust
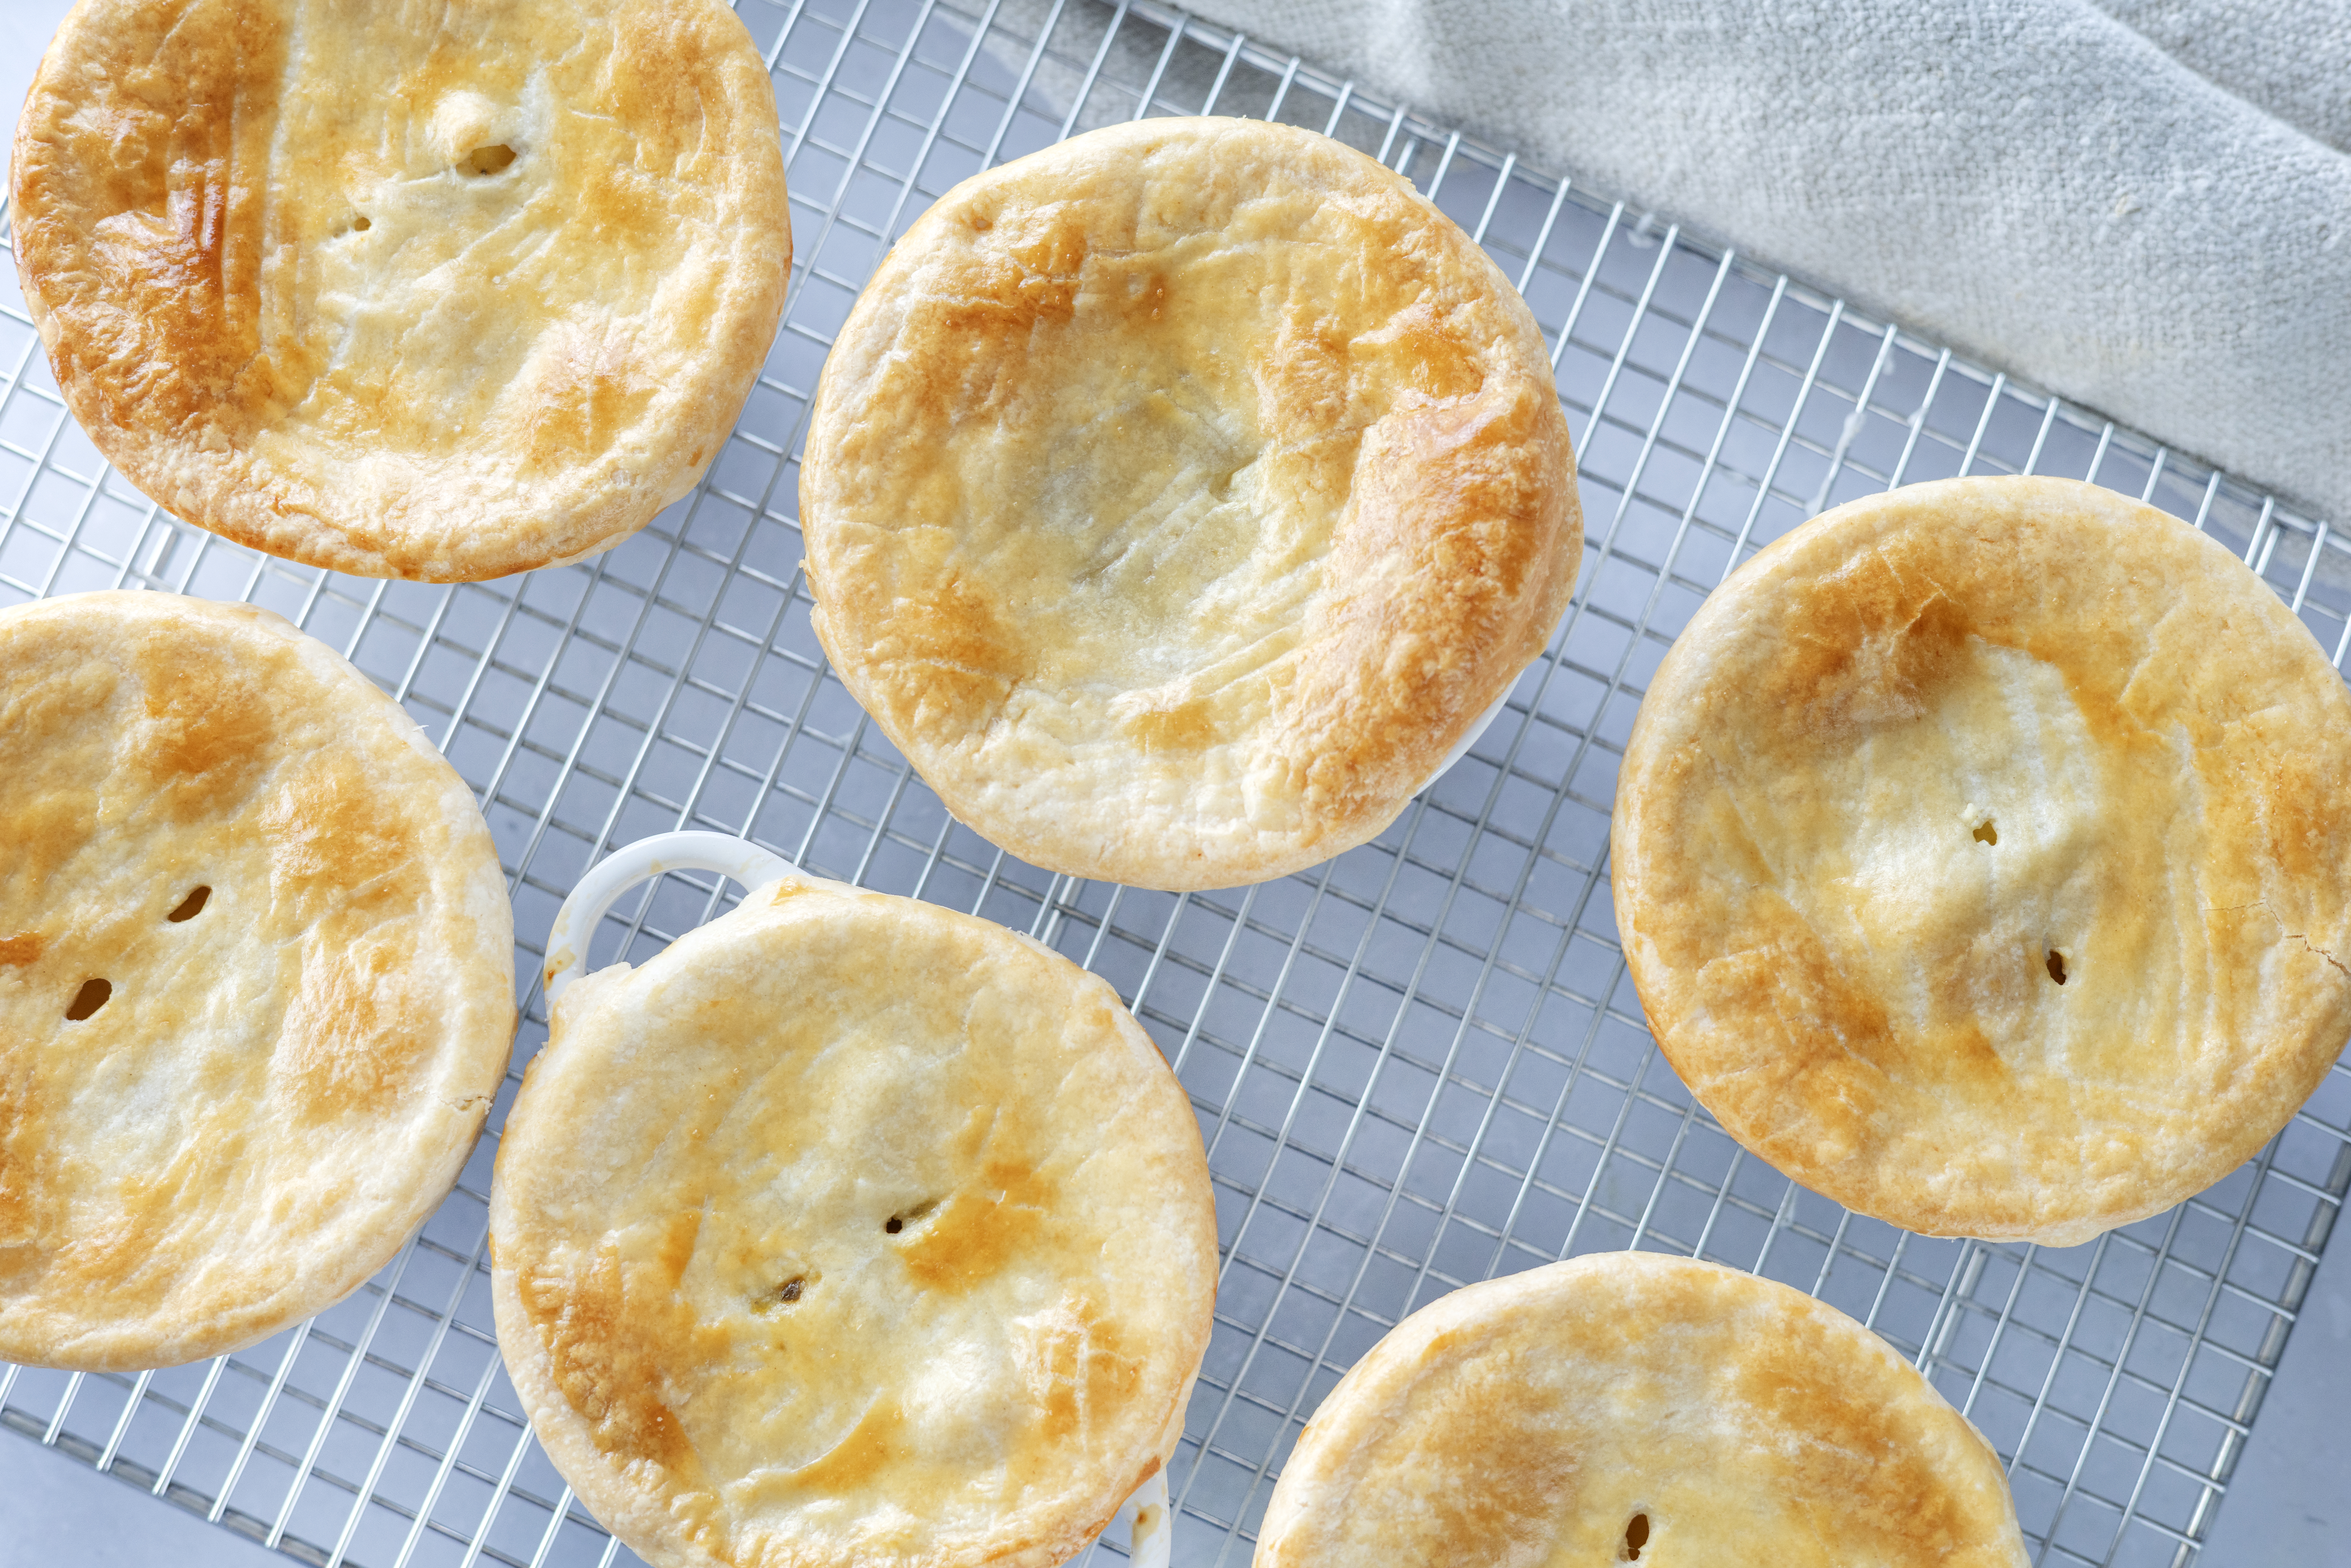
A flaky pie crust comes down to one main thing: keeping the butter cold.
Those cold pieces of butter create pockets of steam as they bake, giving you the layers that make a crust flaky rather than dense.
Step 8: Combine the Flour, Butter, and Salt
Add the flour, cold butter cubes, and salt to a food processor.
Pulse approximately 15–20 times using one-second pulses.
The mixture should look like coarse sand with some small butter pieces remaining.
Those visible butter pieces are a good thing.
Don’t keep processing until the mixture looks completely smooth.
Step 9: Add Ice Water
With the food processor running in short pulses, add the cold water one tablespoon at a time through the feed tube.
Pulse about 4–5 times after each addition.
Stop adding water when the dough begins forming large clumps and pulling away from the sides of the bowl.
You may not need every drop of water.
Pie dough should be moist enough to hold together but not wet or sticky.
Step 10: Form the Dough
Transfer the dough to a clean work surface.
Use your hands to gently bring it together into one mass.
Divide the dough in half.
Shape each half into a ball, then flatten into approximately 4-inch disks.
Wrap each disk tightly in plastic wrap.
Refrigerate for at least 1 hour.
The dough can also stay refrigerated for up to about 4 days.
Why Does Pie Dough Need to Chill?
Chilling gives the flour time to hydrate and firms the butter back up.
If the butter gets too warm before baking, it can melt into the flour rather than creating flaky layers.
Cold dough also tends to be easier to roll.
When you’re ready to work with it, remove the dough from the refrigerator about 3–4 minutes before rolling so it can soften just enough to become workable.
Step 11: Roll the Pie Dough
Lightly flour your work surface and rolling pin.
Place one chilled disk of dough on the floured surface.
Starting in the center, roll outward.
Rotate the dough about a quarter turn after each roll.
Continue until the dough is roughly 12 inches in diameter.
If you notice the edges cracking, gently pinch them back together.
Step 12: Cut the Crusts
Use a large round cookie cutter slightly wider than the opening of your ramekins.
Cut enough circles for your individual chicken pot pies.
Let the cut dough rest for about 5 minutes before assembling.
Step 13: Add the Bottom Crust
Place a small amount of dough into the bottom of each ramekin.
This doesn’t need to be a full traditional bottom crust.
You’re simply creating an extra layer of buttery crust under the creamy filling.
If you prefer individual pot pies with only a top crust, you can skip this step and save more dough for the tops.
Step 14: Fill the Ramekins
Spoon the cooled chicken pot pie filling into each ramekin.
Leave a little space at the top rather than filling them all the way to the rim.
The creamy filling will bubble while the pot pie bakes.
Step 15: Add the Top Crust
Place a round of pie dough over the top of each ramekin.
Gently pinch or press the dough around the edge of the ramekin to secure it.
Trim away excessive overhang if needed.
Step 16: Cut Small Slits
Use a sharp knife to cut small slits into the top of the crust.
These openings allow steam to escape while the pot pie bakes.
Without ventilation, pressure can build beneath the crust and cause uneven baking or splitting.
Step 17: Bake
Place the ramekins onto a baking sheet.
The sheet pan makes them easier to move in and out of the oven and catches any filling that may bubble over.
Bake for approximately 30 minutes.
Step 18: Add the Egg Wash
After 30 minutes, carefully remove the pot pies from the oven.
Lightly brush the top crust with beaten egg.
Return them to the oven for another 5 minutes, or until the crust is crisp and golden brown.
Step 19: Rest Before Serving
Remove the individual pot pies from the oven.
Let them rest for at least 15 minutes before serving.
This step is important.
The creamy filling will be extremely hot straight from the oven, and resting also gives the sauce time to thicken slightly.
What Makes Chicken Pot Pie Filling Creamy?
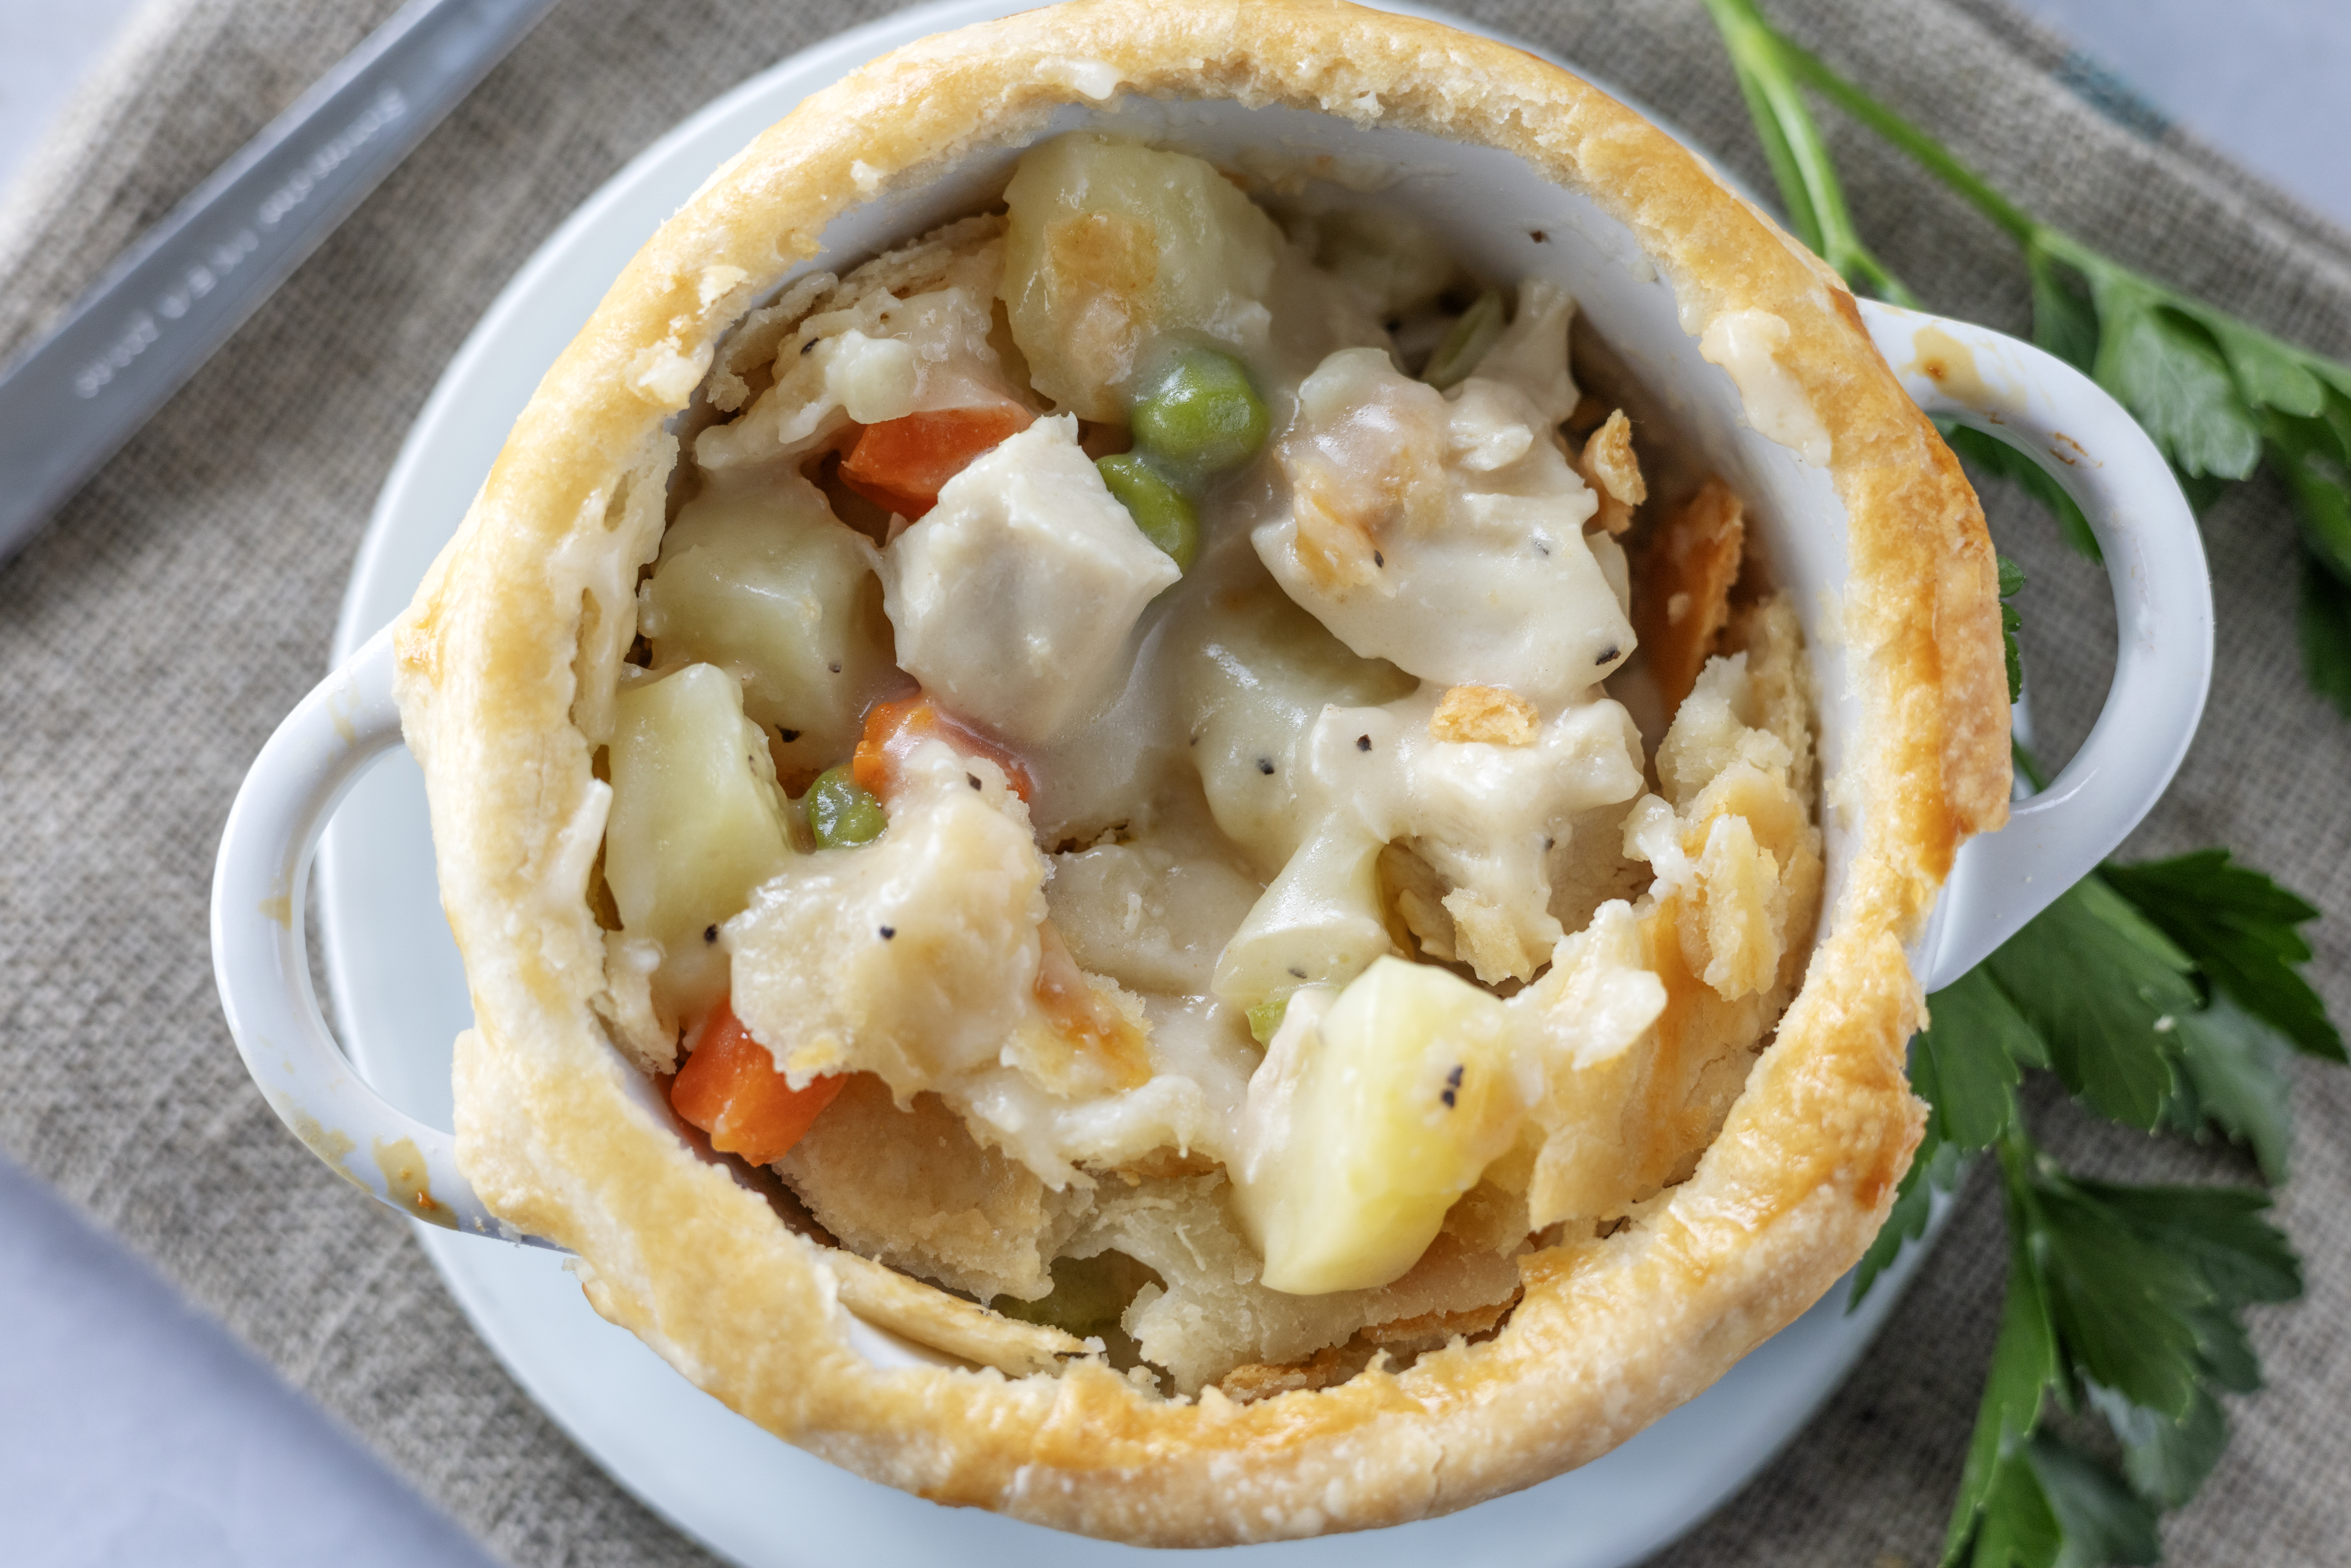
This filling gets its creamy texture from several ingredients working together.
Butter and flour begin thickening the chicken broth.
Milk adds richness.
The cornstarch mixture thickens the sauce even further.
As everything gently cooks together, it creates a creamy chicken pot pie filling that coats the meat and vegetables without becoming heavy.
Can I Use Chicken Stock Instead of Bouillon?
Yes.
Instead of dissolving bouillon cubes in hot water, you can use chicken stock or chicken broth.
For the best results, choose a flavorful stock and taste the filling before adding additional salt.
Bouillon can be fairly salty, so the seasoning requirements may change depending on which option you use.
Can I Use Whole Milk?
Yes.
Whole milk is an excellent choice because it provides enough richness to create a creamy filling without making it overly heavy.
Can I Use Heavy Cream?
You can replace some of the milk with heavy cream for an even richer filling.
I wouldn’t replace all the liquid with heavy cream, though.
The classic version should still taste like chicken and vegetables rather than an overly heavy cream sauce.
Why Yukon Gold Potatoes Work Well
Yukon Gold potatoes are a great choice for chicken pot pie because they have a creamy texture while still holding their shape fairly well.
You want the potato pieces tender, not completely dissolved into the filling.
Cut them into small, evenly sized cubes so they cook at approximately the same rate.
Can I Add More Vegetables?
Definitely.
Chicken pot pie is easy to customize.
You could add:
- Corn
- Green beans
- Mushrooms
- More carrots
- Extra peas
Just be careful not to overload the filling with so many vegetables that there isn’t enough sauce to coat everything.
Can I Use Frozen Mixed Vegetables?
Yes.
A bag of frozen peas and carrots can make preparation even faster.
Frozen vegetables usually don’t need to be thawed first unless the pieces are especially large.
Can I Use Store-Bought Pie Crust?
Yes.
If you’re short on time, a store-bought pie crust is an easy shortcut.
Roll it out and cut circles slightly wider than your ramekins.
You won’t get exactly the same buttery homemade crust, but it can turn this into an even easier chicken pot pie recipe.
Can I Use Puff Pastry?
Yes.
Puff pastry lids are another good shortcut.
Cut the pastry slightly larger than your ramekins, place it over the filling, cut small slits in the top, and brush with egg wash.
Puff pastry creates a lighter, more dramatically flaky top than traditional homemade pie crust.
What Makes a Flaky Pie Crust?
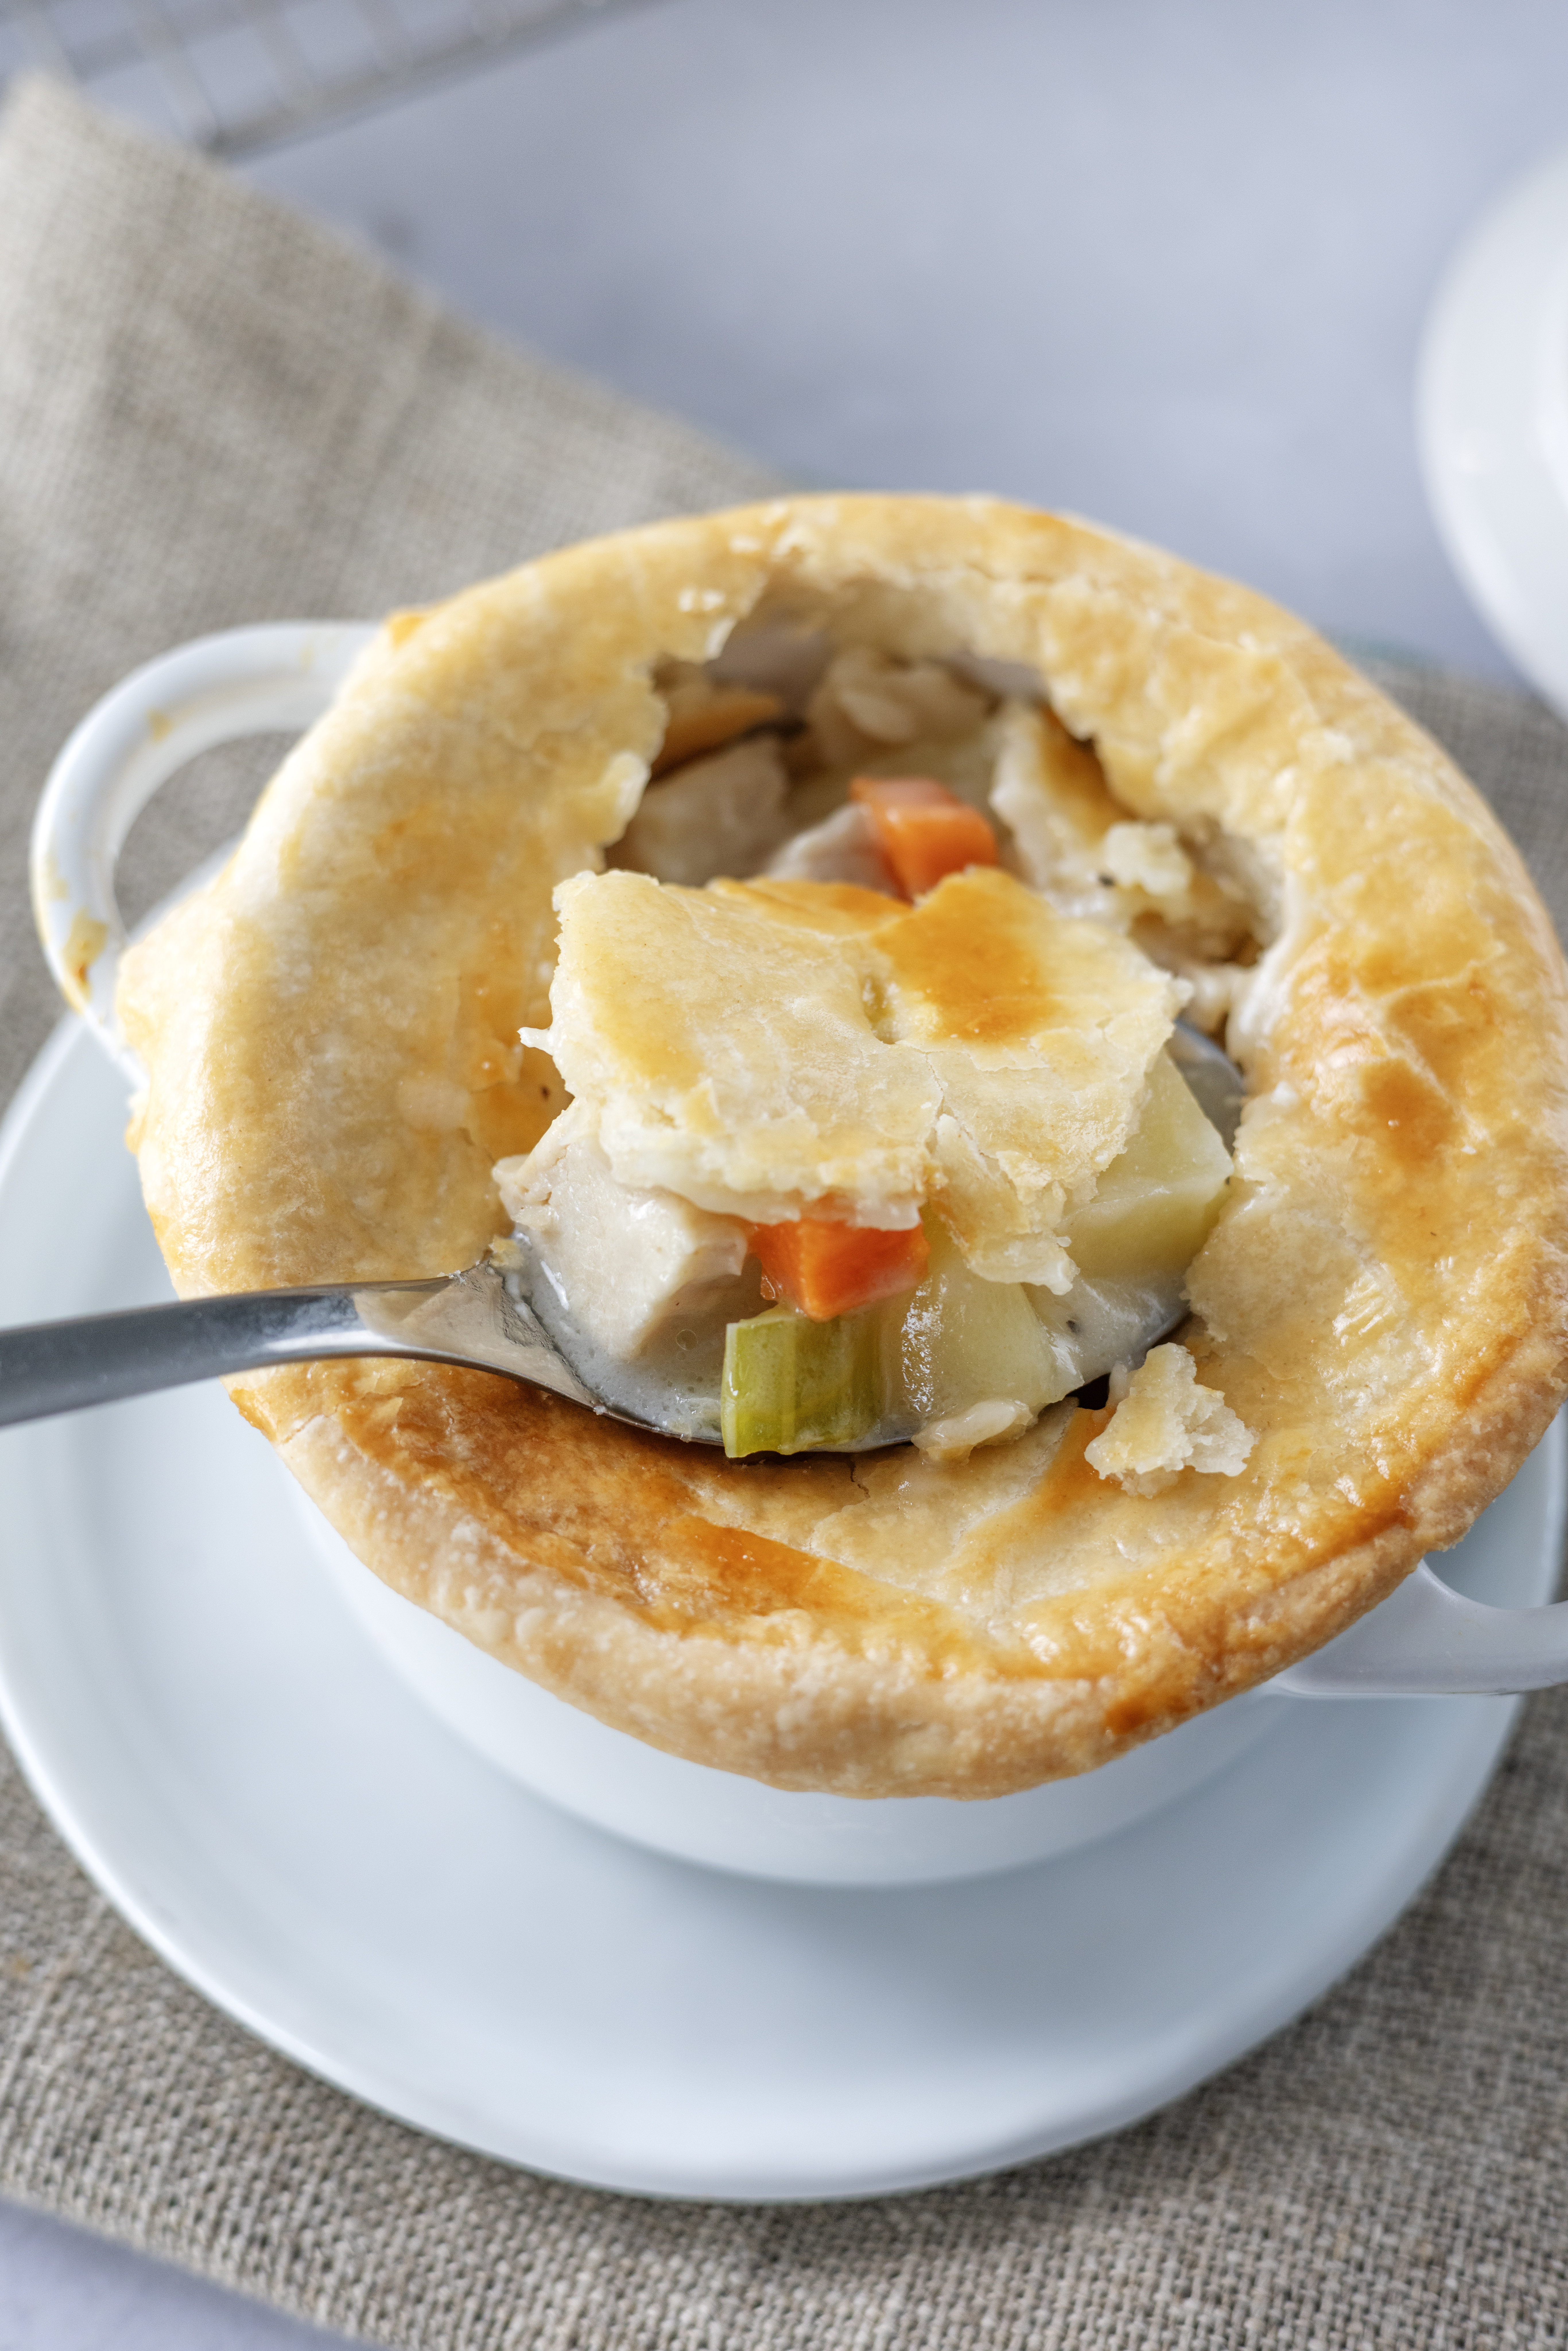
The most important factor is temperature.
Cold butter should remain in small pieces throughout the dough.
When those pieces hit the hot oven, water inside the butter turns into steam.
That steam separates the layers of dough and creates a flaky crust.
For the best results:
- Use very cold butter.
- Use ice water.
- Don’t overprocess the dough.
- Don’t knead the dough.
- Chill it before rolling.
- Work quickly when shaping the crust.
Why Is My Pie Crust Tough?
A tough crust is usually caused by one of two things:
Too Much Water
Add only enough water for the dough to hold together.
Overworking the Dough
The more you mix and knead flour with water, the more gluten develops.
That’s great for bread but not what we want in a flaky pie crust.
Handle the dough as little as possible.
How Do I Keep the Crust From Getting Too Brown?
If the top or edges of the crust become golden before the filling is completely hot, loosely cover the ramekins with aluminum foil.
You can also protect only the edges of the crust with foil if needed.
Can I Make One Whole Chicken Pot Pie?
Yes.
Instead of individual ramekins, you can assemble the recipe in a deep pie dish.
You can make it with:
- A double crust
- Bottom crust and top crust
- Top crust only
A whole pie may require a slightly different bake time depending on the size and depth of the pie dish.
Look for a bubbling filling and deeply golden crust rather than relying only on the clock.
Can I Make Chicken Pot Pie Ahead of Time?
Yes.
There are a few good ways to make this recipe easier ahead of time.
You can prepare the filling in advance and refrigerate it in an airtight container.
The homemade crust can also be made up to about four days in advance and kept wrapped in plastic wrap in the refrigerator.
When you’re ready to bake, roll the crust, fill the ramekins, and assemble.
Can I Assemble the Pot Pies Ahead of Time?
You can assemble them several hours before baking and refrigerate them.
Keep the ramekins covered so the dough doesn’t dry out.
For the best crust texture, I prefer baking them the same day they’re assembled.
If baking straight from the refrigerator, you may need to add a little extra bake time.
How to Store Leftover Chicken Pot Pie
Allow leftovers to cool.
Cover the ramekins tightly or transfer the filling and crust to an airtight container.
Refrigerate for up to about 3–4 days.
How to Reheat Chicken Pot Pie
The oven is the best way to bring back a crisp crust.
Place the leftover chicken pot pie in a moderate oven and heat until the center is hot.
If the crust begins browning too much, loosely cover it with aluminum foil.
The microwave works for individual portions, but the crust will become softer.
Can I Freeze Chicken Pot Pie?
Yes.
Chicken pot pie freezes well.
You can freeze the assembled pot pies before baking or freeze baked leftovers.
For an unbaked pot pie, wrap it very tightly so the crust doesn’t develop freezer burn.
For the best results, thaw overnight in the refrigerator before baking.
What to Serve With Chicken Pot Pie
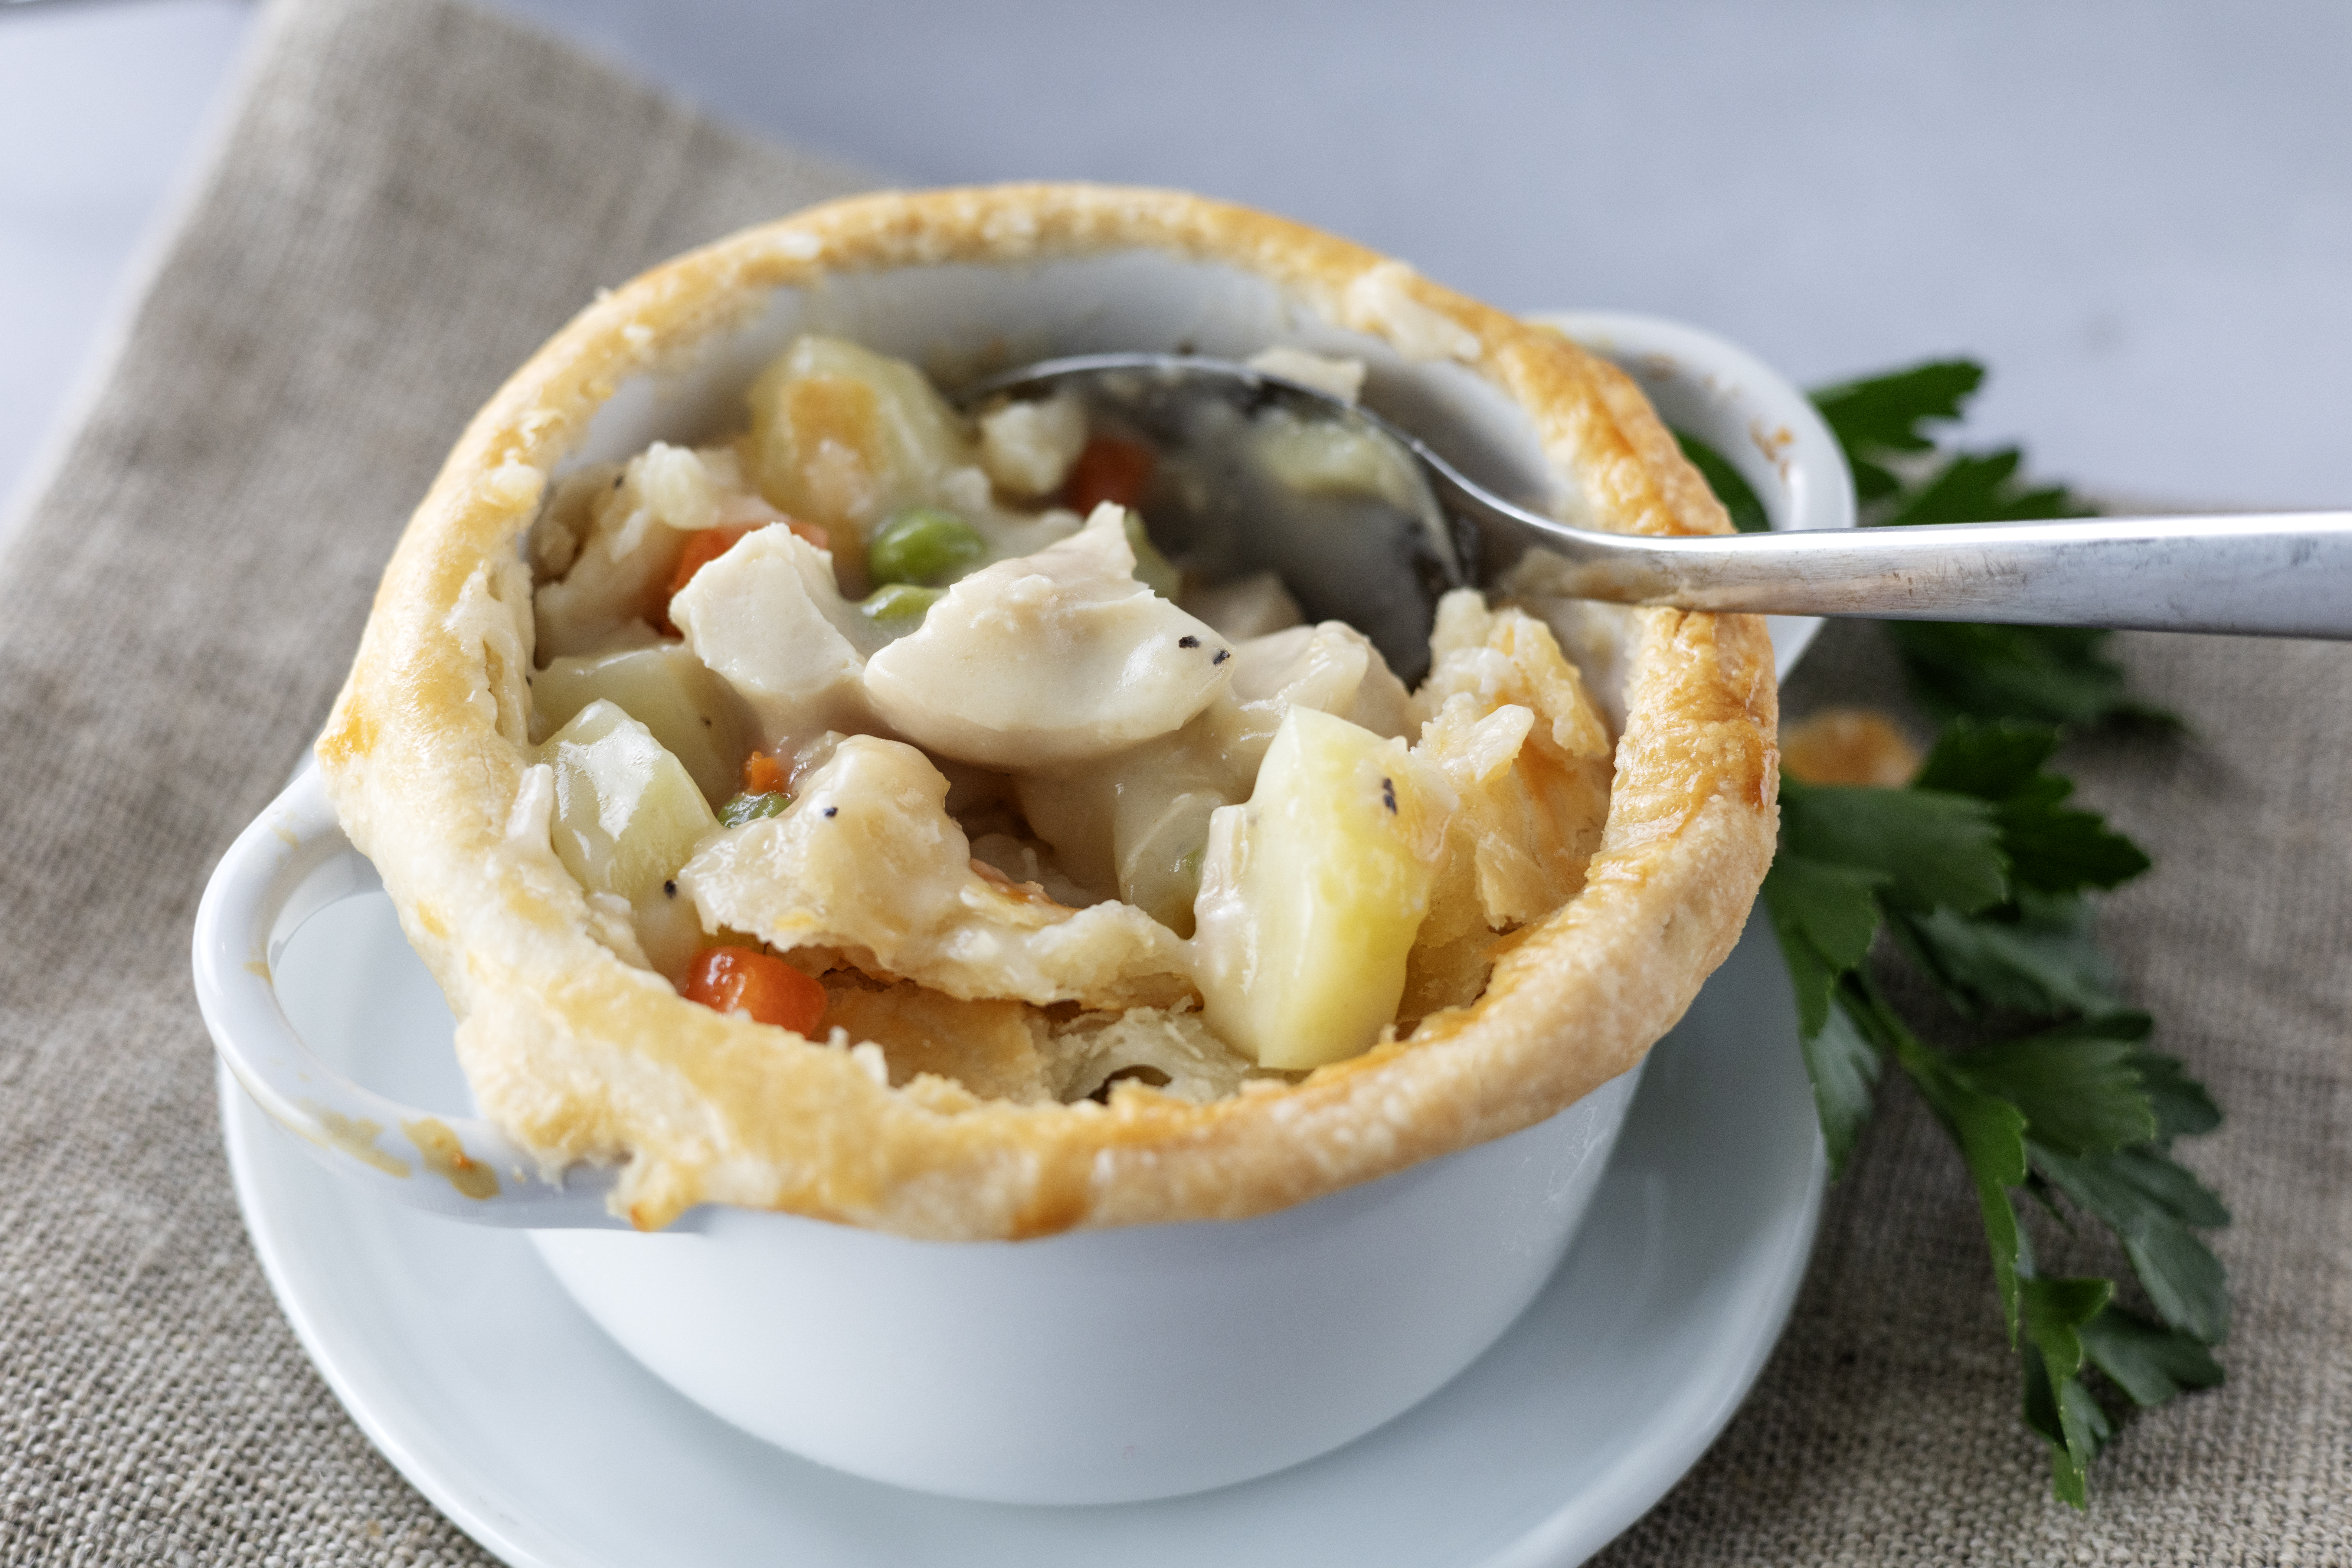
Because chicken pot pie already includes chicken, potatoes, and vegetables, it can absolutely be served as a complete meal.
If you want something alongside it, keep the sides simple.
Good choices include:
- Dinner rolls
- Green salad
- Roasted vegetables
- Green beans
- Mashed potatoes
- Steamed broccoli
More Cozy Chicken Recipes From Krystel’s Cooking
If you’re craving more comfort food, try my Easy Chicken Noodle Soup next. It combines tender chicken with carrots, celery, onion, herbs, chicken broth, and egg noodles for another cozy dinner that’s perfect when the weather cools down.
For something to serve alongside these pot pies, my Honey Butter Dinner Rolls are a great choice. They’re soft, fluffy, and brushed with sweet honey butter while they’re still warm, making them perfect for a comfort-food dinner.
You can also pair chicken pot pie with Red Garlic Mashed Potatoes if you’re feeding a hungry crowd, or serve Cheesy Au Gratin Potatoes for an especially hearty holiday or Sunday meal.
Frequently Asked Questions
What is chicken pot pie made of?
Classic chicken pot pie usually contains cooked chicken, vegetables, a creamy chicken-based sauce, and a flaky pie crust.
Can I use rotisserie chicken?
Yes. Rotisserie chicken is one of the easiest shortcuts for this recipe.
Can I use leftover chicken?
Absolutely. Any mild cooked chicken works well.
Can I use turkey instead?
Yes. Substitute cooked turkey to make turkey pot pie.
Do I have to make homemade pie crust?
No. Store-bought pie crust or puff pastry can be used when you need a shortcut.
Why do I need to cut slits in the top crust?
The slits allow steam from the hot filling to escape.
What does egg wash do?
Egg wash helps the top of the crust develop a glossy, golden brown finish.
Why is my chicken pot pie filling runny?
The filling may not have cooked long enough after adding the flour and cornstarch mixtures. It also thickens more as it rests.
Why should the filling cool before adding the crust?
Very hot filling can begin melting the cold butter in your pie dough before it reaches the oven, which can reduce flakiness.
Can I make one large pot pie instead of individual pies?
Yes. Use a deep pie dish and adjust the bake time as needed.
How do I know when chicken pot pie is done?
The top crust should be deeply golden and the filling should be bubbling underneath.
How long should chicken pot pie rest?
Allow it to rest for at least 15 minutes so the filling can settle and cool enough to eat safely.
Final Thoughts
This homemade Chicken Pot Pie is everything I want from a comfort-food dinner: tender chicken, creamy filling, plenty of vegetables, and a buttery flaky pie crust baked until golden brown.
Making the crust from scratch does add an extra step, but that contrast between the crisp crust and creamy filling is what makes this recipe so satisfying. And because these are individual chicken pot pies, everyone gets plenty of those golden edges.
Use baked chicken breasts, leftover chicken, or rotisserie chicken depending on what you have, and don’t be afraid to make the filling or pie dough ahead when you want to save time.
Serve them hot after a good 15-minute rest, and you have a cozy homemade dinner that feels special without needing anything fancy.
Chicken Pot Pie
Ingredients
- Pie Filling:
- 2 medium size baked chicken breasts diced
- 1 ¼ cup hot water plus 2 chicken bouillon cubes
- 6 tablespoons butter , softened
- ½ cup milk
- 1 celery stalk diced
- ⅓ cup frozen diced carrots
- ¼ cup frozen peas
- ¼ cup all-purpose flour
- ¼ cup onion finely chopped
- 1 tablespoon cornstarch
- 1 Yukon potato peeled and diced
- salt and black pepper to taste
- Pie Crust:
- 2 ¼ cups all-purpose flour
- 1 cup butter , cubes that are cold
- 1/2 cup cold water, plus 2 Tablespoons of water
- 1/2 teaspoon salt
Equipment
- Food Processor
- Rolling Pin
- Ramekins
Instructions
- Begin by preheating your oven to 375 degrees.
- For the filling, combine 4 tablespoons of softened butter with flour in a small bowl.
- Set this mixture aside.
- In another bowl, dissolve cornstarch in milk and set it aside.
- In a large saucepan, melt 2 tablespoons of butter and sauté the onion, carrot, and celery over medium-high heat for approximately 3 minutes.
- Add the broth and potatoes, bringing it to a boil. Cover and simmer for about 10 minutes, or until the vegetables are just tender.
- Incorporate the butter and flour mixture, stirring constantly as it comes to a gentle boil.
- Pour in the milk and cornstarch mixture, bringing it to a boil. Season with pepper to your taste. Stir in the chicken and peas, then cover and let it cool.
- For the crust, Place the butter, flour, and salt in a food processor and pulse until the mixture looks like coarse sand, with some small butter pieces no larger than peas.
- This should take about 15 to 20 pulses, each lasting one second.
- Add ice water one tablespoon at a time through the food processor’s feed tube, pulsing 4 to 5 times after each addition. Stop adding water once the mixture begins to form large clumps and pulls away from the sides of the bowl.
- Transfer the mixture to a work surface and use your hands to bring it together into a single lump. Divide the dough in half, quickly shape each half into a ball, and flatten them into 4-inch disks. Wrap each disk in plastic wrap or place them in plastic bags and refrigerate for at least an hour, or up to four days. Remove the dough from the fridge 3 to 4 minutes before rolling so it can soften slightly.
- Lightly flour your work surface and rolling pin. Roll out one disk of dough from the center outward, turning it a quarter turn after each roll, until you have a circle about 12 inches in diameter. If the edges start to split, pinch them together and continue rolling. Use a large round cookie cutter slightly bigger than your ramekins to cut out the crusts, and let them rest for 5 minutes.
- Place a small amount of dough at the bottom of each ramekin, just enough to create an extra crust layer.
- After shaping the dough in each ramekin, fill them with the pie filling. Add the top crust and pinch it onto the ramekin. Make slits on top for ventilation and bake for 30 minutes. After 30 minutes, lightly brush with egg and bake for an additional 5 minutes. Remove from the oven and allow it to rest for at least 15 minutes before serving!

I really would like to make this recipe. I first saw it on Pinterest, but could not find any ingredients for the ‘delicious golden crust’. So I went to your website to see if I could find it there, but I could not. Please include it in the recipe and I’ll bet you’ll get some5 star ratings. Meanwhile, I’ll be watching for the correction to the recipe.
Hey there! so sorry about that! Thank you for bringing it to my attention! I didn’t realize the pie crust portion of the recipe wasn’t included! I made those corrections! Also just in case you’re pressed for time you can use the store bought rolled crust, they aren’t bad just nothing beats homemade!
Hi Krystel. This recipe looks delicious! I’m excited to make it tomorrow night. Could you tell me how many pot pies this makes? I see serving size says 6 although I wasn’t sure if that was it!
Hey there! Yes it should make at least 6 depending on you ramekin size you could make up to 8 :).